
Tanat Valley 3 by Peter Drost

Needing several fiddleyard cassettes for my two-level layout currently under construction, I had the opportunity to inspect these Intentio kits at Guildex this year and was sufficiently impressed to order several of them in different sizes at the end of September and they arrived a few days later.
The most noticeable thing on opening the package was the strong smell of charred wood from the laser cutting process. It does diminish over time!

The package contained the cassette bases, sides, end stops and track adaptors as well as ample chairs.
The rails are not provided.
There is an assembly instruction sheet downloadable from Intentio Cassettes Instructions that illustrates and explains the assembly process.
The instruction sheet is best viewed on a phone, tablet or computer screen since printing it out becomes an eyesight challenge with very small, white text on a blue background.
The fit of most of the parts is impressive but I did find that some of the tenons were ‘swollen’ and needed a little filing and sanding to ease the fit into the mortices. Similarly, some of the laser-cut ply chairs were a little fat for their mortices so needed a couple of wipes on fine sandpaper.
I changed the assembly sequence slightly and cut the rails to precise length first and fitted them as the glued chairs were setting. This ensures that all of the chairs are aligned at a consistent height.
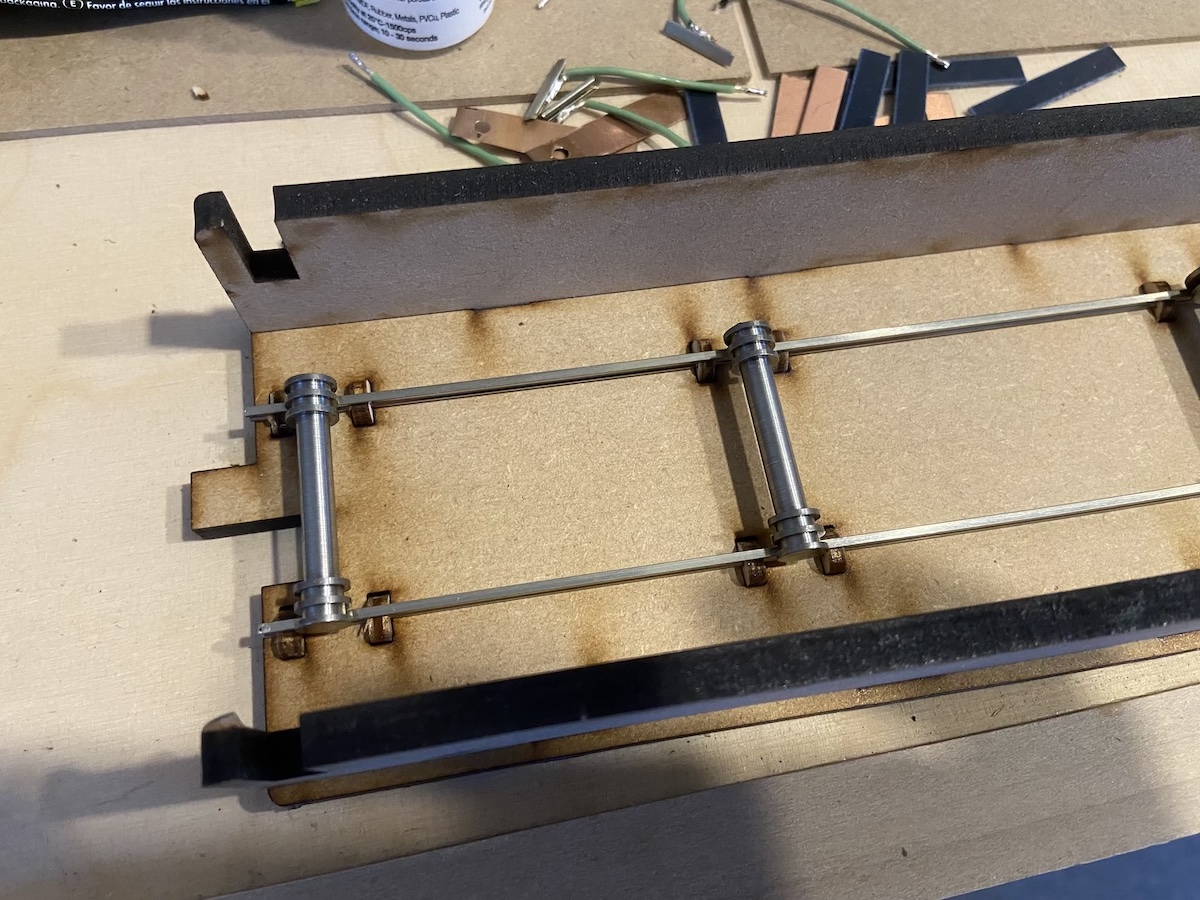
To be completely sure that the gauge remained correct I also used roller gauges to hold the rails whilst the glue set, although they are probably not essential.
At this stage, the rails are still free to slide through the chairs.
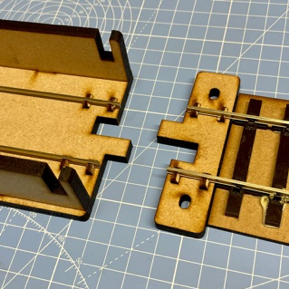
Although ‘TOP’ or the cassette length is marked on most of the main cassette decks, the track adaptors are not marked and it’s possible to assemble them upside down - guess how I know!
This is how it should look.
The instructions give no guidance about powering the cassettes, so this is my method.
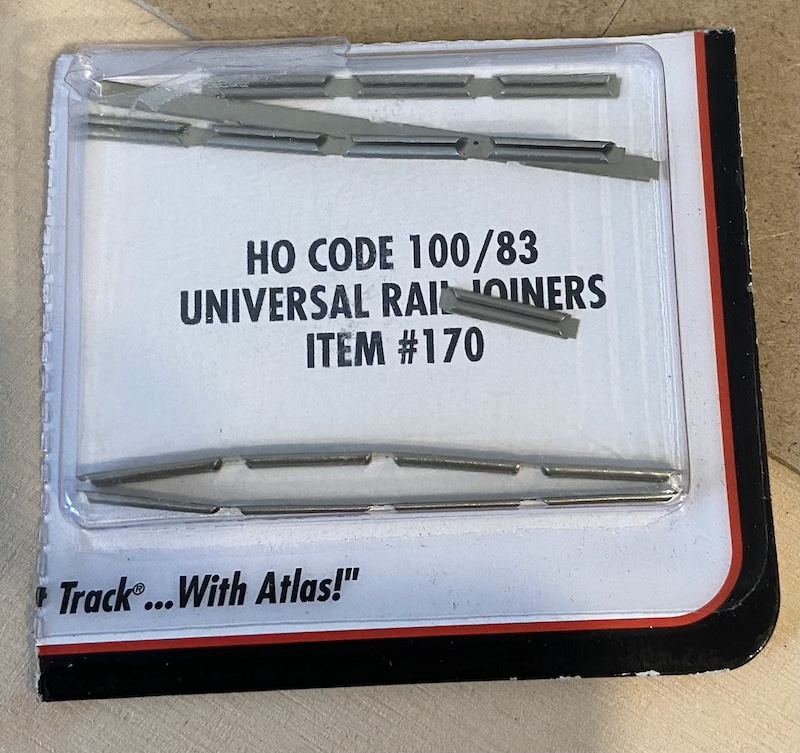
I soldered short pieces of wire to the sides of Atlas HO rail joiners.
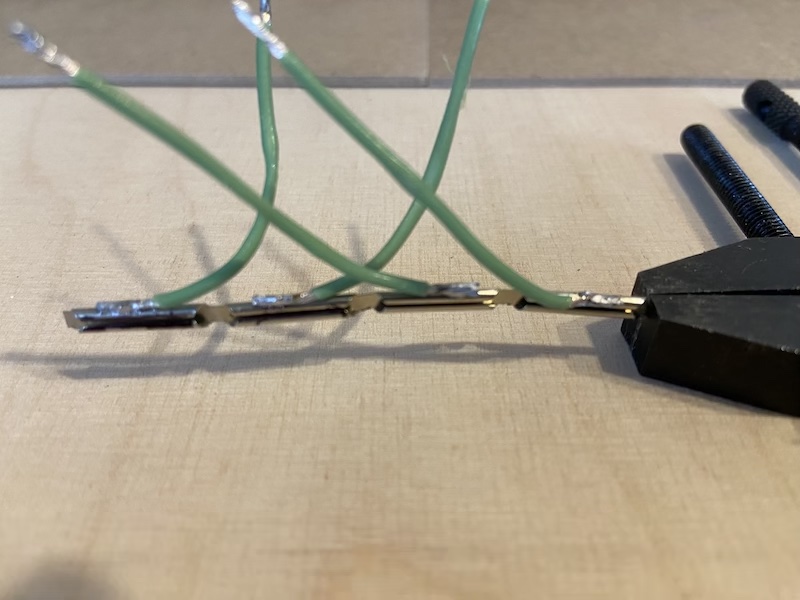
These are a perfect, snug fit for code 125 rail.
I soldered them up in 4s and then separated the individual joiners.
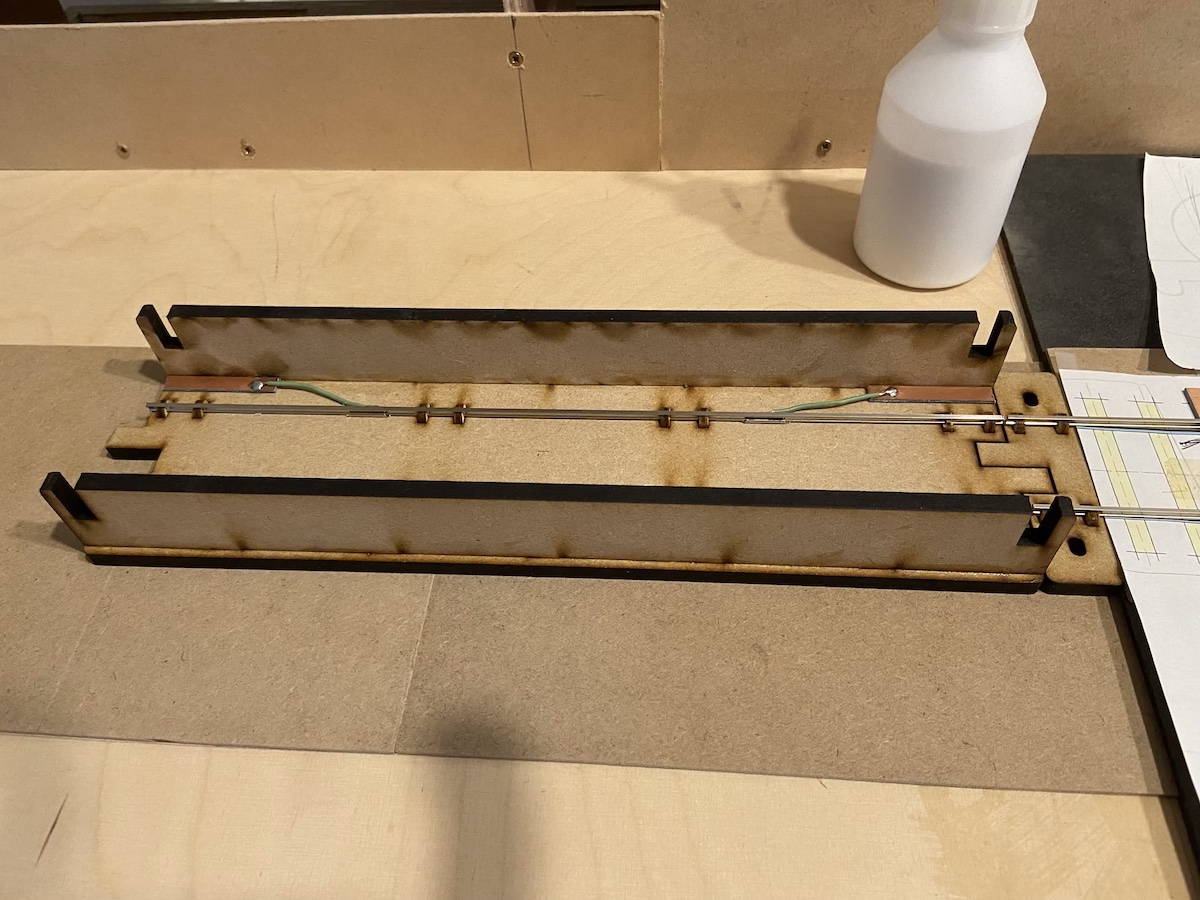
Copperclad strips are glued to the cassette deck and the rail is moved back and forth to allow the joiners to be slid onto the rail. The other ends of the green wires are soldered to the strips.
I adopted this method as I found that soldering the wire directly to the rail was extremely difficult as it was very awkward to get an iron into the small gap between the rail and cassette side. Once everything is wired up, a drop of superglue on the back of each chair locks the rail in place.
10 thou thick phosphor bronze wipers were made and a dropper wire was connected to the main power bus. It was also attached via the adaptor piece fixing screw to the wipers to transfer the power from layout to cassette. The wipers were a bit flimsy but the method works well.
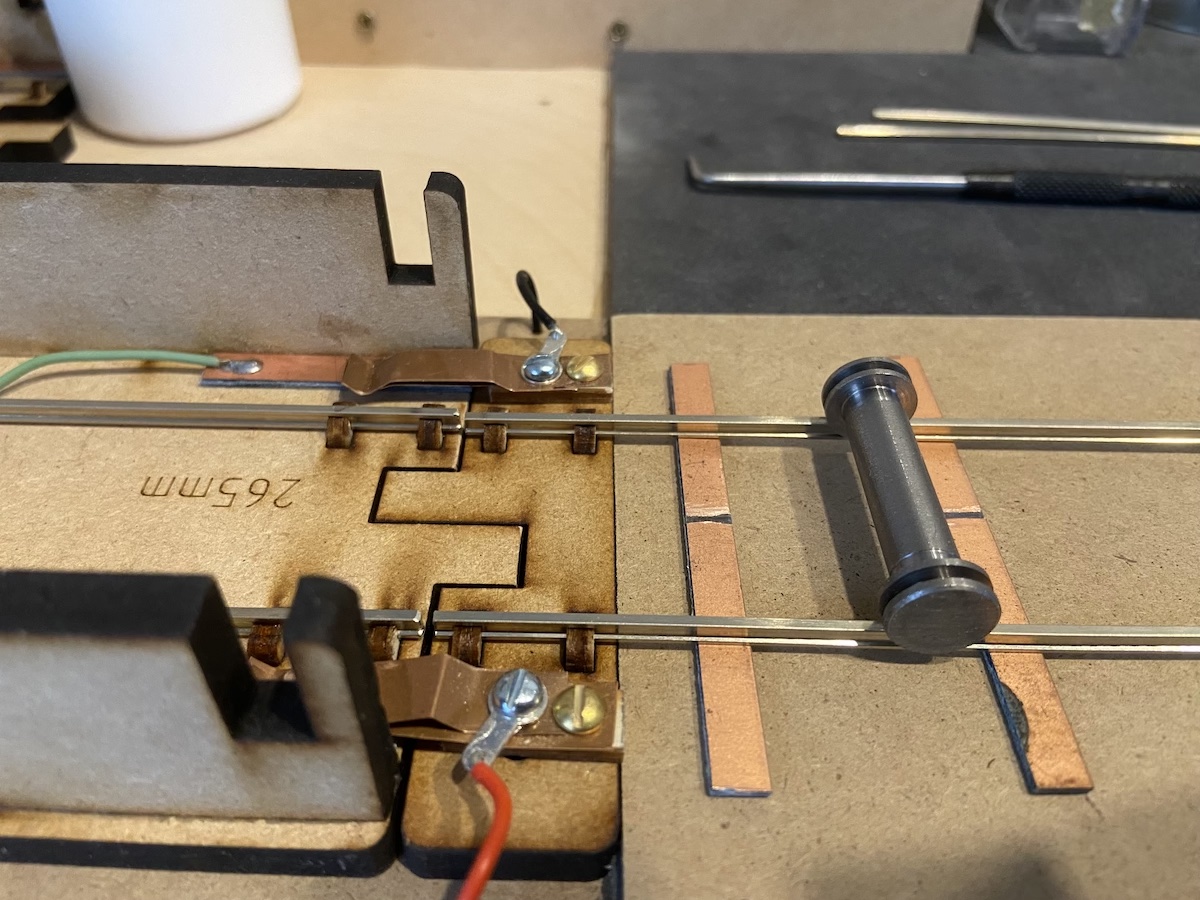
In this last photo, I have temporarily doubled up the wipers to stiffen up the action. I have some 15, 20 and 25thou phosphor bronze strip on order to experiment with.
The track to the right of the adaptor will be inset and checkrailed as it crosses a road.
Further layout progress can be followed on the Beaufort Mill layout thread here
The design of the cassette system gives a railhead height of 10mm that is a perfect match for Code 125 rail held in e.g. Exactoscale chairs on wooden sleepers on a 3mm cork or closed cell foam base. I have used 5mm foam so have added a 2mm thick MDF layer to the fiddleyard deck to raise the cassettes and adaptor to the correct height.
Each cassette comes with 2 adaptors but, as you’re highly unlikely to need many of them, you will have spares to allow the same cassettes to be used on another layout.
These kits enable anyone to create fiddleyard cassettes to a consistent, accurate standard at an acceptable price.
Top
Tanat Valley 3 by Peter Drost

John Borkowski converts Accurascale hopper wagons to S7

The Story of Reeth by Simon Caygill
For further information on the ScaleSeven Group, or if you have any questions: