

Tanat Valley 3 by Peter Drost
This article is taken from a Western Thunder thread: Silver soldering
Having suggested once again that silver-soldering might be a good solution a problem, I was challenged to "show me".
I've done a little example of making some footplate support brackets that would be troublesome to emboss rivets on once formed.
This is my little silver soldered solution.

I just used a bit of scrap etch from an old kit, on the base plate I embossed a line of rivets and then on the upright I bent the end at 90 degrees just so that it would stand upright on the base plate.
One of the tricks with silver-solder more so than with soft soldering is ensuring the joints are a snug fit.
If you do bend the upright then the corners will swage the metal slightly and it will need dressing with a file to ensure it fits flush with the base plate.
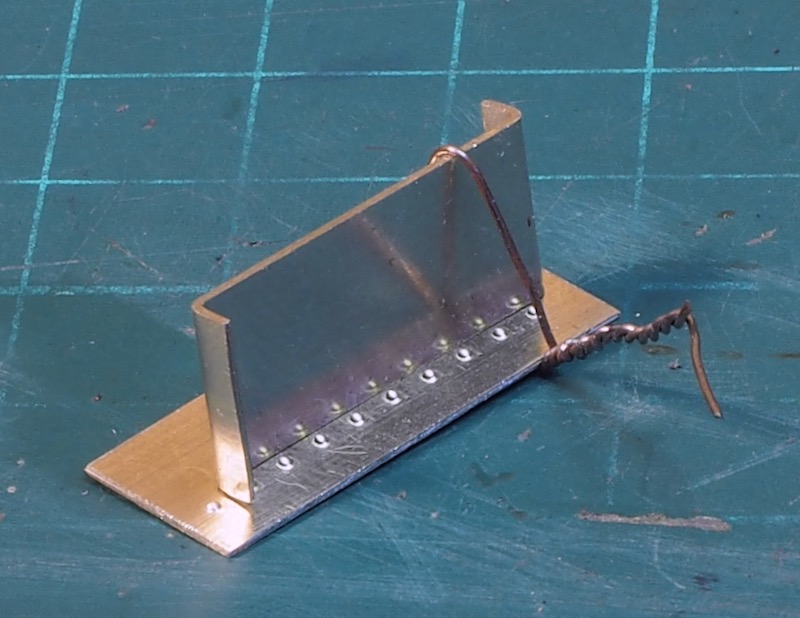
I then use a little bit of binding wire, which is just soft iron wire, to hold the two components together.
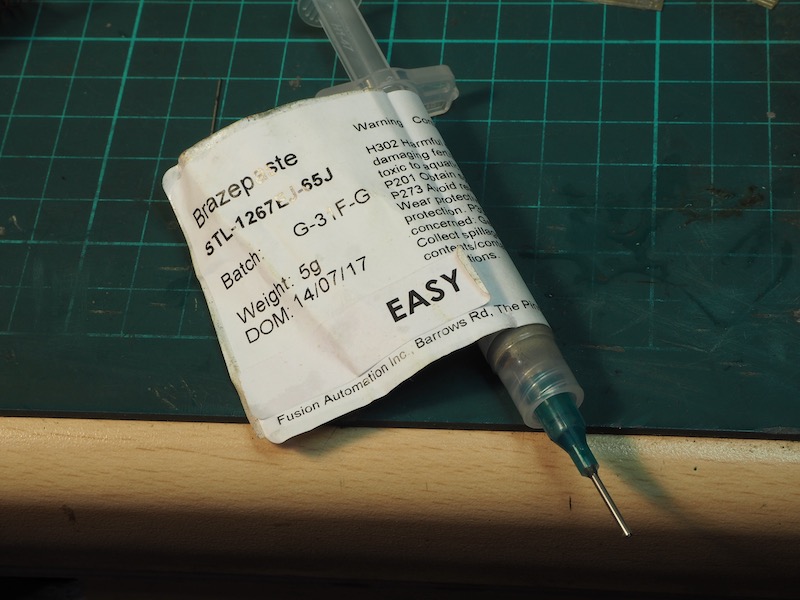
Previously I have used little pallions of silver solder but on others' recommendations I thought I'd try some silver-solder paste this time.

I can't remember where I got it from - probably ebay but perhaps from Cooksons.
With silver solder there are generally 3 different grades (actually 4 if you count extra-easy)
Easy - "low" temperature melting point
Medium - mid range temperature melting point
Hard - highest melting point.
As I say some places will offer "extra-easy" which is a lower temperature melting point but stick with the standard 3. Unless you are getting into some serious silver-smithing you can ignore all and just use "easy".
I say this for a couple of reasons. First Easy flows nicely so if you're just starting then you stand a better chance of making a good joint with easy than medium or hard. Easy solder will flash into joints in a beautiful way, medium and hard need a bit more work to get a good joint.
The second reason is that one of the characteristics of silver soldering is that when you make a silver solder joint then the resultant alloy at the joint has a slightly higher melting point than the original solder. So it is perfectly possible to silver solder a joint with Easy and then make another joint without melting the first joint! So my recommendation is to stick with Easy.
You may wonder why you contemplate using Hard solder at all. I think it's best use in our field is mainly for people building live steam locos. I would consider soldering things like super-heater pipes and boiler fittings with Hard solder - then the whole boiler tube plates, throat plates, etc would all be assembled with Easy.
I've never used the paste before so I wasn't sure how much to apply - so the syringe needle was too constrictive to apply it evenly so I removed it and used a wooden toothpick to apply - hence a bit messy.
Note I have applied the solder to the side opposite to the rivet detail. This is because the intention is to heat the joint from the other side.
Just like soft soldering the trick is in the application of the heat - the solder will always flow in the line of least resistance.
So if I heat from the other side and warm up the metal then when the solder melts it will flow into the joint nicely as the metal is hot enough.

Now I moved outside. I usually do my silver-soldering in the shed as I prefer to keep gas canisters and acid baths out of doors. I've moved the stuff outdoors just to get the photos.
I do have a little oxy-propane torch for fine jewellery work but for things like this a simple blowtorch and gas can is sufficient.
Behind the torch are the soldering plate and bricks I have - again it's one of those things I acquired years ago so I can't remember where I got them from. From cookson something like these are equivalent.
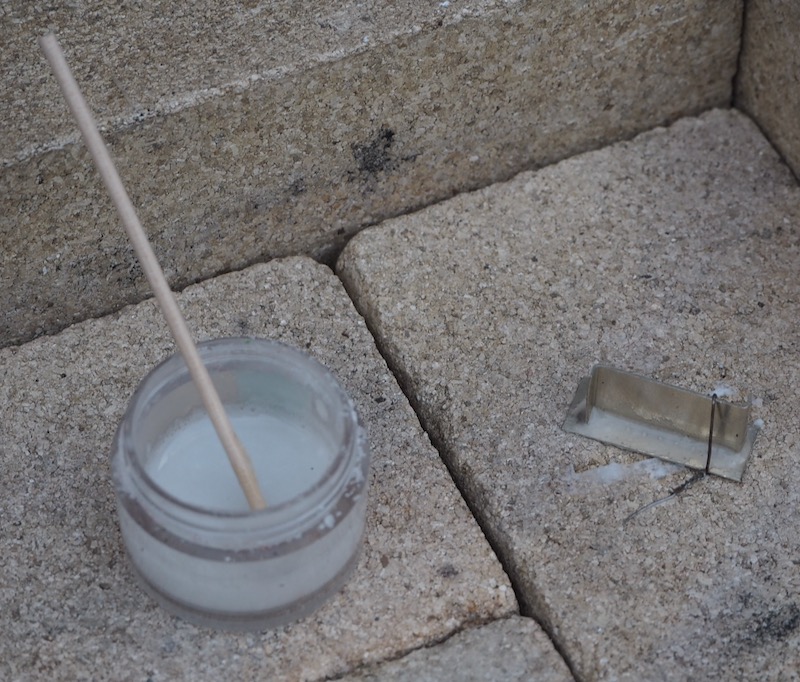
Even with the solder paste I still thought it prudent to use some flux - this prevents the metal oxidising prior to the solder flowing.
The different silver solders generally need slightly different fluxes - for Easy solder use "Easy-flo" - this is a powder which you can mix with a little water. Now I have a 250g tub of the stuff which will last me a lifetime plus. So don't buy any - drop me a message and I will post out a little jar of the stuff to you. I apply this all around the joint.
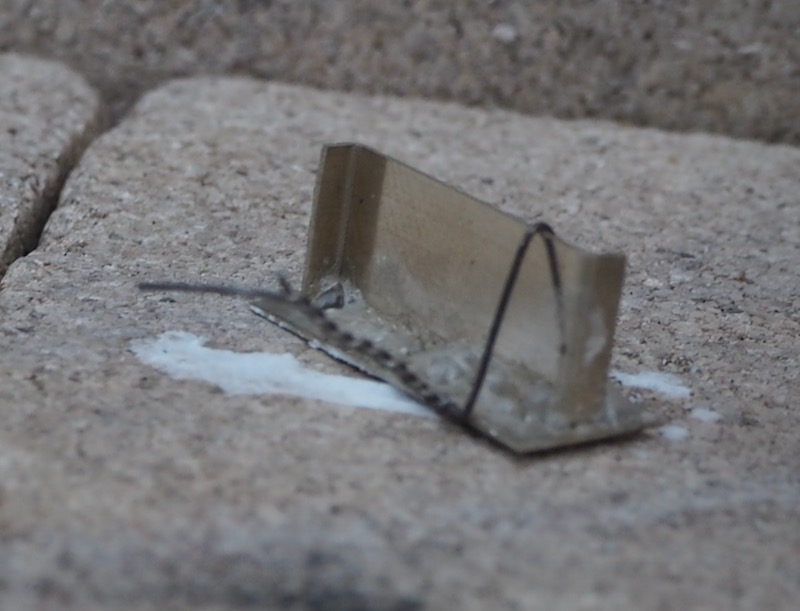
Now this is where it get difficult to show the process. Basically I start with gently wafting the blow torch over the joint.
You need to boil the water out of the flux - do it too quickly and the water boils like mad and spits the flux out left right and centre.
A gentle warming of the piece allows the water to gently boil off - hopefully the photo shows it gently bubbling away.
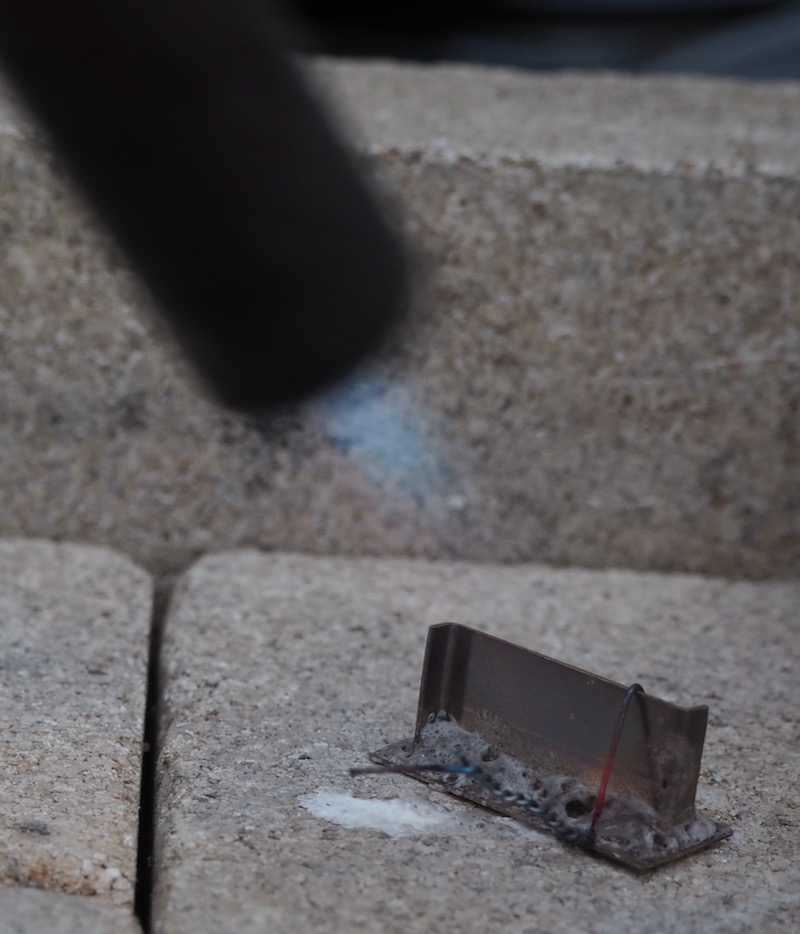
Once it turns dry and crusty then you can start bringing the blow torch closer and applying more heat.
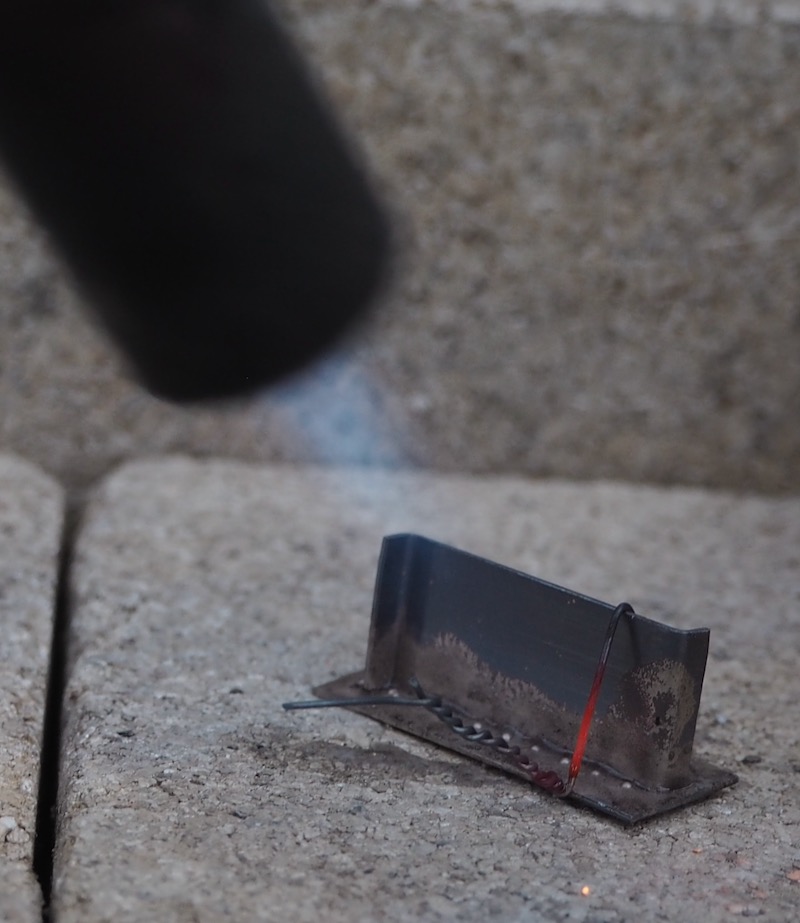
As you apply more heat then the flux itself turns more "watery" although I'd say more vitreous - like molten glass.
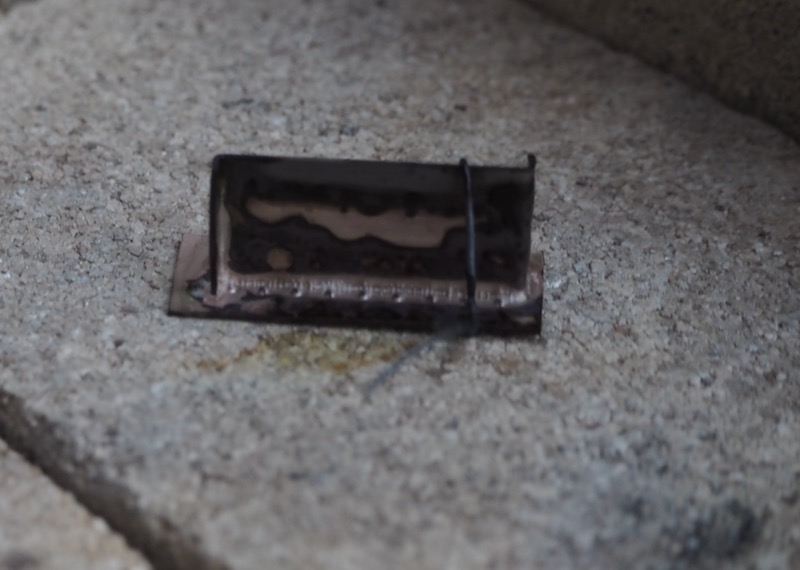
and then in an instant you get the joy and beauty of silver soldering. All of a sudden you will see a flash of silver run through the joint. It's hard to describe but when it happens you will see the joint form.
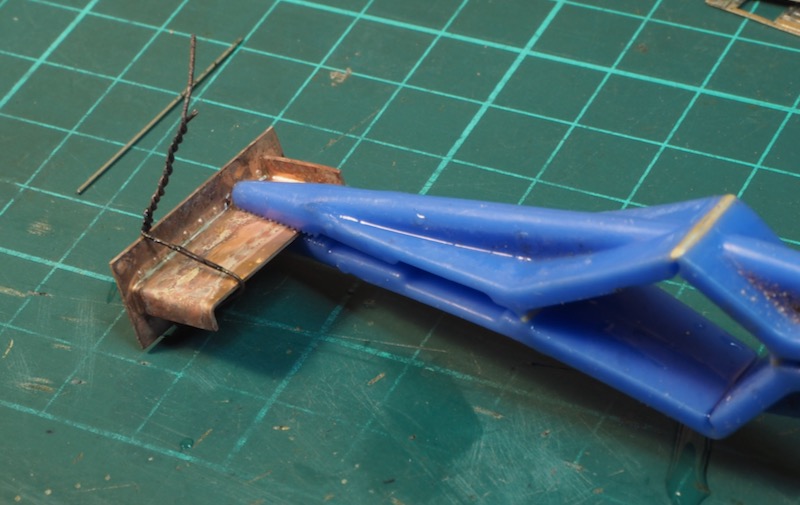
Remove the heat and then drop in an acid bath, I use dilute sulphuric acid which results in a distinct copper colour to the piece. Others use phosphoric acid or boric acid. It's not an essential step as you can remove the flux with mechanical methods.
A set of plastic tweezers used to remove it from the acid bath. This is as it came straight out of the bath.
If you use a flux like Easy-flo then during silver soldering it turns into a vitreous state so it can be difficult to remove mechanically. You can chip bits off with a scraper but a ‘pickle’ will soften and dissolve the flux remnants, and oxidation.
Personally I use dilute sulphuric acid, I managed to buy a large bottle of highly concentrated stuff many years ago - probably on the banned substance list or attract the attention of the anti-terrorist police if you tried to buy it today! However, there are plenty of "safety pickles" available from all good jewellery suppliers. For example, Cookson’s safety pickle has a "Sodium Bisulphate base."
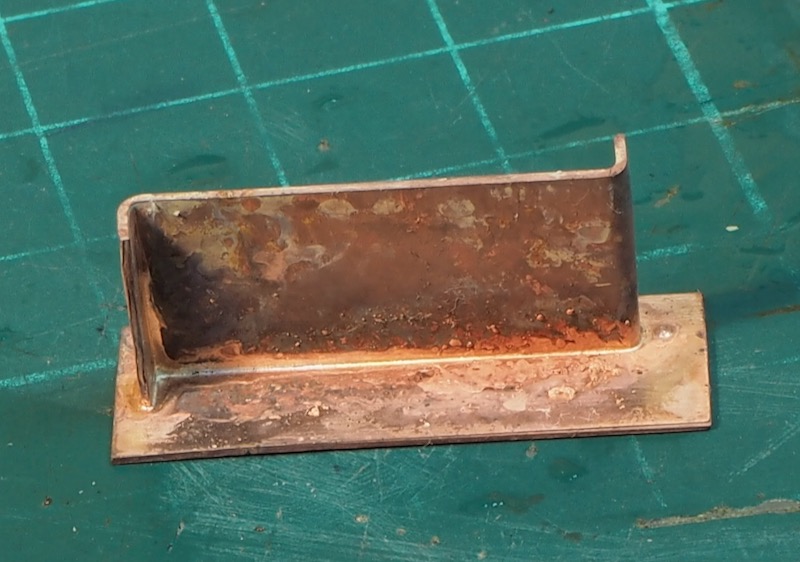
As you can see the solder has flashed through the joint nicely - it provides a clean smooth fillet and no cleaning up required.
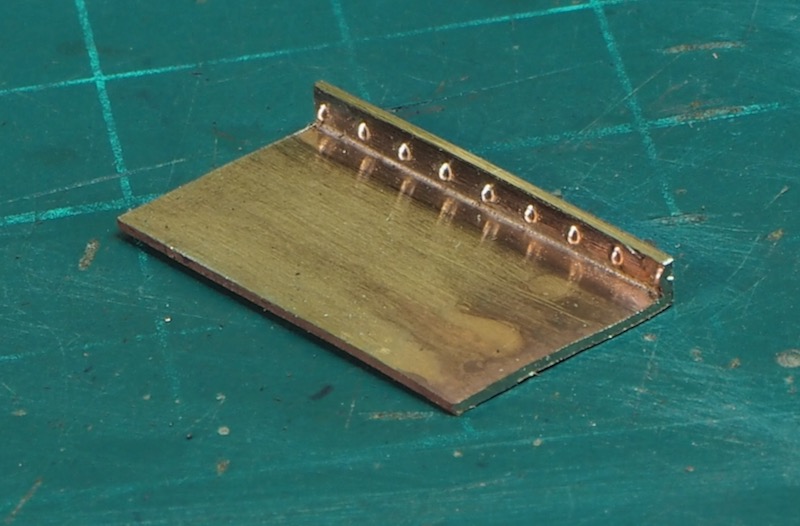
So I can now start cutting out the shape required.
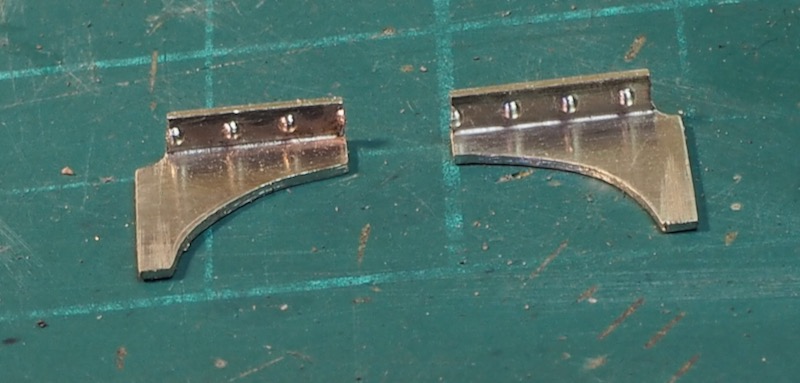
I've not been that rigorous with marking out and cutting to shape hence some rather wayward rivet detail, I was just going off the details on someones workbench, so some of it was a little bit of guesswork. However it's the principle I'm trying to show.

Final photos - a couple of frame support brackets - silver-soldered so that the rivets can be formed cleanly and being silver soldered means that they can be soft soldered to the loco frames with out fear of the joints melting and falling apart.
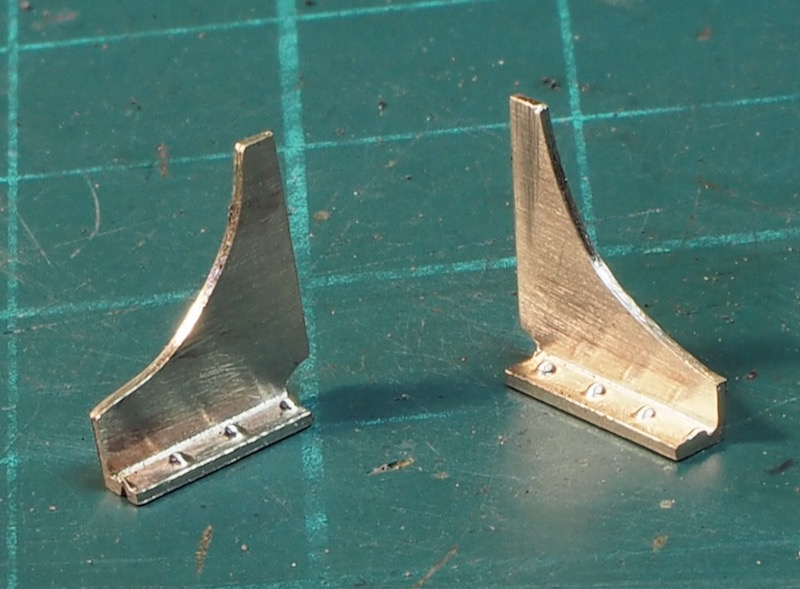
Tanat Valley 3 by Peter Drost

John Borkowski converts Accurascale hopper wagons to S7

The Story of Reeth by Simon Caygill
For further information on the ScaleSeven Group, or if you have any questions: