

Tanat Valley 3 by Peter Drost
This huge S7 layout is still a work in progress after many years of construction it has had a recent name change to Masborough in Emmadale (2021).
This article deals with the integration of the late Steve Baldock's layout into Croscombe and with the techniques Richard uses to build the track work and buildings.
There are photos of the earlier Croscombe trackwork starting here Western Thunder
The more recent developments start here Western Thunder
For some more photos of Masborough in Emmadale/Croscombe Magna, see Heather Kavanagh's album here Snaptophobic Album
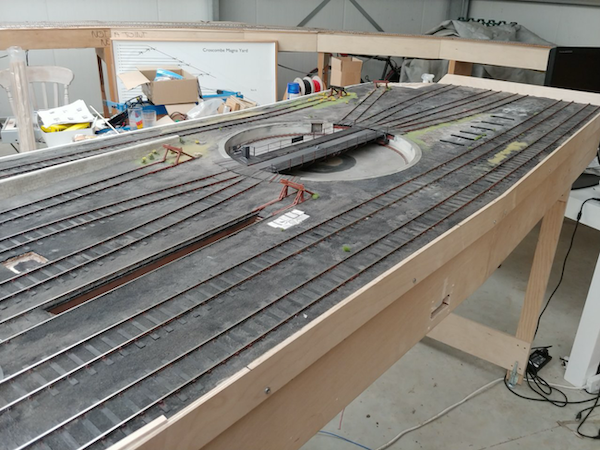
As the virus has banned all my mates from coming round to build the layout for me, I'm now having to do it myself.
Fortunately working at home does give me another 3 hours a day as that's roughly how much time I spend commuting each day even though I only live 25 miles from London. Unfortunately, it's not a holiday I still have plenty of work to do and meetings to attend, but I have been able to make a good deal of progress during the past month.
I was able to acquire the layout that Steve Baldock had started building before he passed away. It was intended to be part of Bath Green Park MPD complete with a lovely turntable.
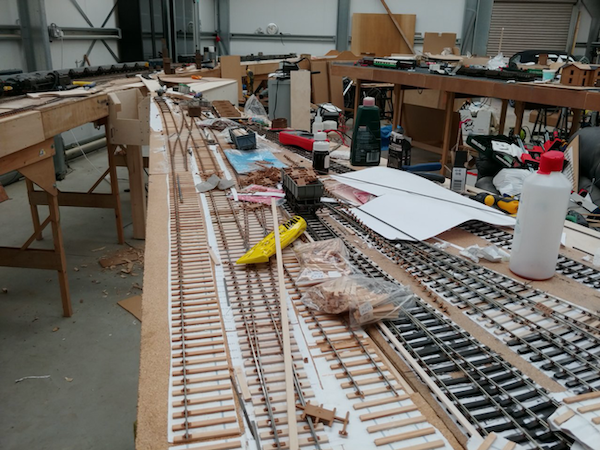
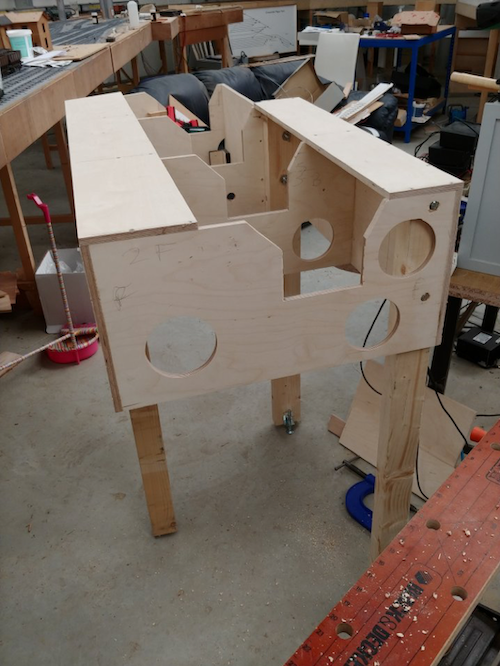
There was still quite a bit of track to build including finishing off 2 double slips, but as building complex trackwork is one of my favourite things that wasn't a problem.
The really BIG problem was how to fit this into the rest of the layout. I had always planned that at some point we would build a branch off into the centre of the layout that would then reverse and go round the inside onto an upper level.
So for the past month I have been learning how to be a carpenter as I have had to build this.
It would have been a lot easier just to build a simple board, but I wanted to have a bridge linking the 2 parts of the layout, so I have created a road running under the tracks from the station area to what will be the diesel depot. 28th March 2020
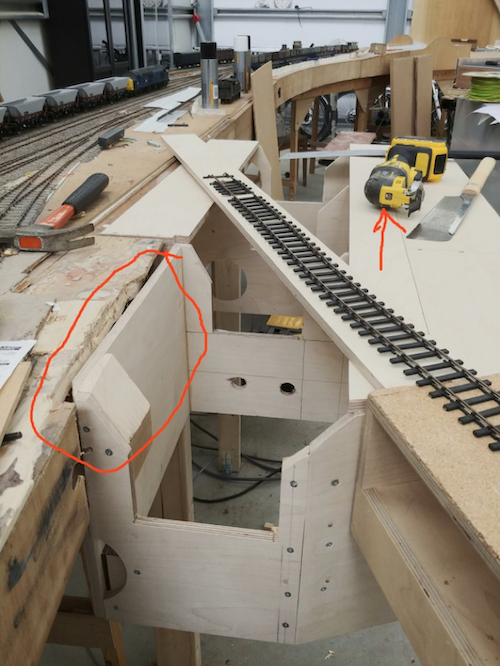
You might be tempted to think that using 12 mm ply is overkill, well I suppose it is, but Steve had built all his boards using it and they are rock solid, so I thought I would continue in the same way. One advantage of 12mm ply is that you can use a dowel jig and join everything with 6mm dowels. I did try one of the cheap plastic jigs to begin with but they are too flexible, they would be fine on thicker pieces of timber, but not on the this. So I bought an all metal jig and it worked just fine.
Once I had built it I had to fit it to the old baseboards, but I had made a small mistake in the design and I had to chop about an inch out on one part of the existing board, marked in red in the photo. The yellow multi tool was the easy way to do this, all done in 5 minutes.
The multi tool has proved very useful indeed.
29th March 2020
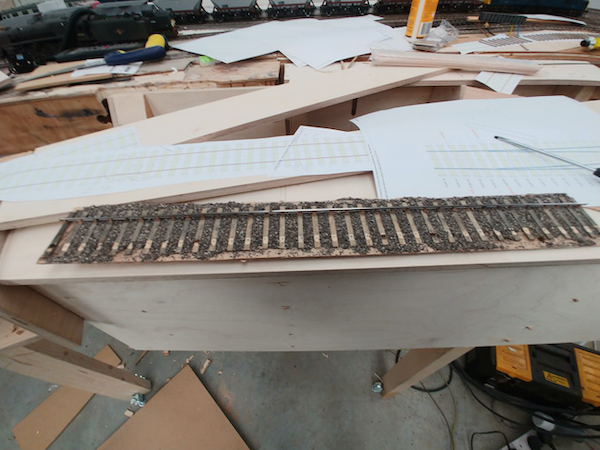
The next task is to dig up the old plain track and put a new point in, sounds easy but it this was in the scenic section and the track was already ballasted. I thought I photographed the 'before the hole' and the 'after' but I can't find them if I did. I removed the track with a chisel but that was far from clean; here's the track after it was removed.
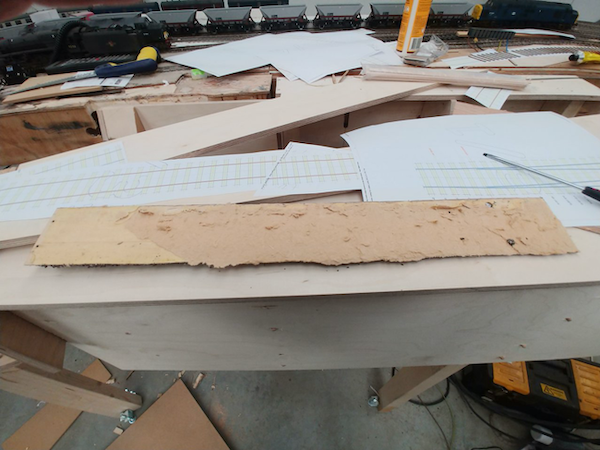
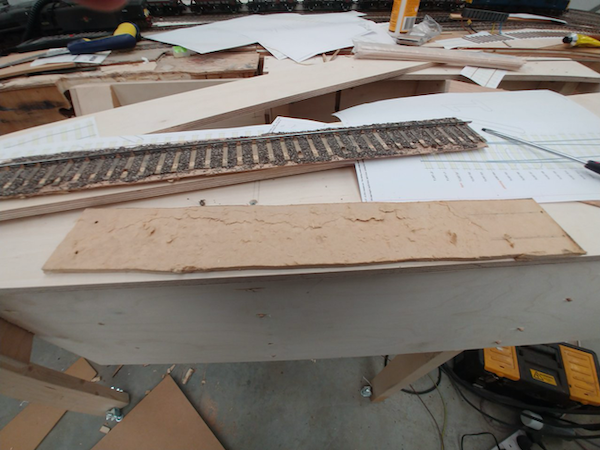
The track had been built on some 1.6mm ply then stuck to the baseboard top with some kind of tape, so it took a part of the MDF baseboard with it. The baseboard top was in three layers, some 6mm ply, a layer of foam and then a final layer of 6mm MDF. So, it was out with the multi tool to cut out the MDF layer, all done in 2 minutes.
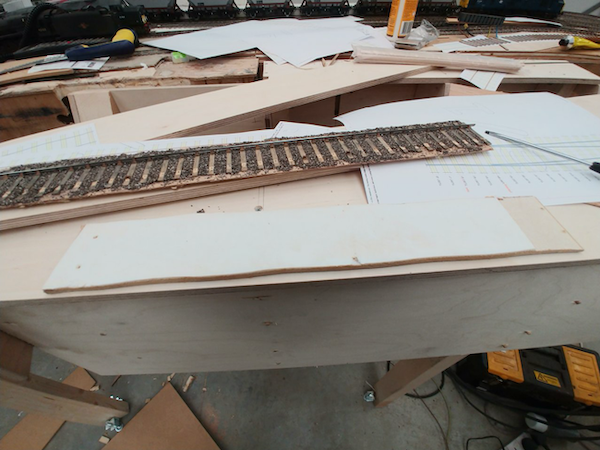
Then very fortunately it turned out that the foam was only glued to the MDF so it came out cleanly too.
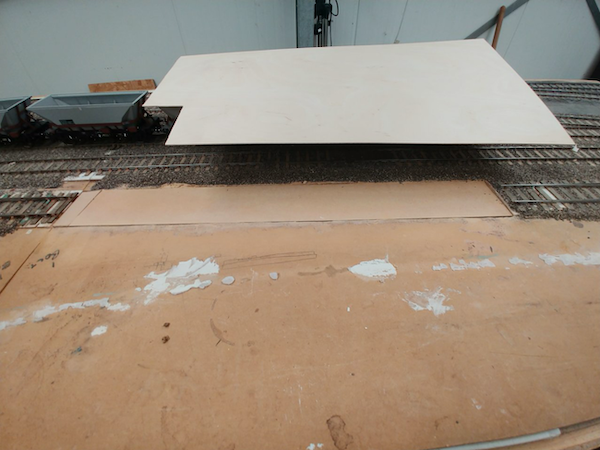
So, here's the new bit all fitted.
30th March 2020
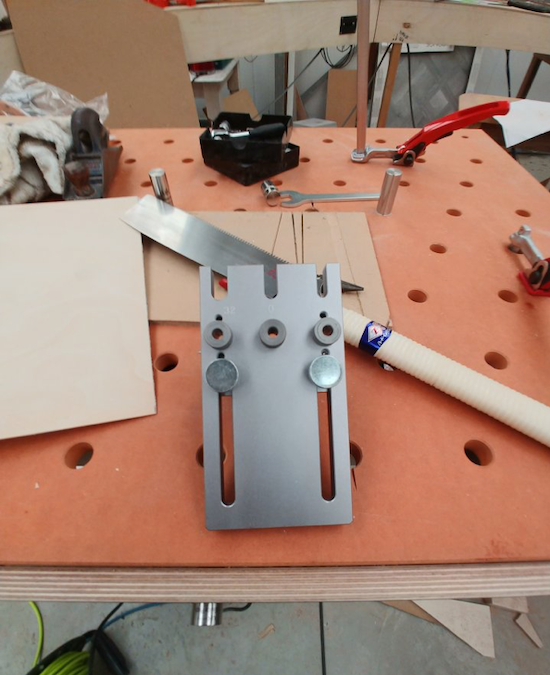
For those interested in some joinery, here's the dowelling jig I have been using, I got it from amazon for £65.
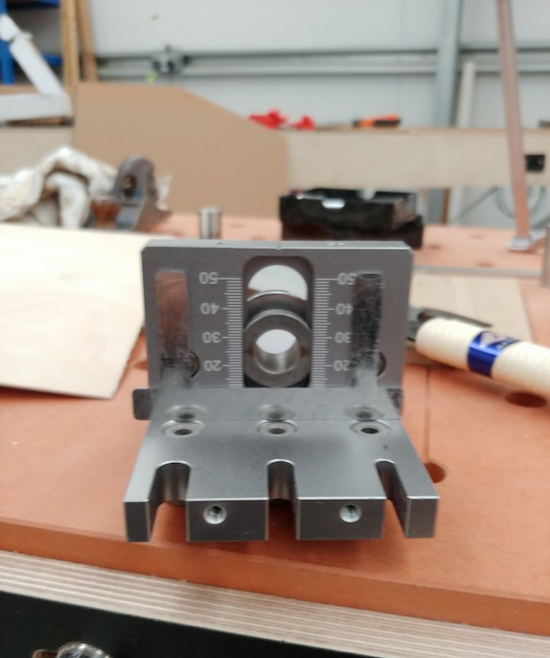
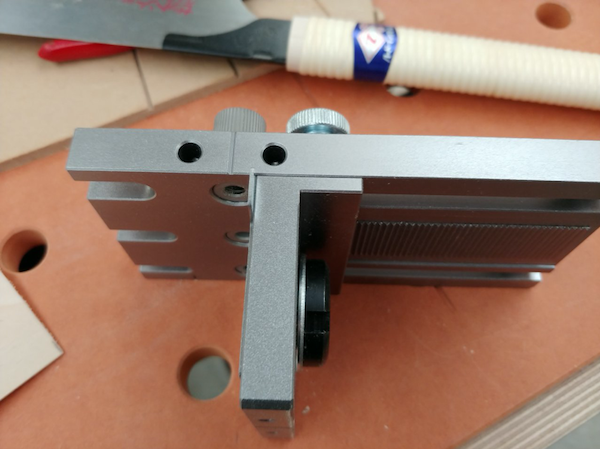
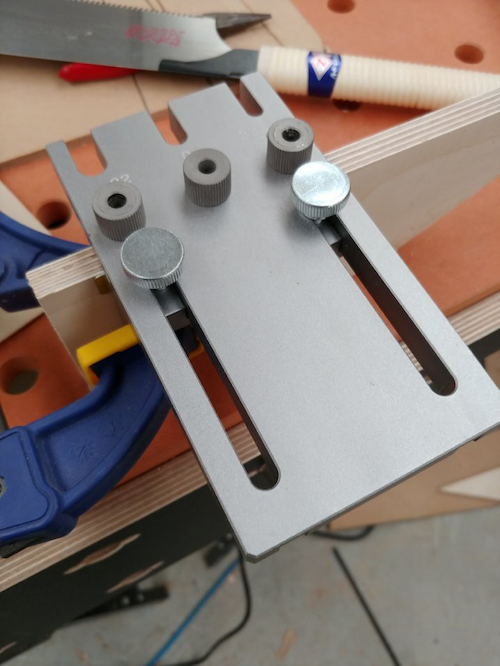
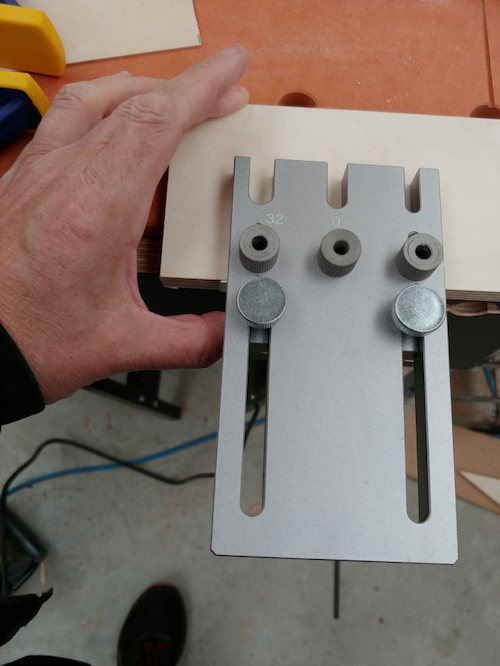
30th March 2020
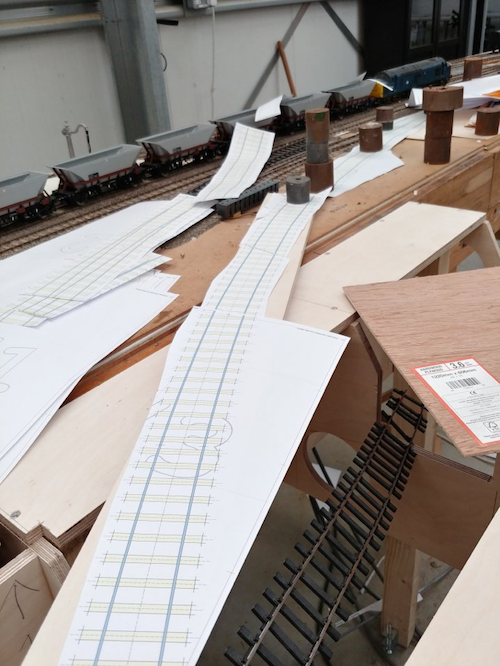
The next bit is building the new point work and curve. I would have preferred to use a B8 and 3 metre curve but the templates showed that this was never going to fit, I have had to use a B7 and 2.5 metre radius curve (about 8 feet), it should still be fine for all the locos and with a check rail added will look the part. Here I am testing the templates and it seems to work.
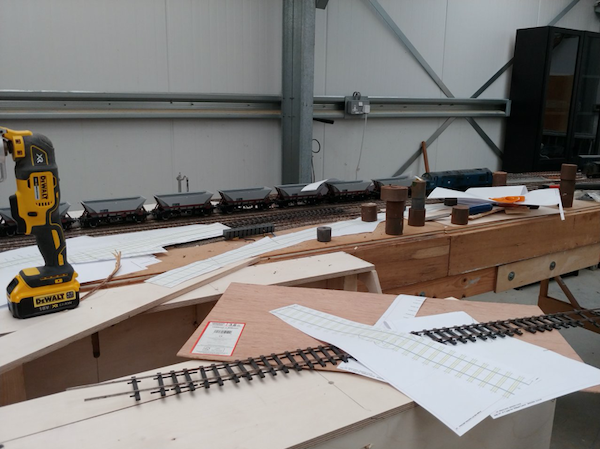
Now it's time to lay some new 1.6mm ply to get the levels right.
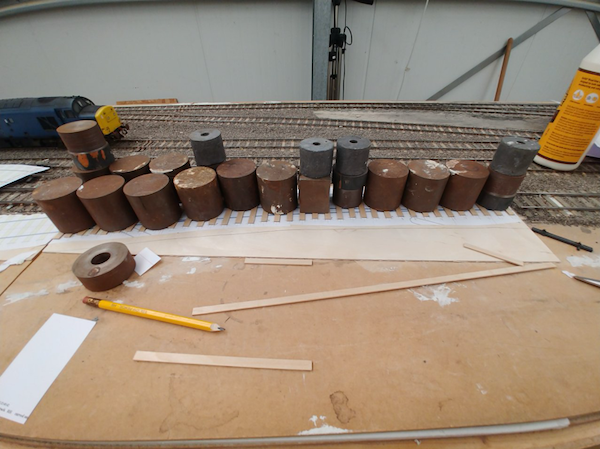
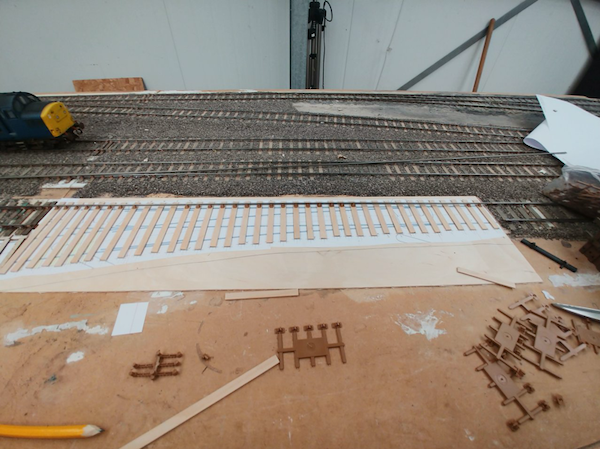
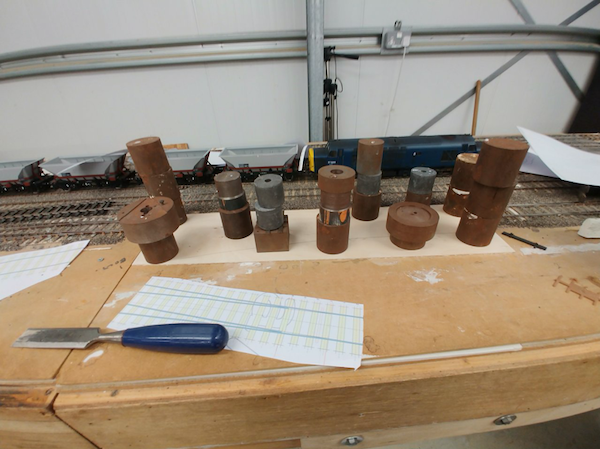
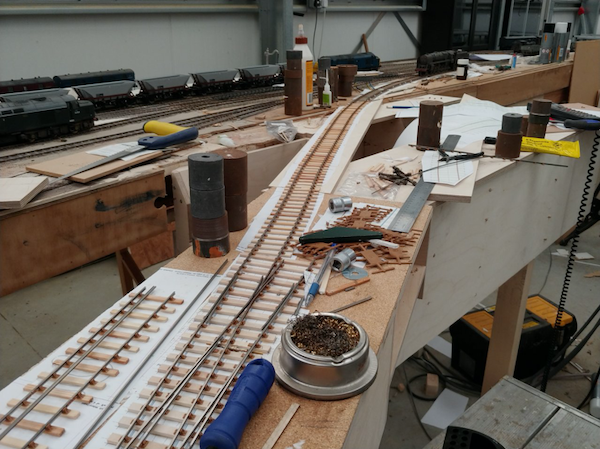
And here the sleepers for the point have been cut and laid on the template from Templot and heavily weighted down to make sure they glue down flat. I use UHU glue to stick them to the template. The template is stuck down with ready mixed wallpaper paste.
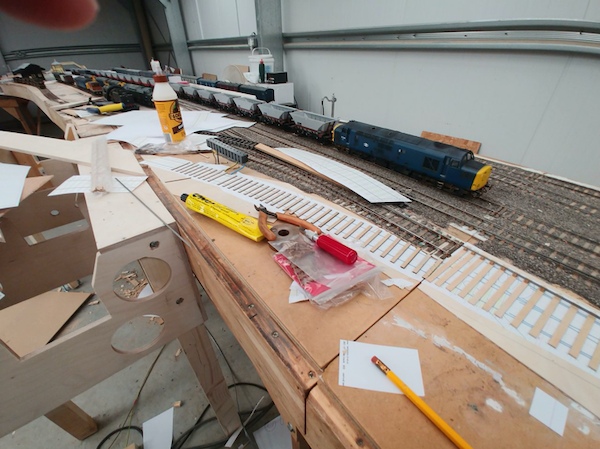
31st March 2020
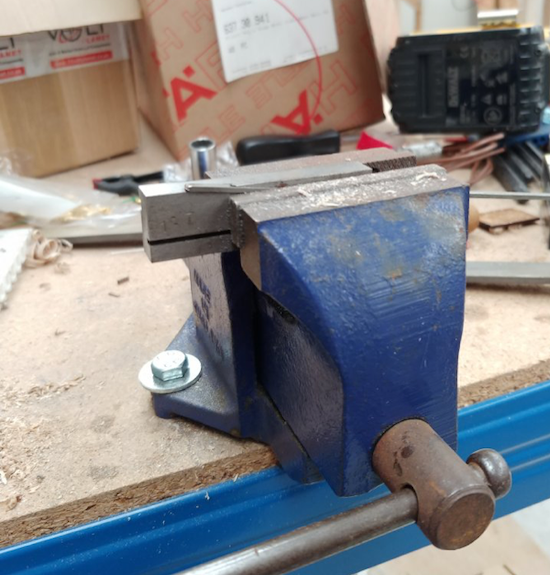
Now the sleepers are down it's time to build some track. The first thing to make is the crossing vee, the S7 Group sell these crossing filing jigs which make it quick and easy to file one up. It then needs soldering together, as I'm using steel rail, so do not use acid-based flux, use a cored flux, if you use acid based flux it will just rust the rail really badly.
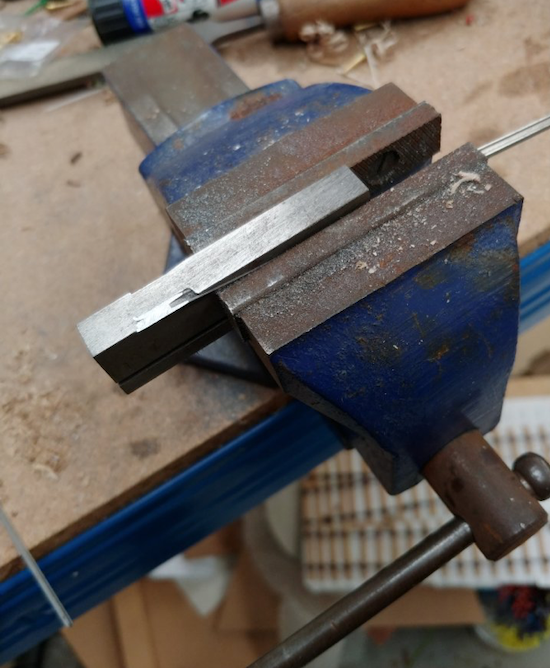
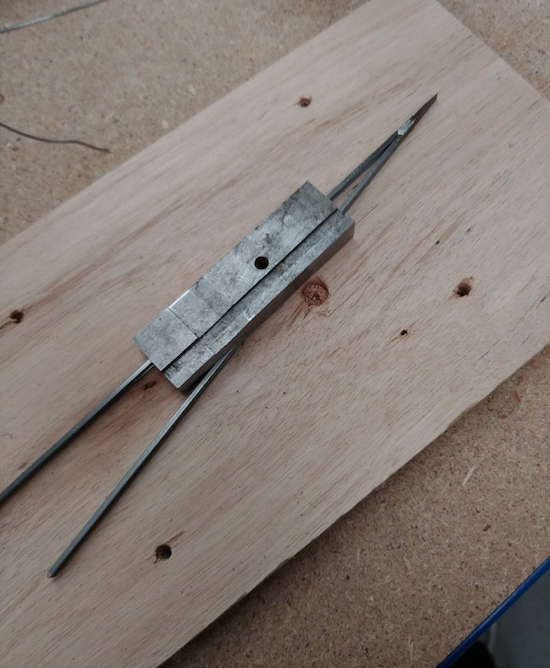
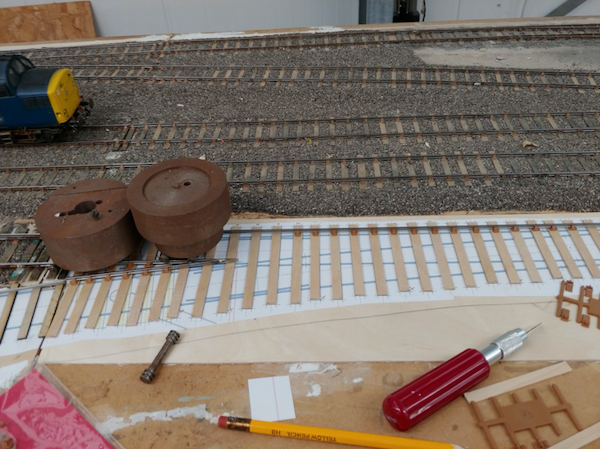
Once you have made the vee it easy to build the point, start by laying the straightest stock rail, here it's easy as it has to match the existing rails regardless of where the template might be.
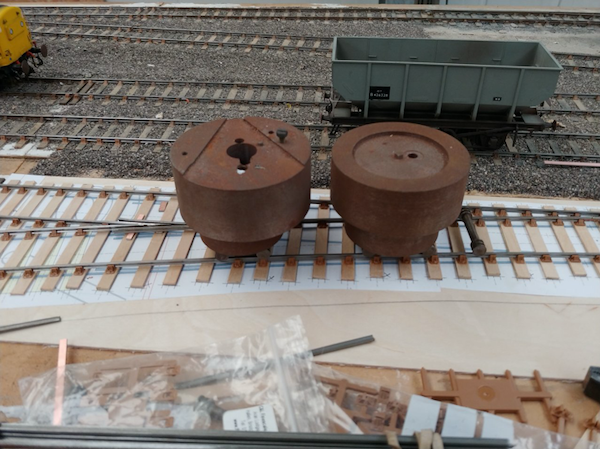
Here I'm adding the vee to the stock rail using 4 track gauges, you need loads of track gauges I would suggest at least 10 to make life easy.
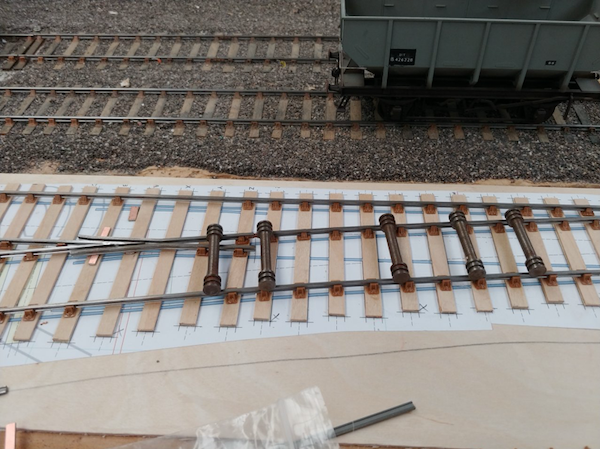
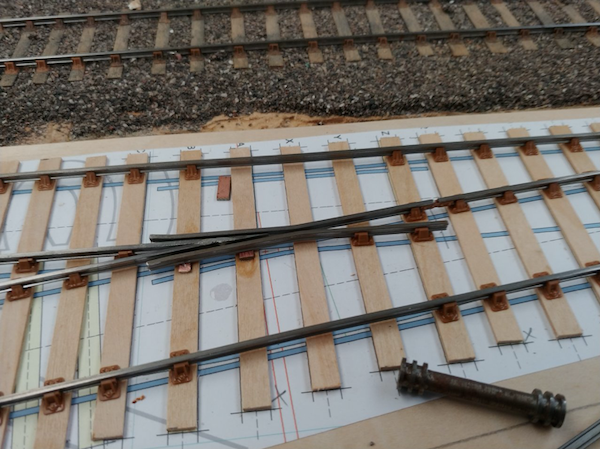
The wing rails are the other tricky parts to form, I use the filing jig to help bend the rail to the right angle, I prefer to use a long piece of rail, fitted in the cross slot of the jig then bend it straight, I should have taken a photo of this, with a long piece of rail you can easily see if it is truly straight and therefore bent to the correct angle, then cut it to size.
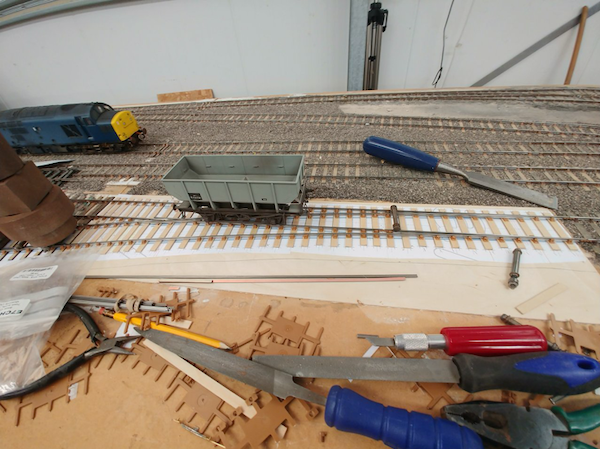
I use some 1mm copper clad to support the crossing. I have super glued it to the sleepers, then you can solder it to the rail or super glue it to rail if you prefer, which I have done here.
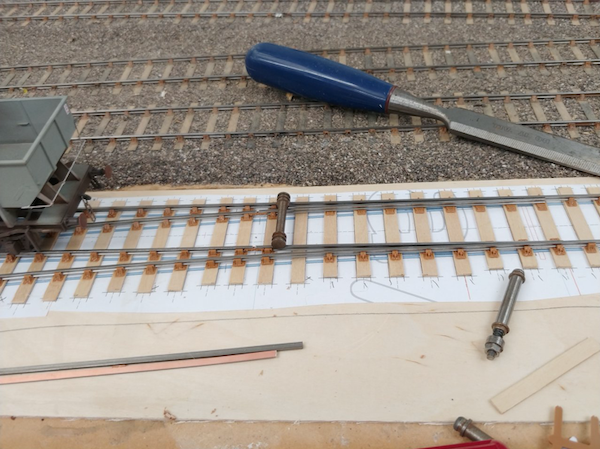
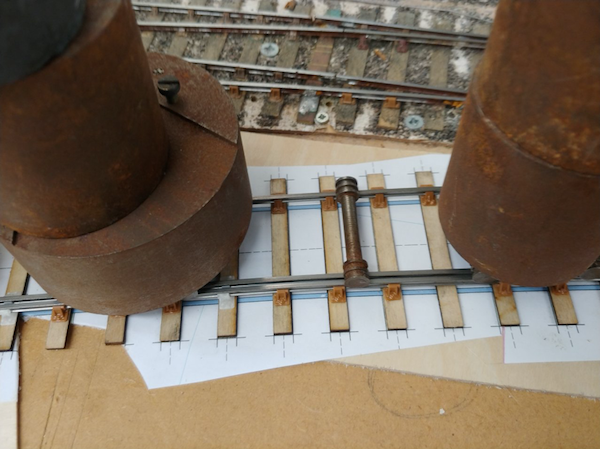
Here I am fixing down the second point blade, these were made by friend who is a whizz with a milling machine.
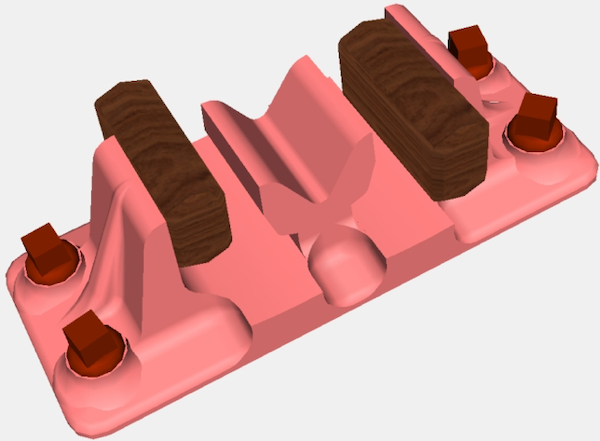
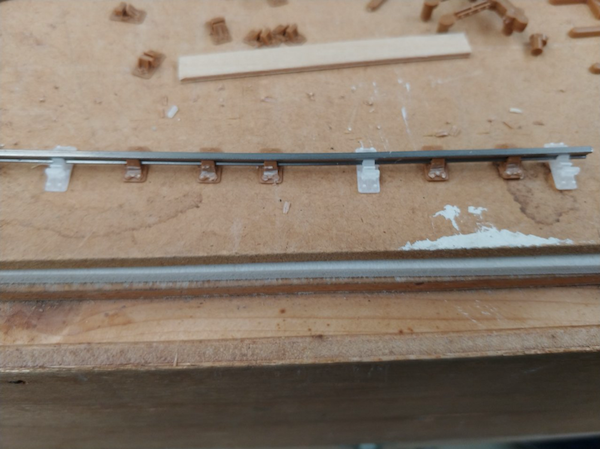
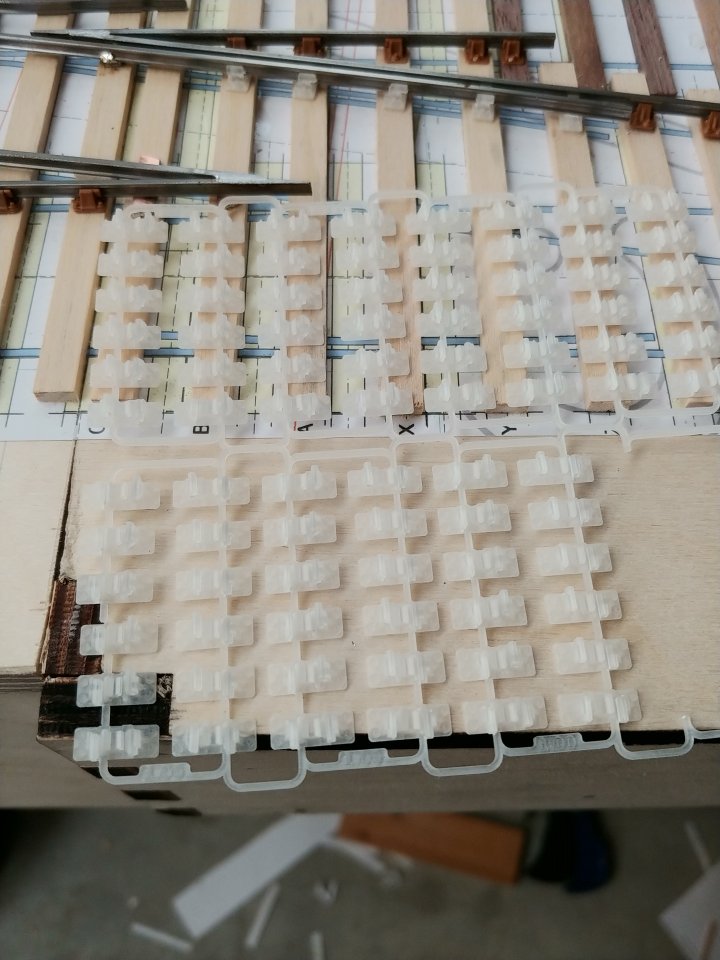
Finally, I also started to fix the check rail curve using some O check rail chairs drawn by David Rayner and manufactured by Shapeways. Available from the Off The Rails shop if anybody else is interested. (See photo below.) The check rail chair is the white one; I used 4. This was enough to get the rail in the right place.
1st Apr 2020
It's now all complete the first loco has crossed the bridge and if a 9F can get round, I'm sure anything else will.
There was still a bit to do from the last post so here are a few photos of the work that was undertaken.
These are checkrail chairs from Off the Rails, I don't have enough to use one for each sleeper but this was enough, just remember to hack back the ordinary chairs so that the check rail fits.
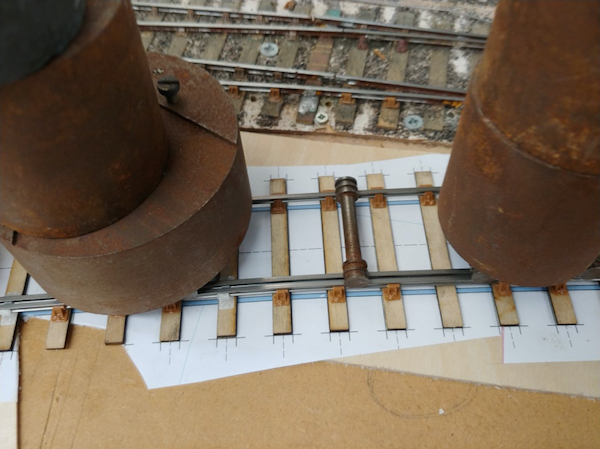
Here it is going in
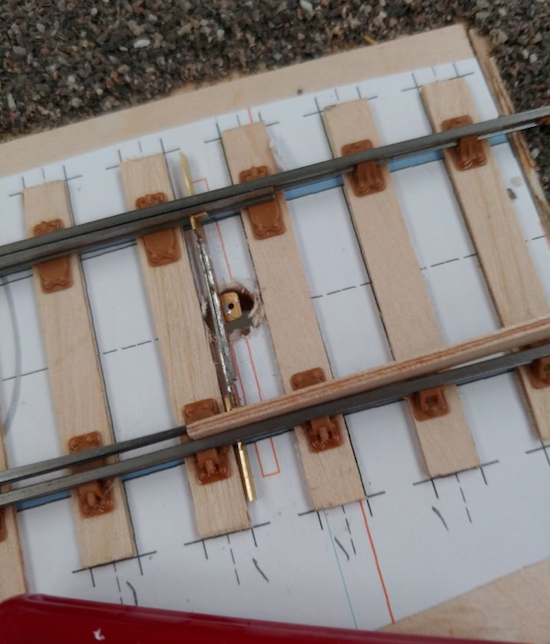
This is the tie bar for the point, these come from MM1 (JLTRT) they are 2 part etch that is joined by soldering in a thin sandwich of 0.6mm PCB.
Robust and effective but not hugely prototypical.
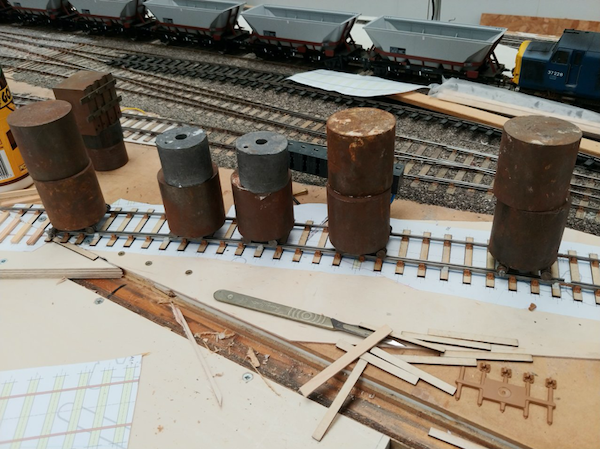
Back to the check rail.
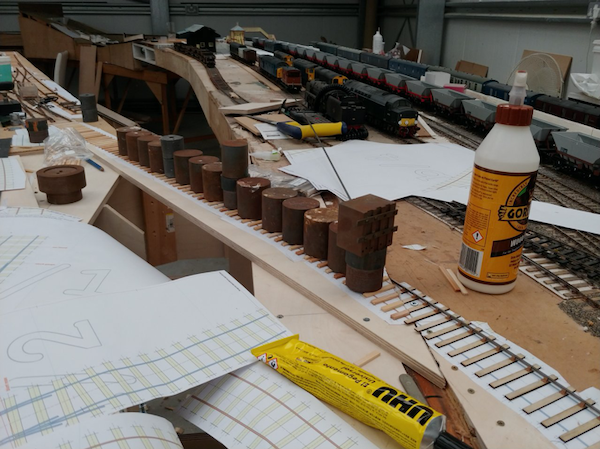
More sleepers going down.
The completed track.
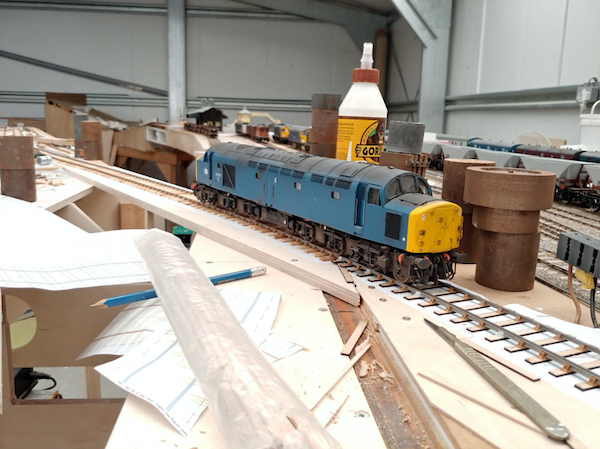
And the 40 goes round too.
4th Apr 2020
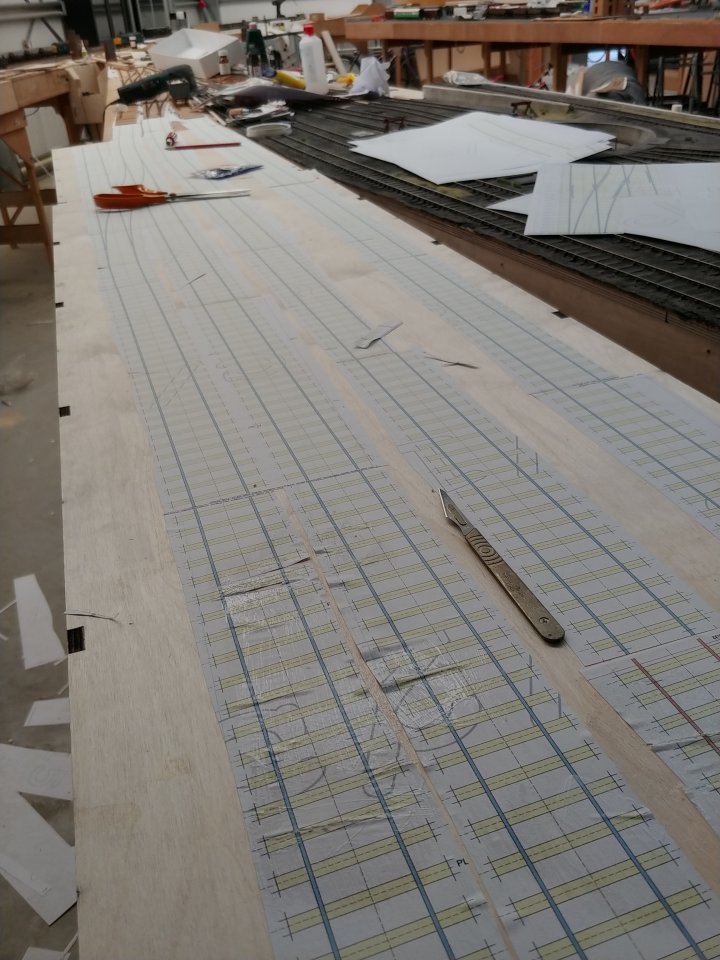
Progress has slowed down a bit over the past couple of weeks largely because I have been very busy with work, that is now going very well with everyone working at home.
Most of the progress has been fairly boring stuff; gluing the down the Templot templates and then sticking down 1,000 sleepers, what a chore!
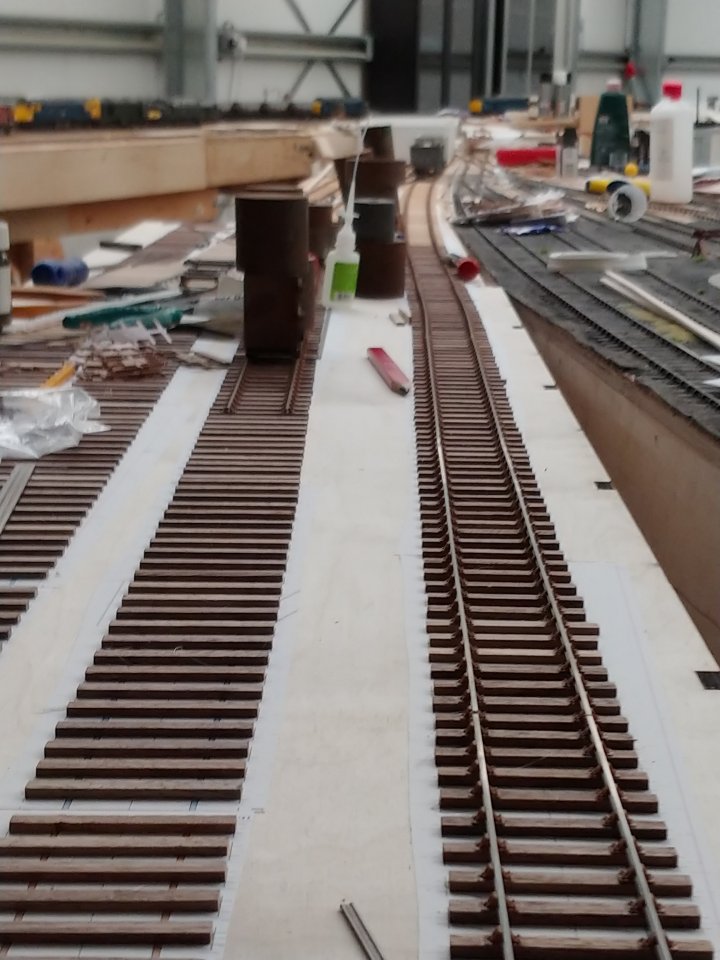
But it is all getting there slowly
It's not really as kinked as it looks!
There is one more crossover to build, this time a B6 as it is the link onto the cripple road.
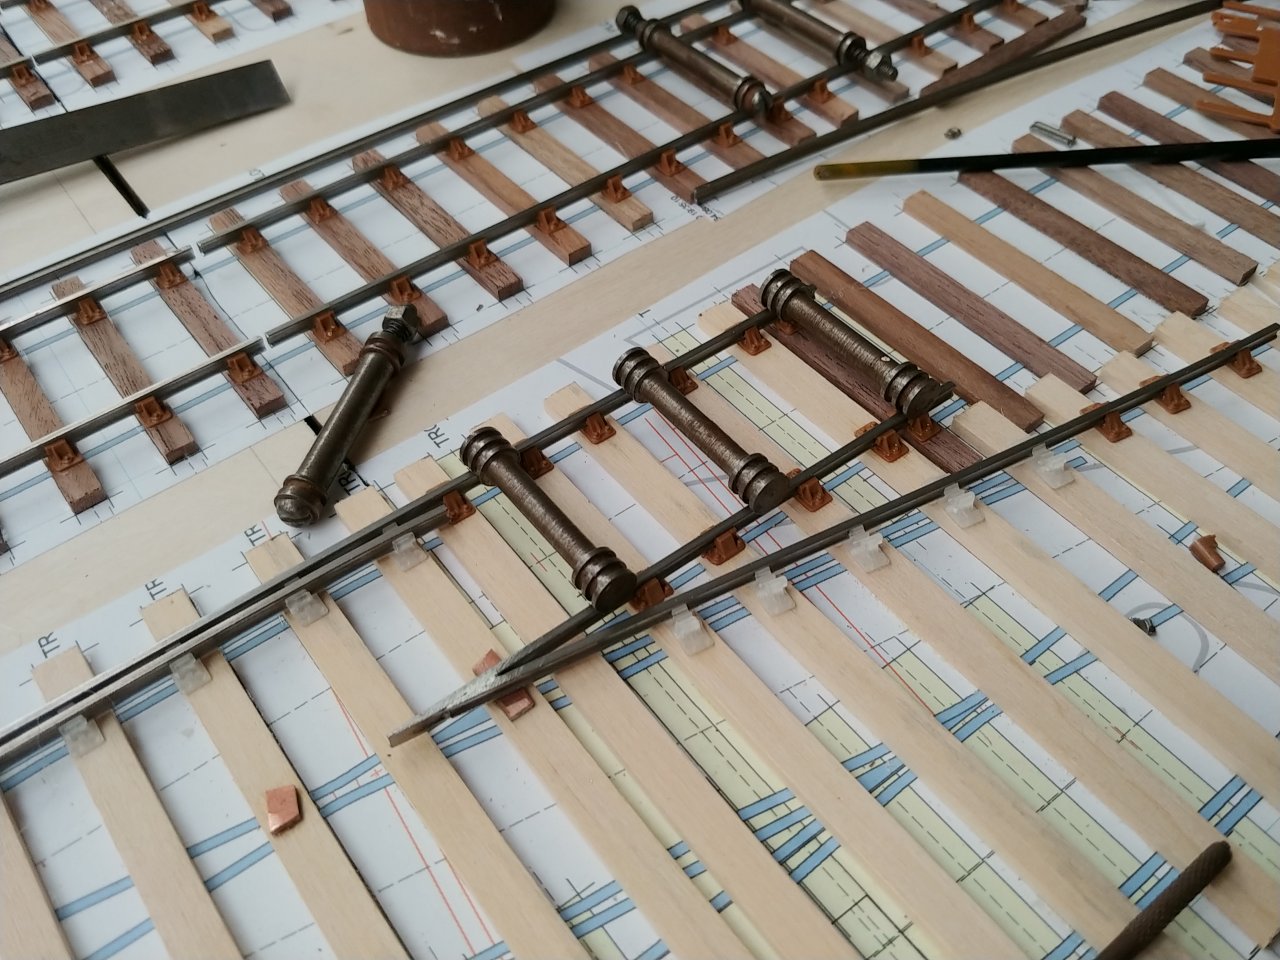
I did get a batch of the check rail chairs from Shapeways, so now is chance to use them.
They look really nice and work really well, so I will be using more in future.
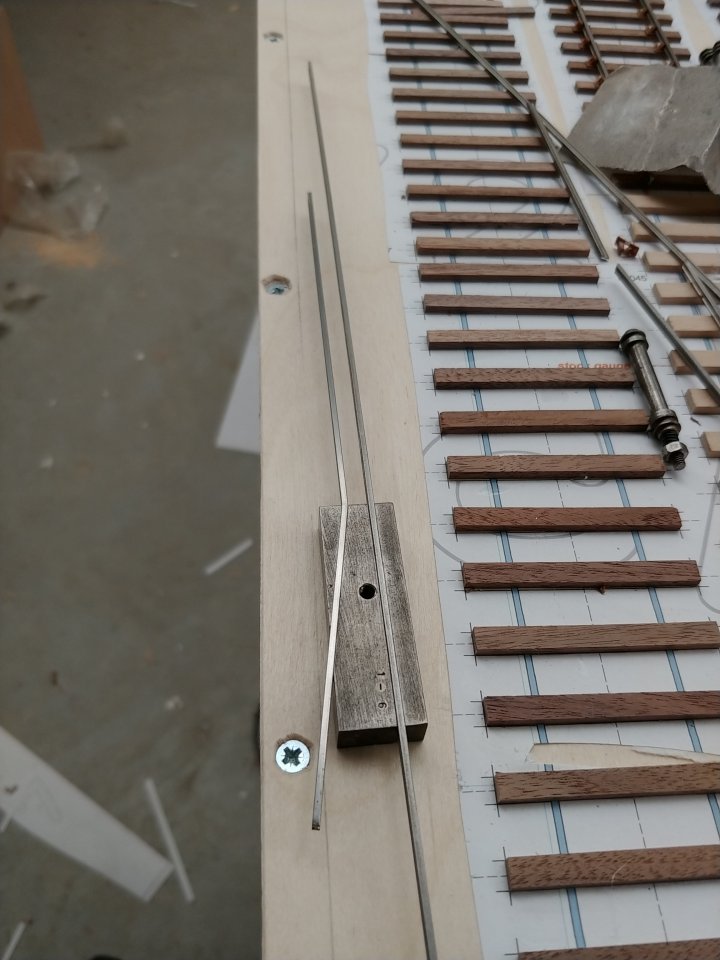
The trickiest thing I find with track building is bending the wing rails to the right angle.
I use the filing jig to help and bend the wing rail from a long piece of rail, I also put a piece of straight rail in the jig so if the 2 are parallel then you must have bent it to the correct angle, like this.
This one is parallel, I also need a long wing rail for this crossover as it also forms the check rail for the other point.
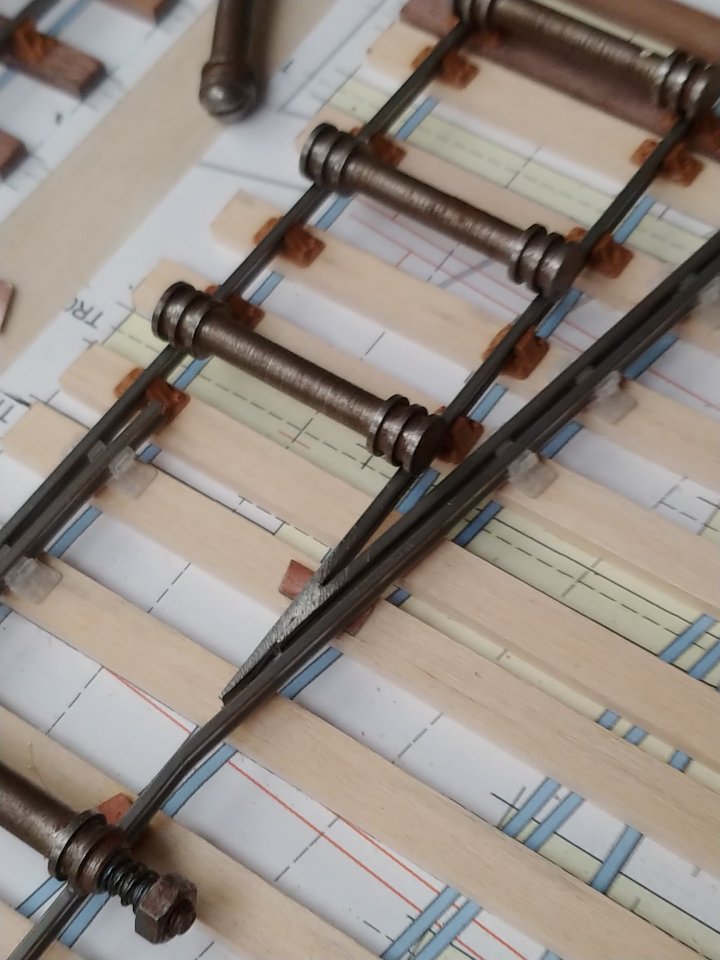
Here is the wing rail being test fitted and ready to mark to cut it to the correct length.
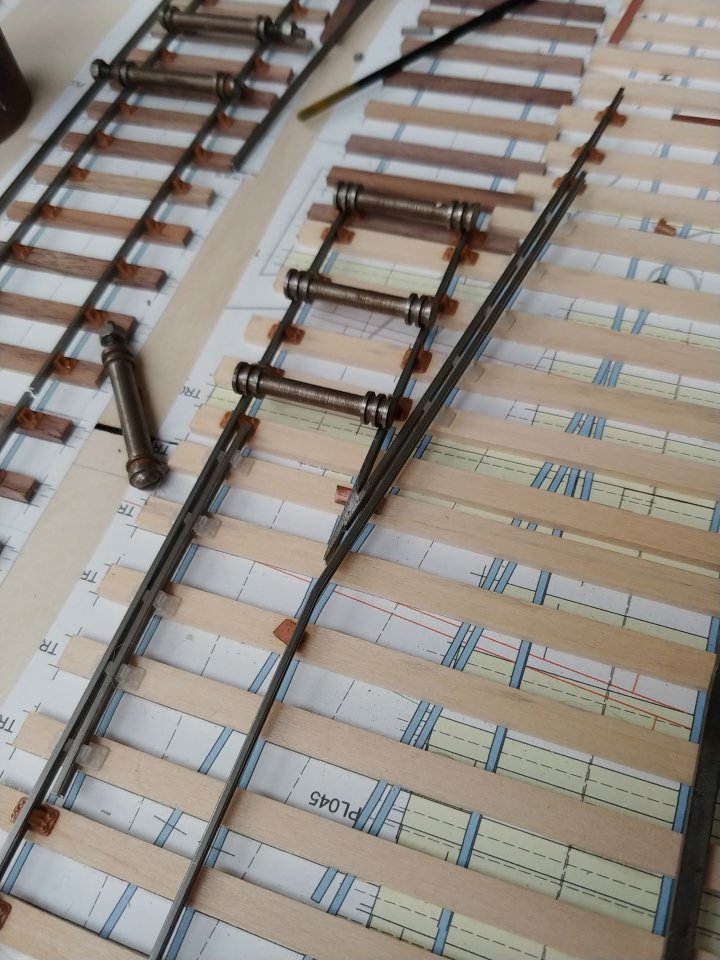
And here it is fitted in place.
A perfect fit.
4th May 2020
Work on the crossover is progressing.
Here are the check rail chairs you can get from Shapeways
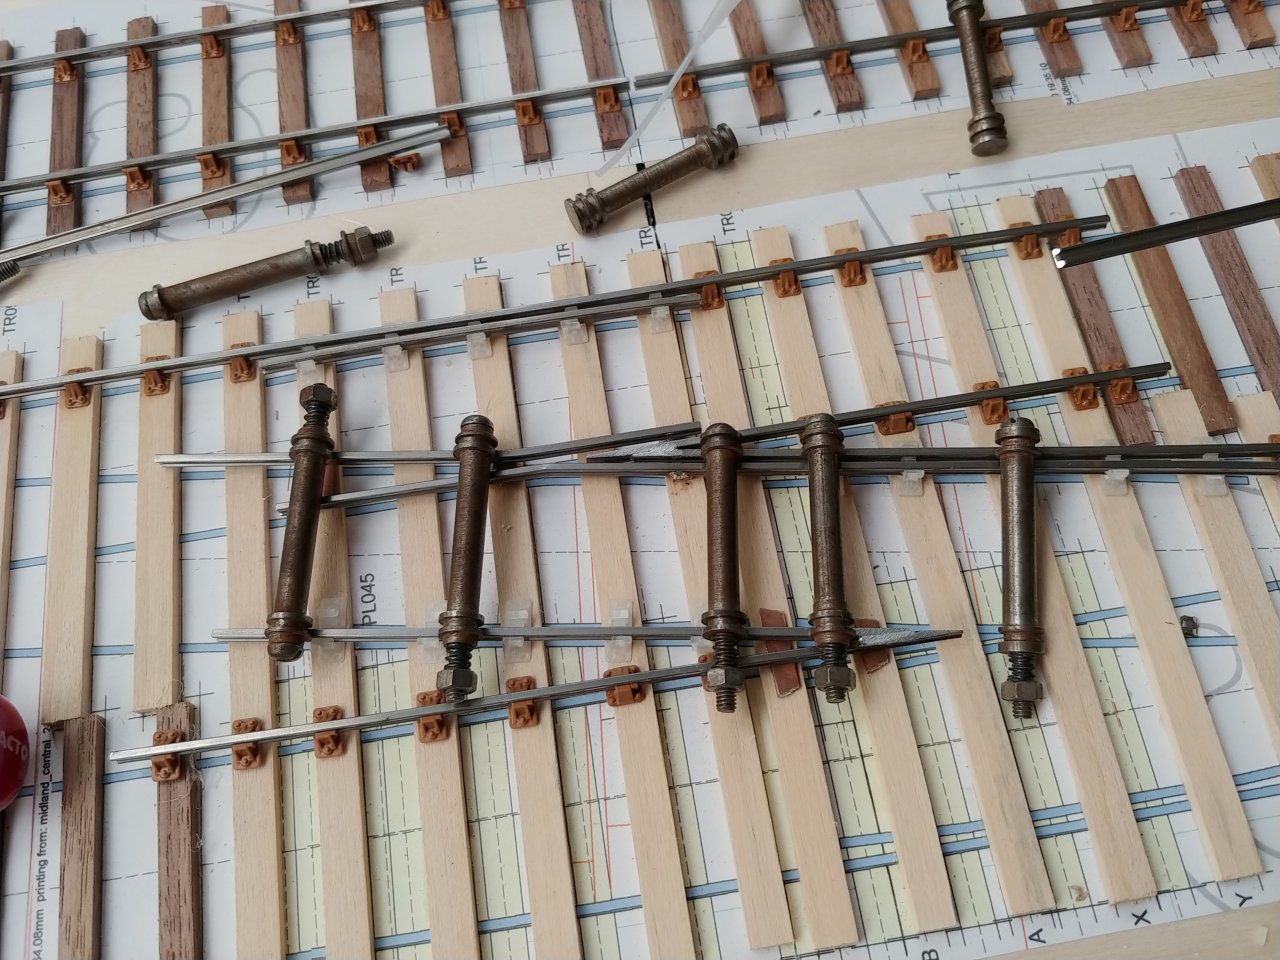
The second crossing goes in next
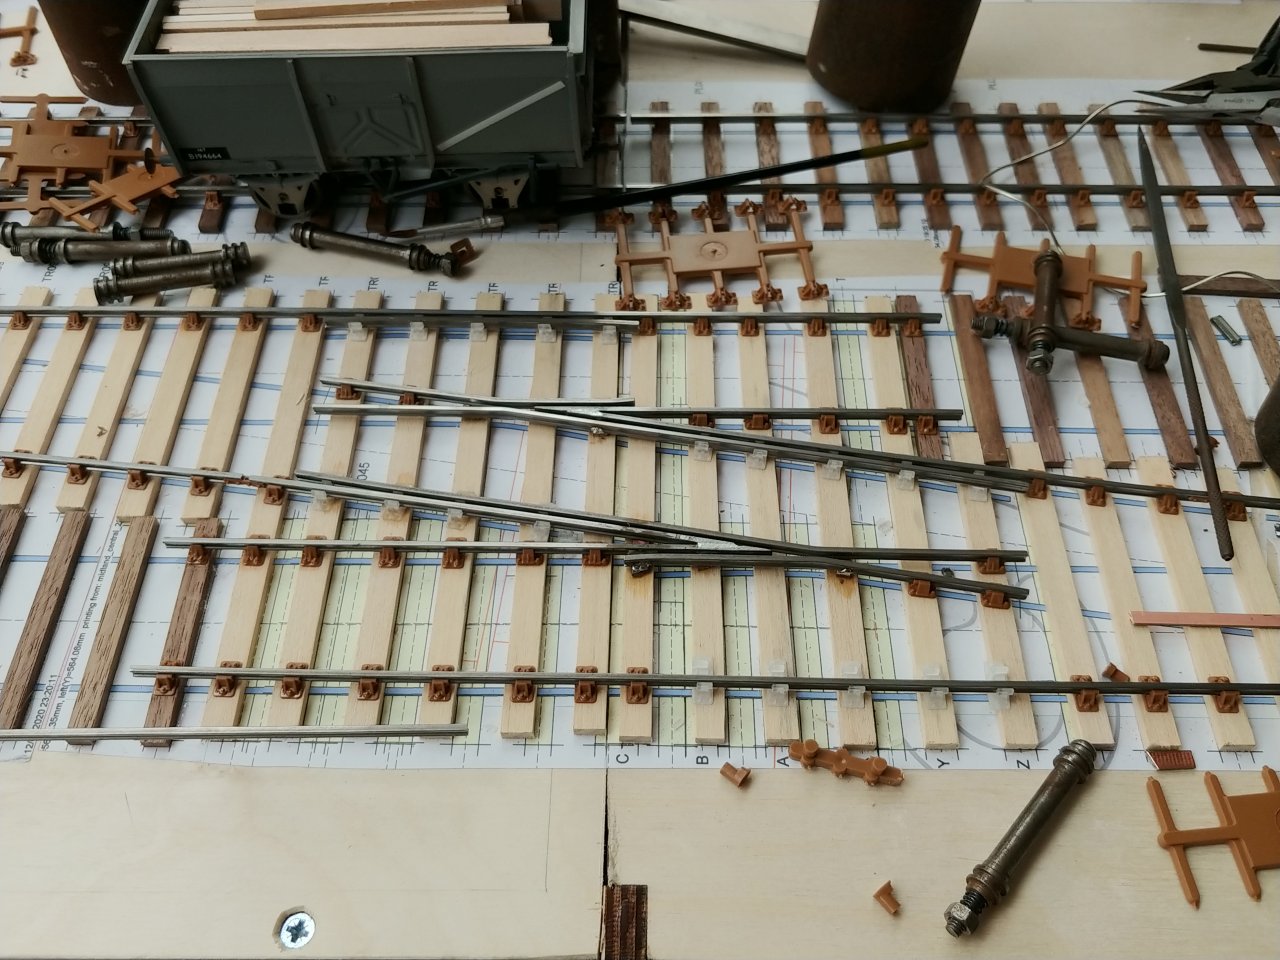
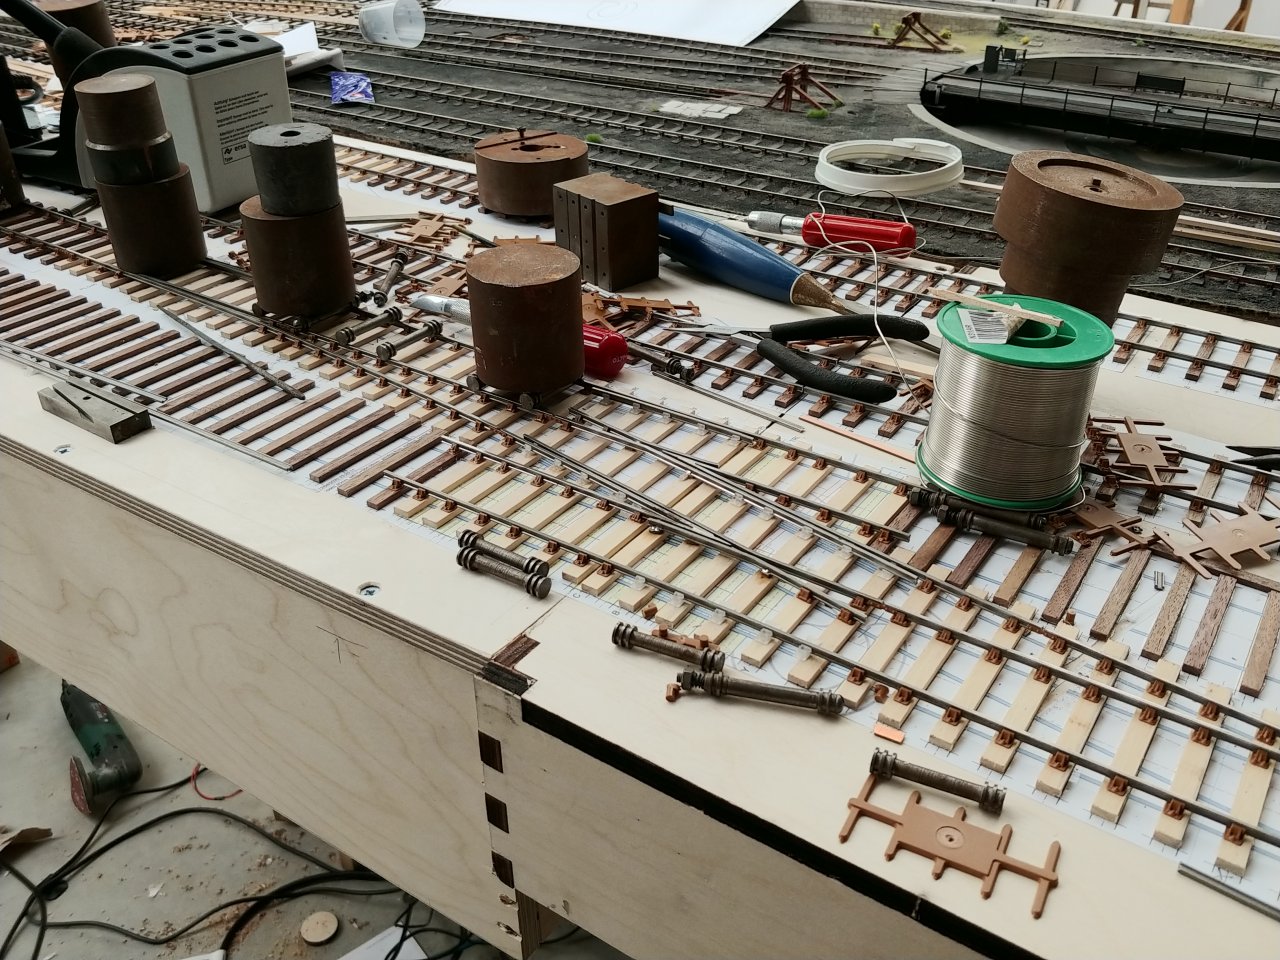
And from there it all comes together very quickly

There is a bit of detailing to do and the tie bars to be added but that's it.
6th May 2020
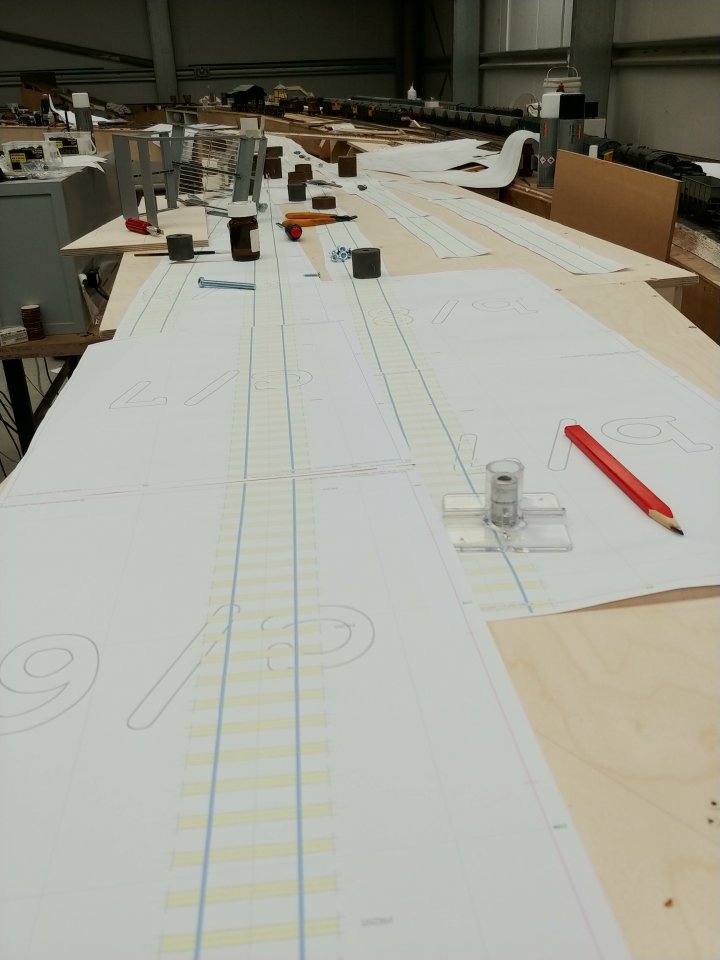
I'm sorry that there hasn't been an update for a while now, but unfortunately I've been very busy working!
I have managed to make a bit of progress, the boards for the diesel depot are now complete.
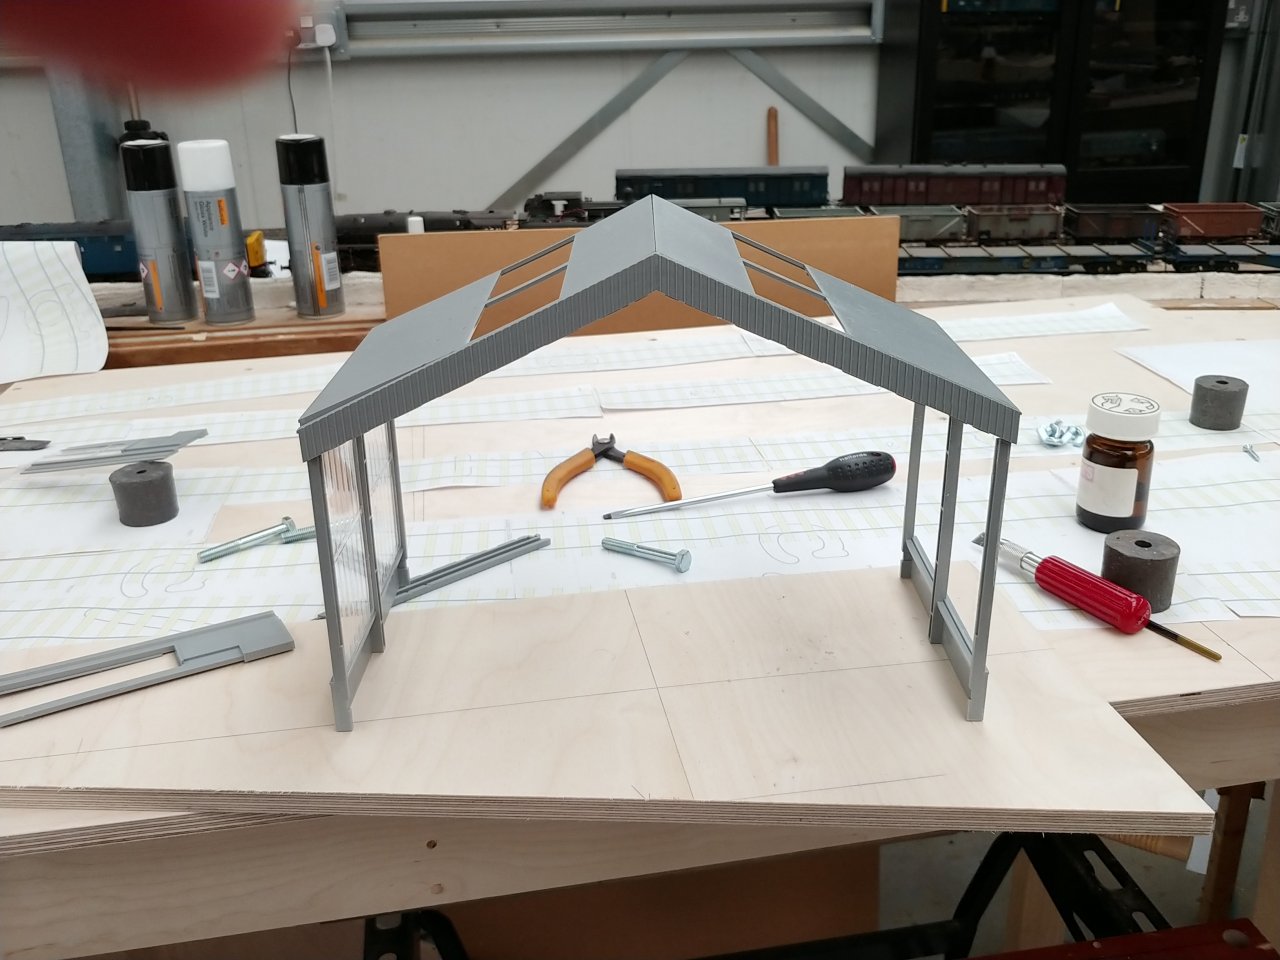
This is the beginning of one of the Heljan Diesel depot buildings, it is a good representation of a standard Eastern Region diesel depot, or at least it will be when it is finished.
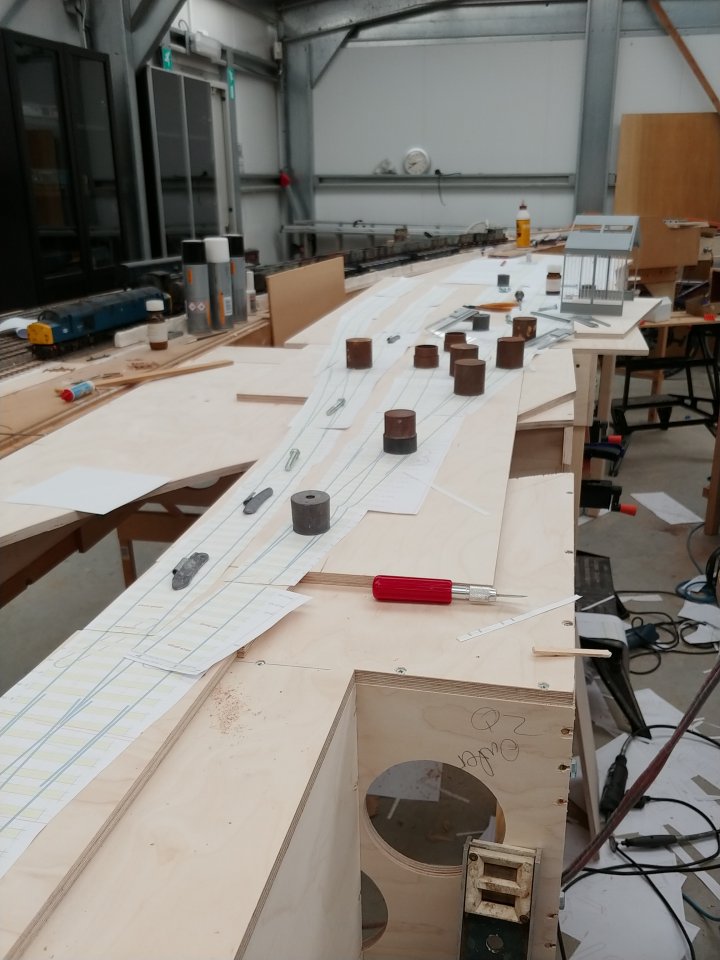
What is surprising is just how much space is needed to squeeze in a relatively small diesel depot, the new boards are 12 feet long and there is only just enough room for 4 roads using B7 points.
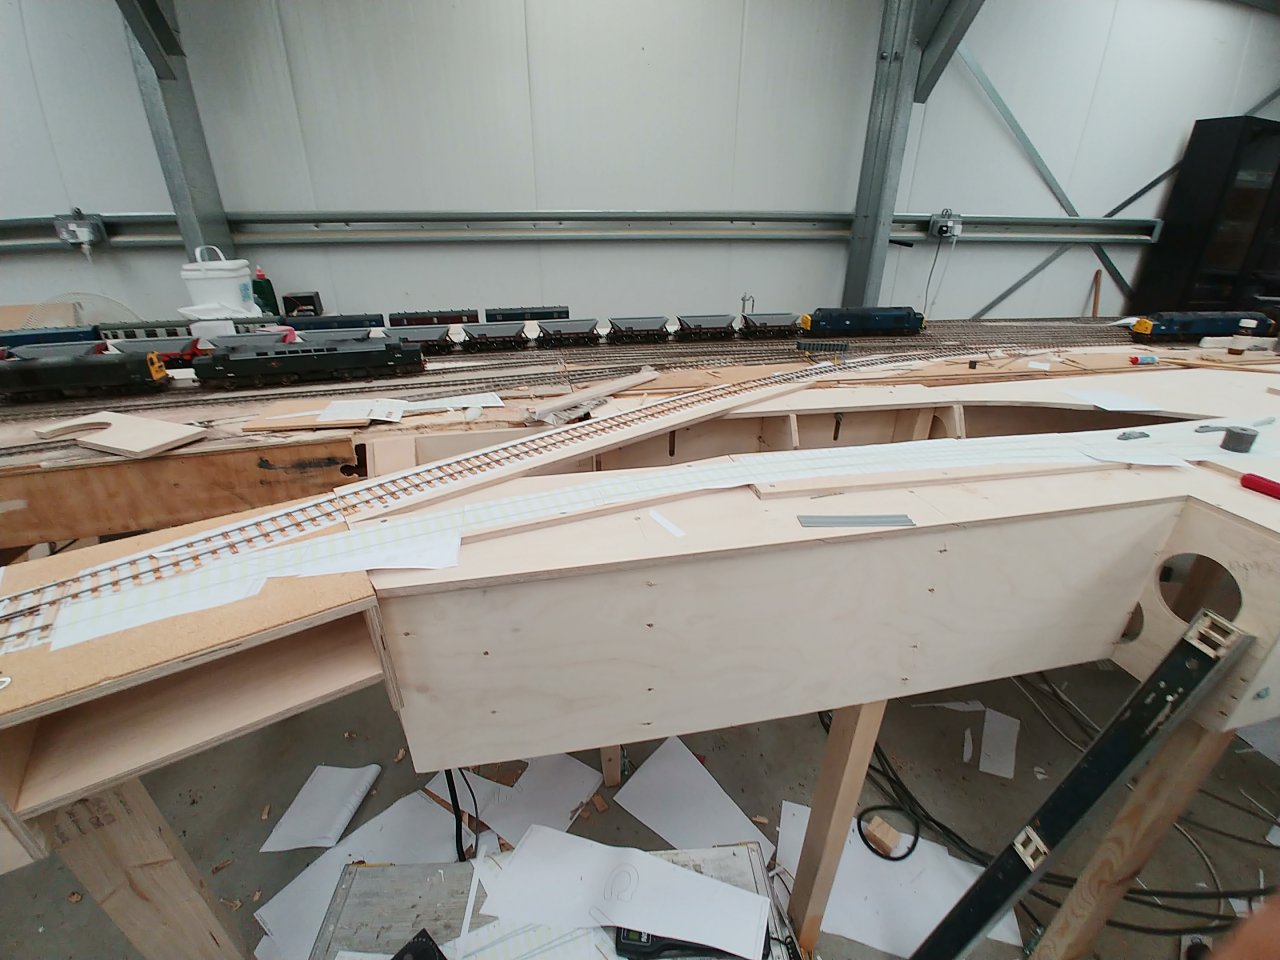
This is the link with the steam depot and exchange sidings, a nice 8-foot curve that will need a check rail all the way round.
13th July 2020
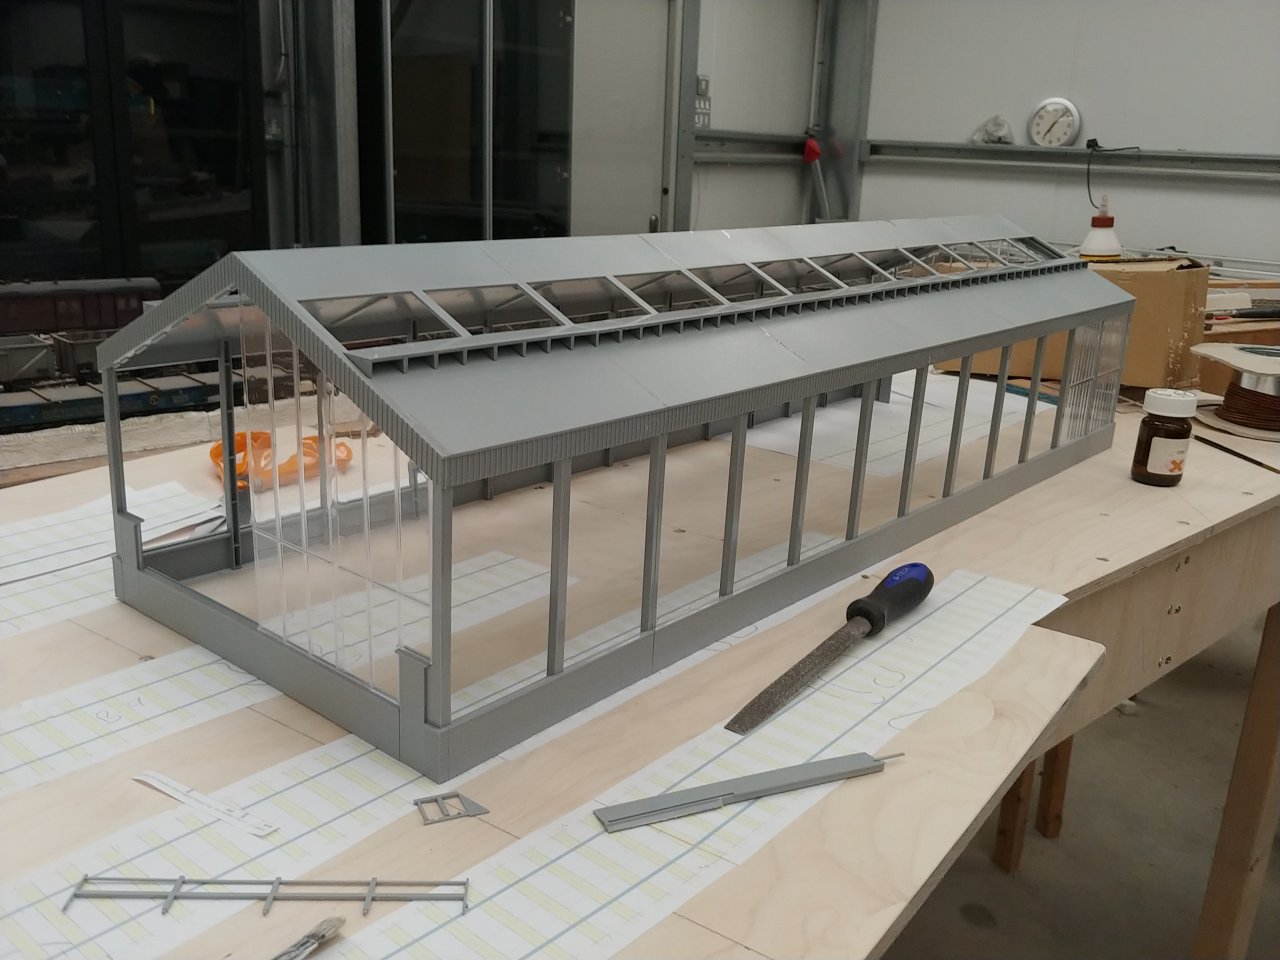
A bit more progress, this time with buildings.
First up is the Diesel depot, this is the Heljan kit with one of the extension kits, so it is 900mm long in total.
I think it is a pretty good representation of an Eastern Region BR shed.
There is still a lot to do but you can see the basic shape taking place.
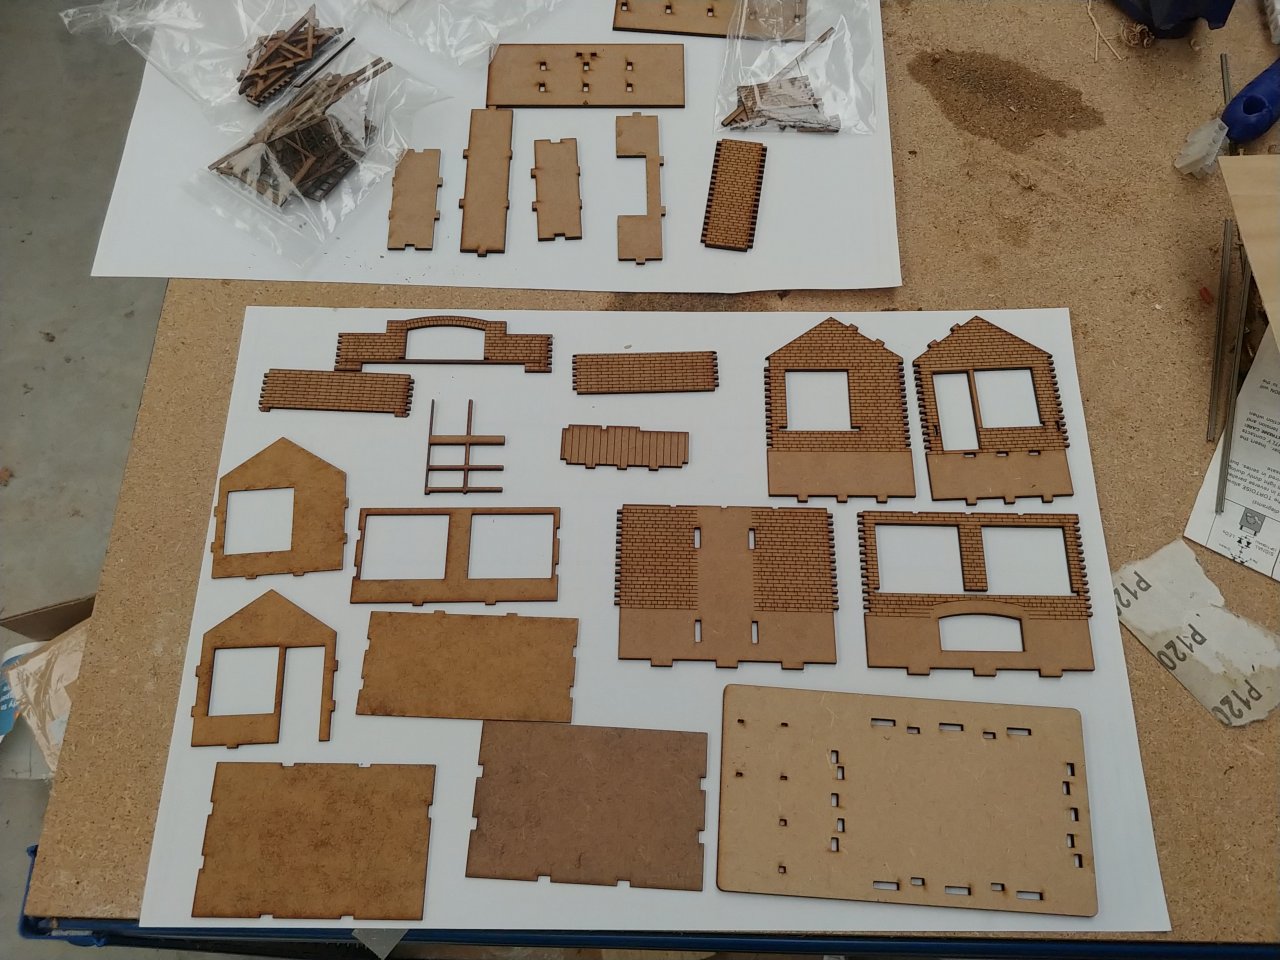
The next building is a NER signal box. This is a kit from Intentio Models which is run by BrushType4/Phil Healey Pearce.
The kit doesn't come with any instructions, but they are described as intuitive.
Here's all the big bits:
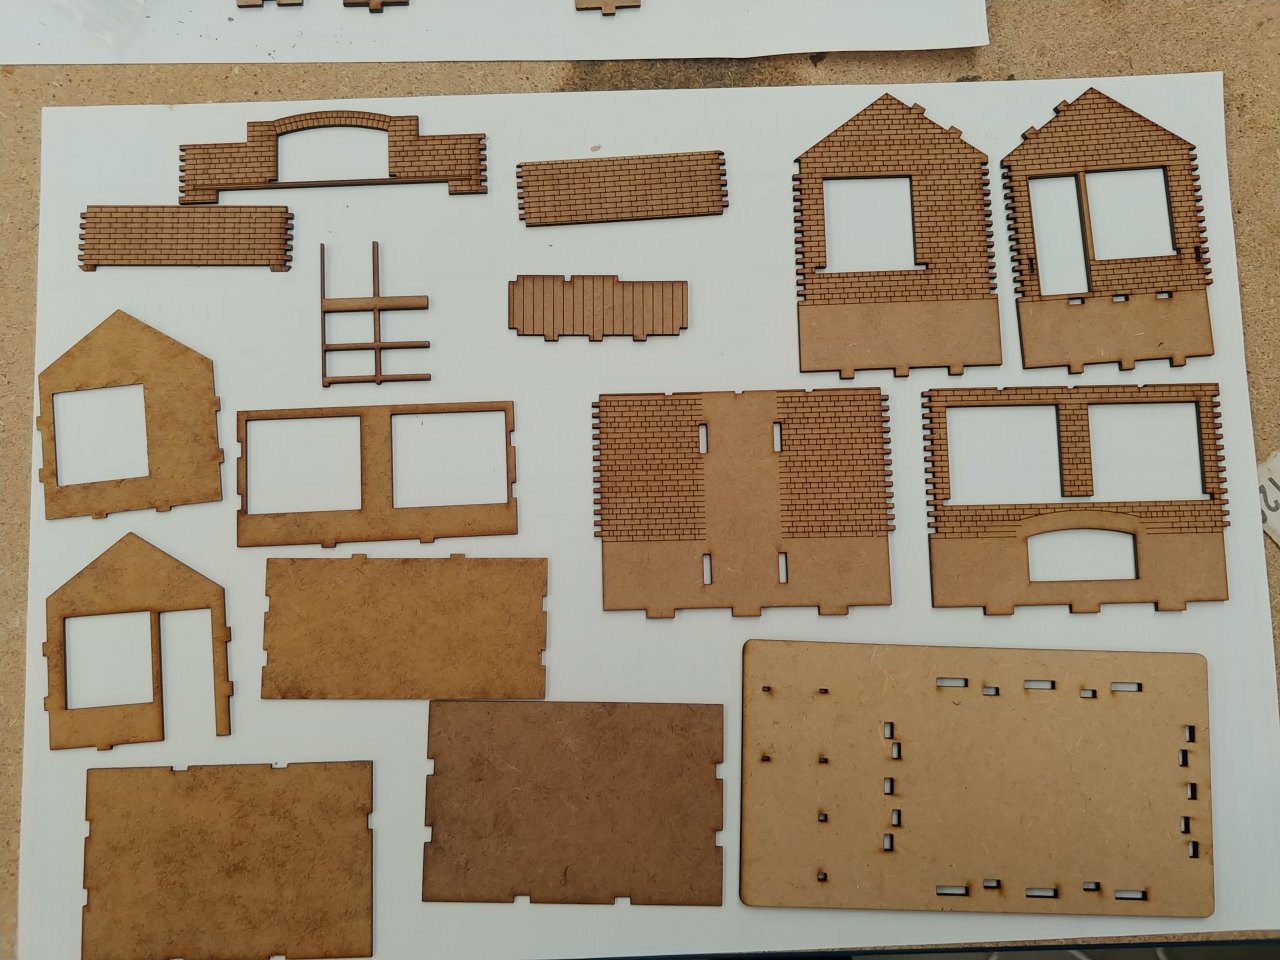
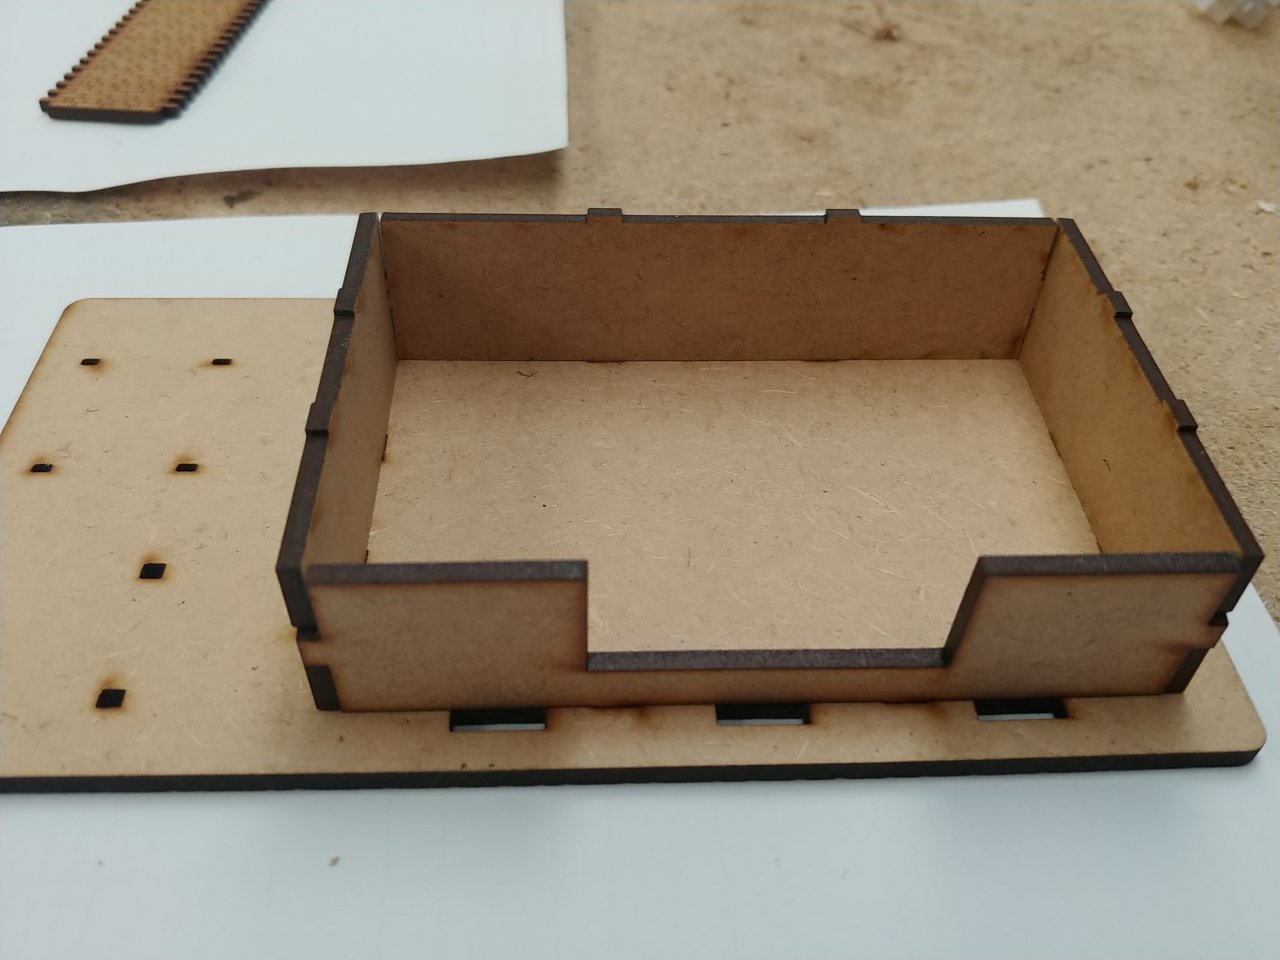
I then started on a dry run to work out where all the bits go, it is reasonably intuitive, but I did have to ask Phil about the base as it does matter which way up it goes. The base is the correct way up in the photo above and if you think about it, it must be that way for everything to fit.
First the inner lower sides on which the signal box floor will sit.
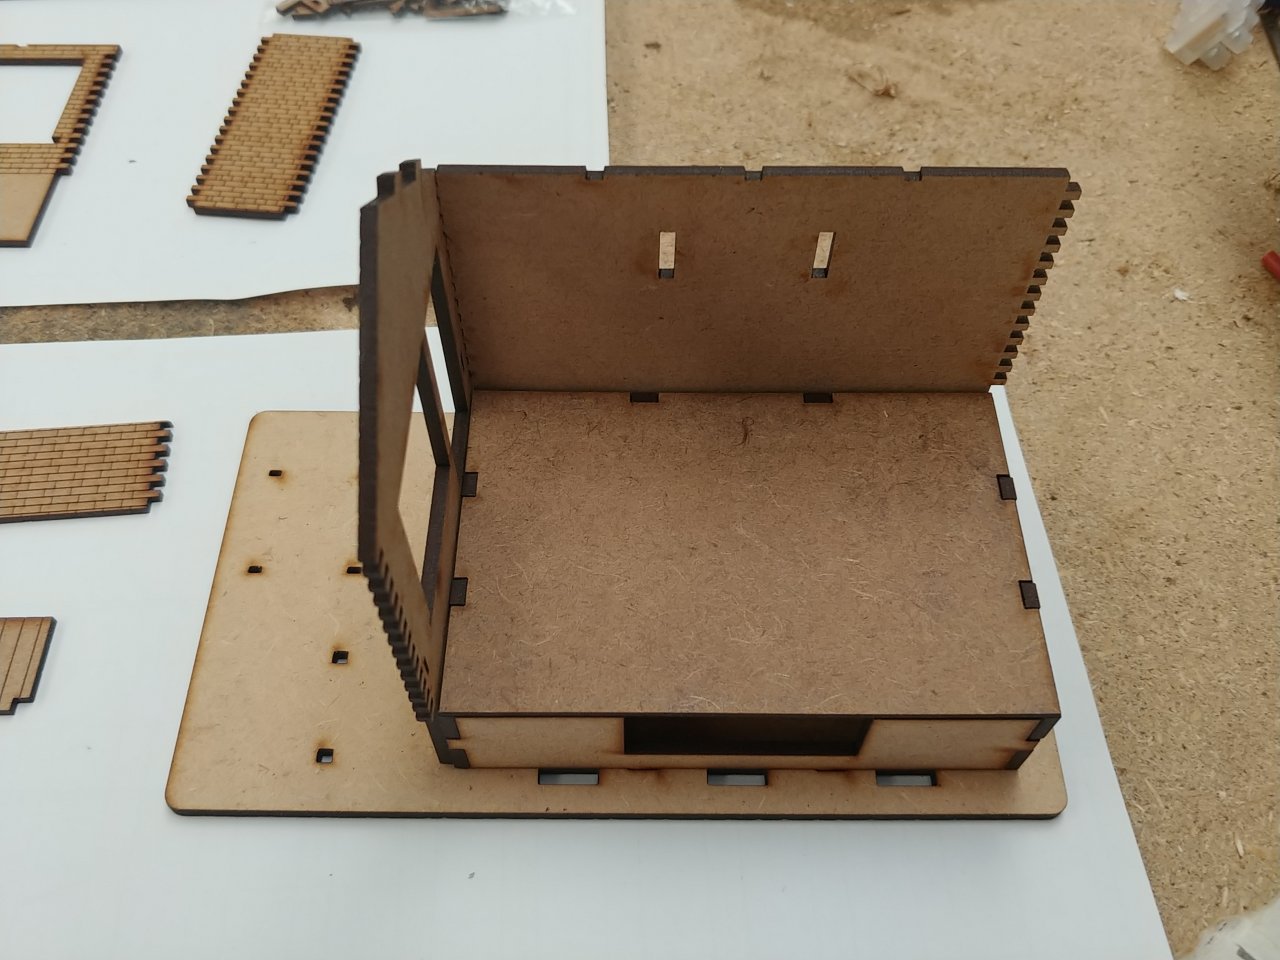
Then the outer sides.
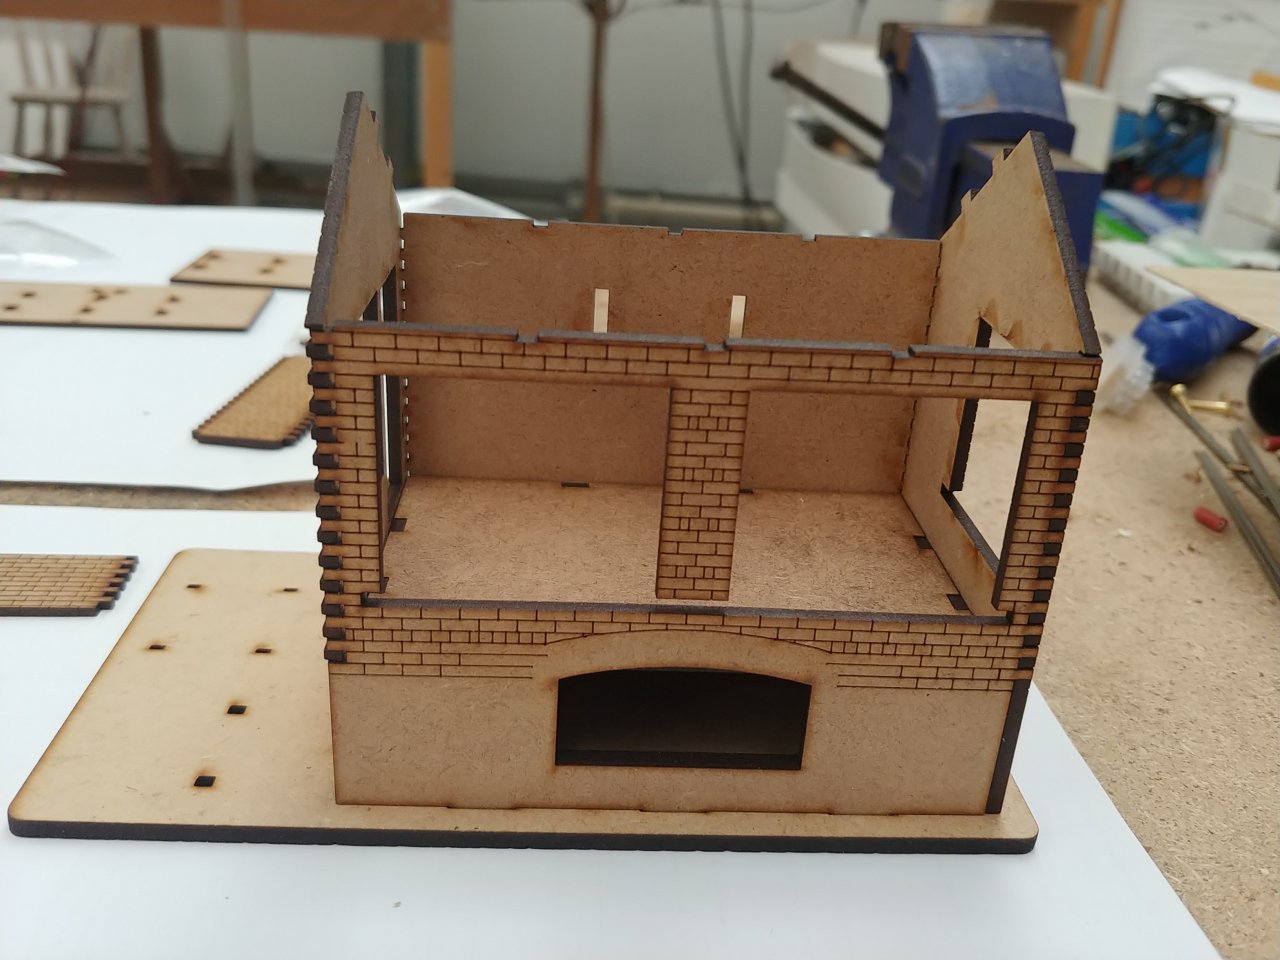
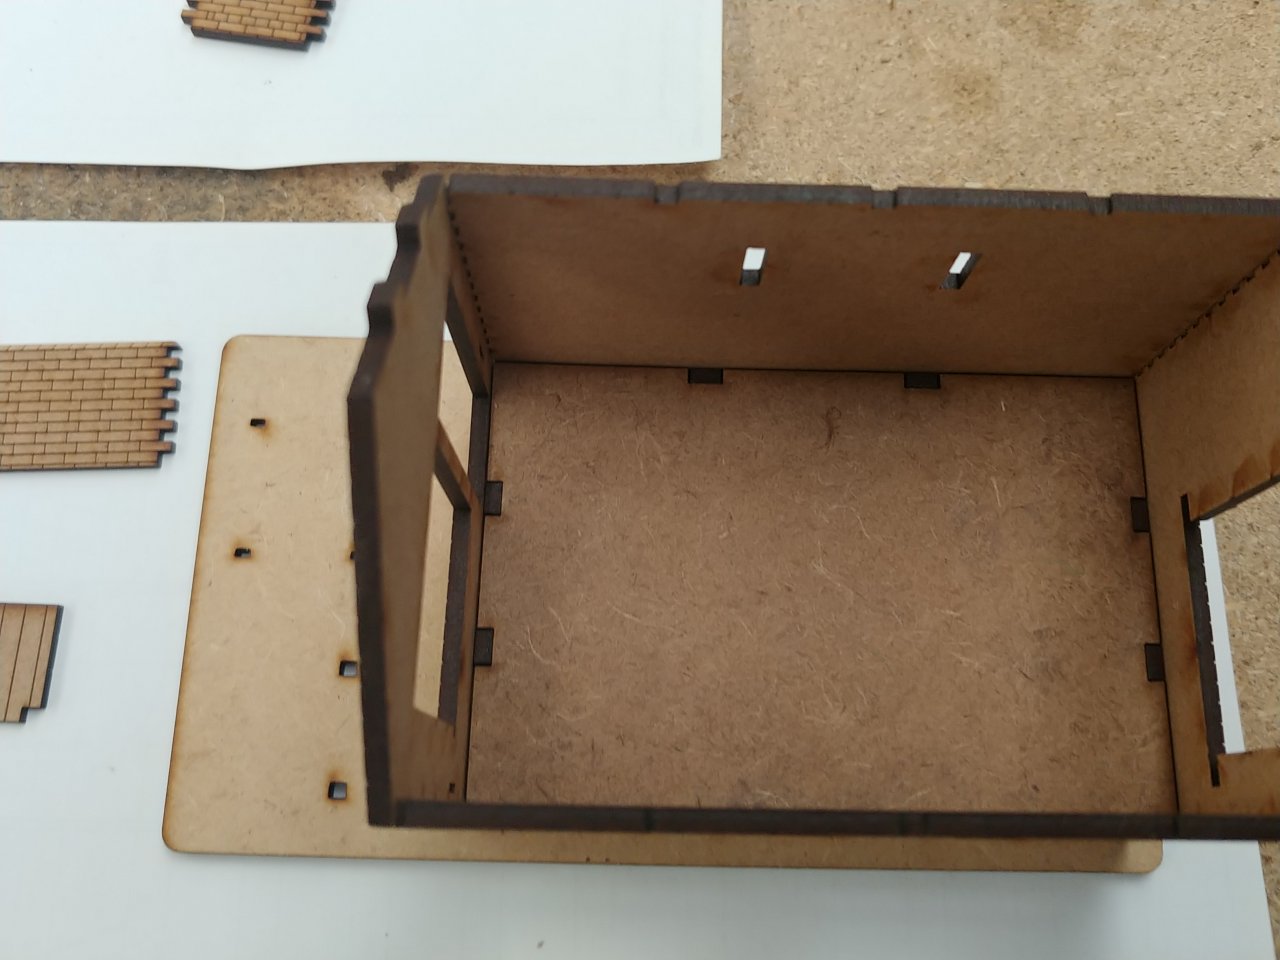
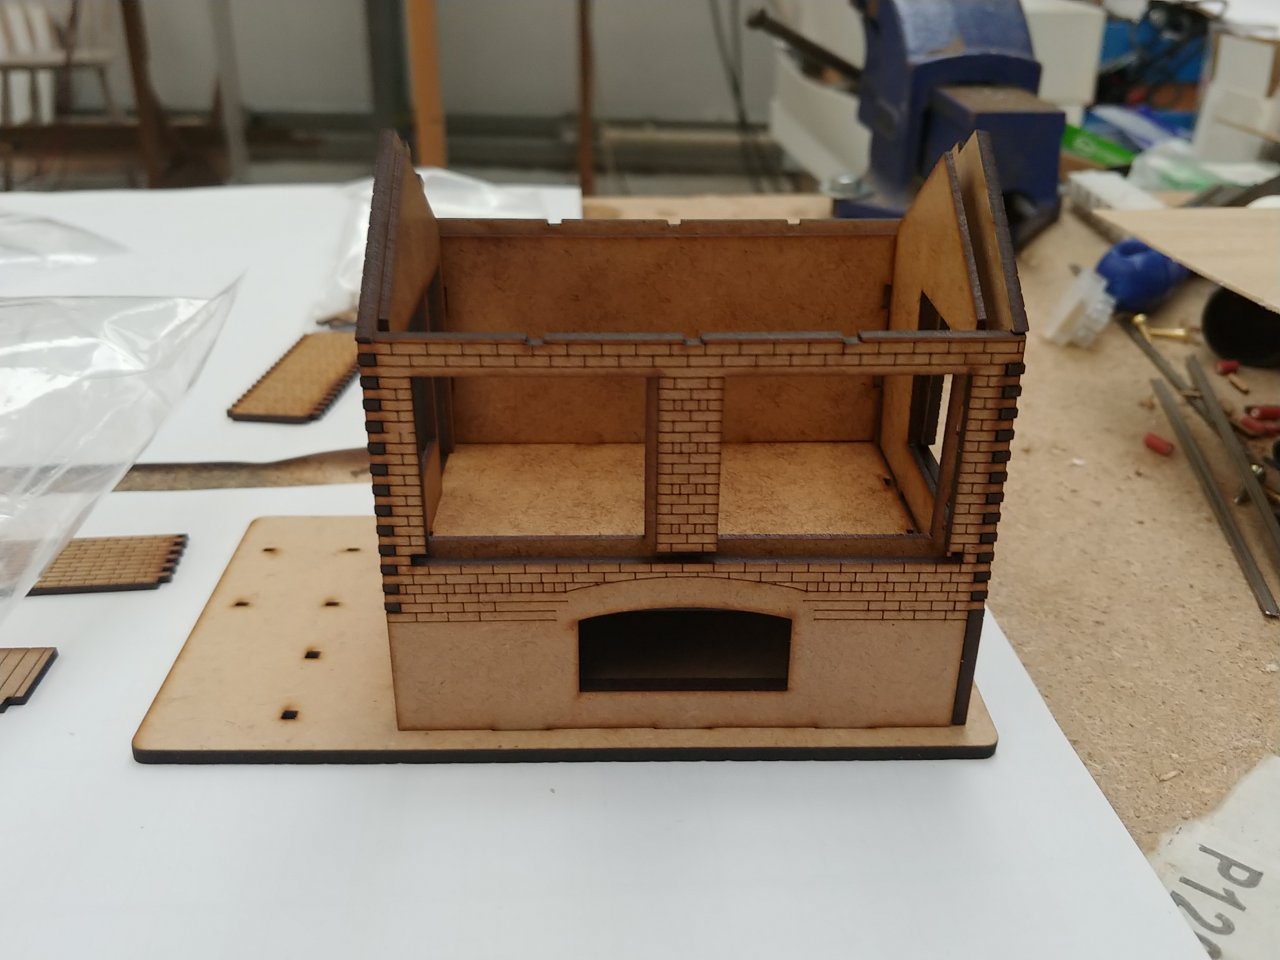
Then you could add the inner frame.
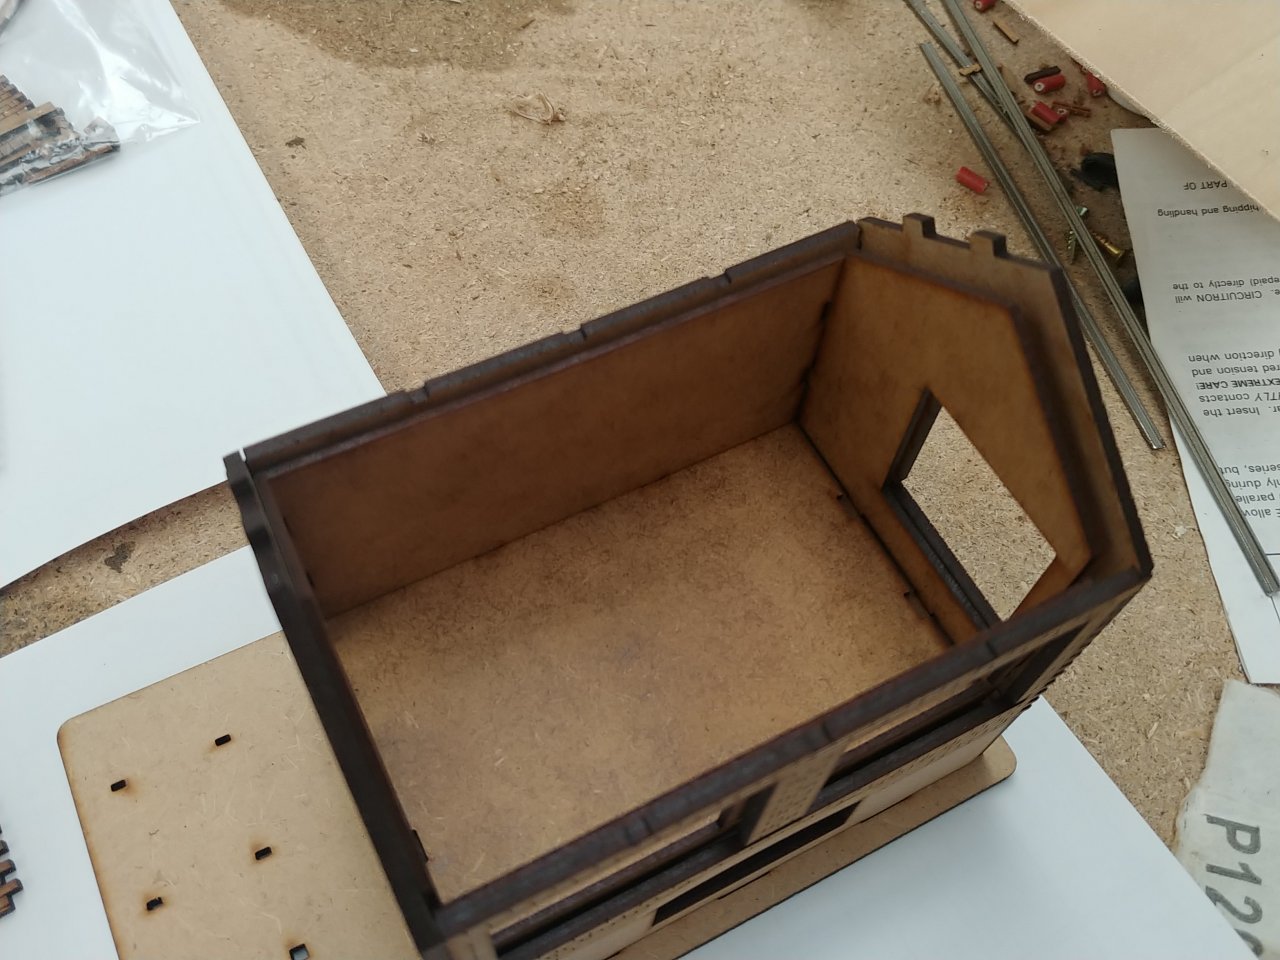
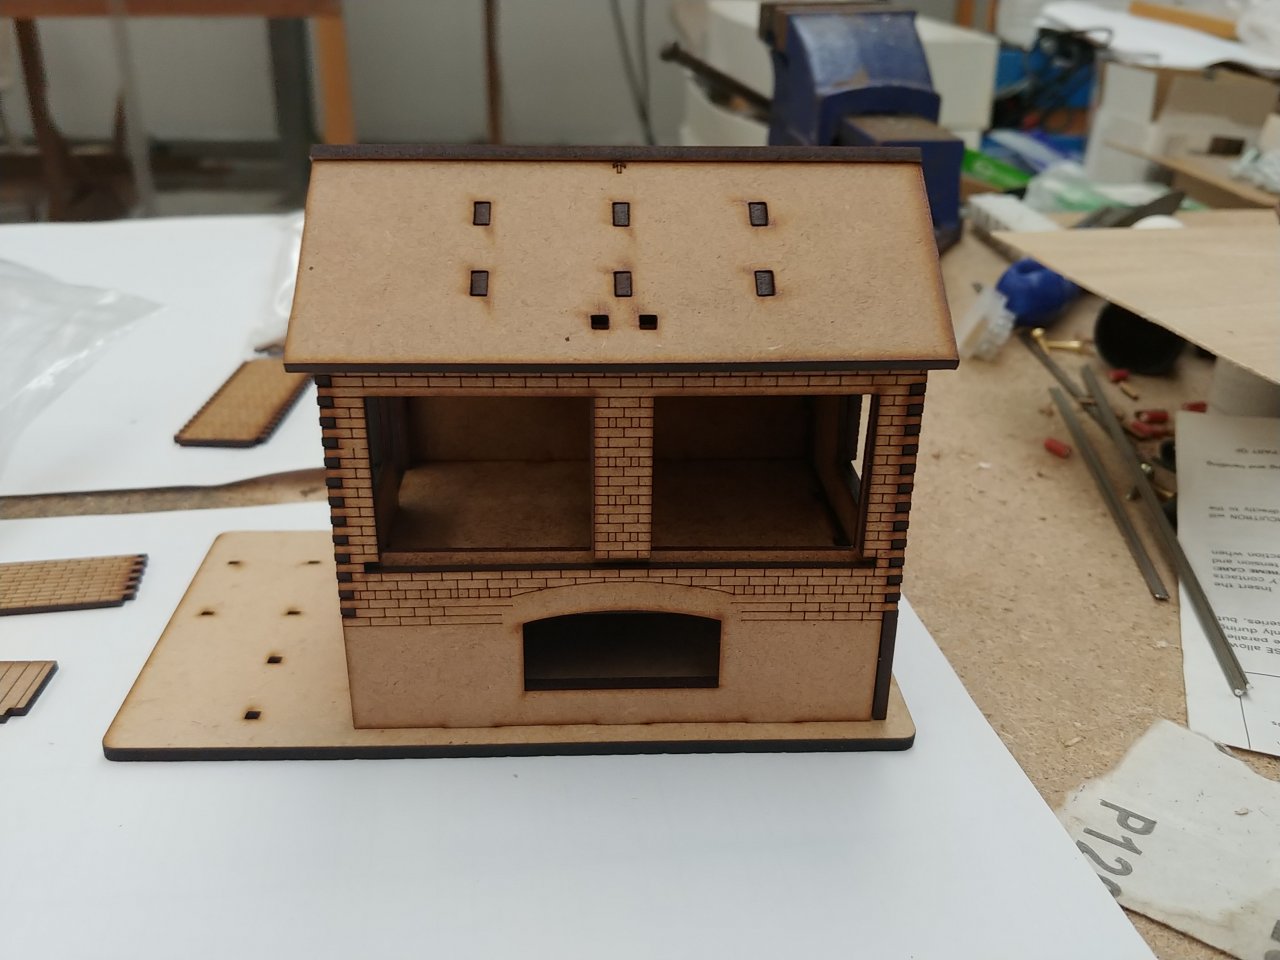
Then I've added the roof.
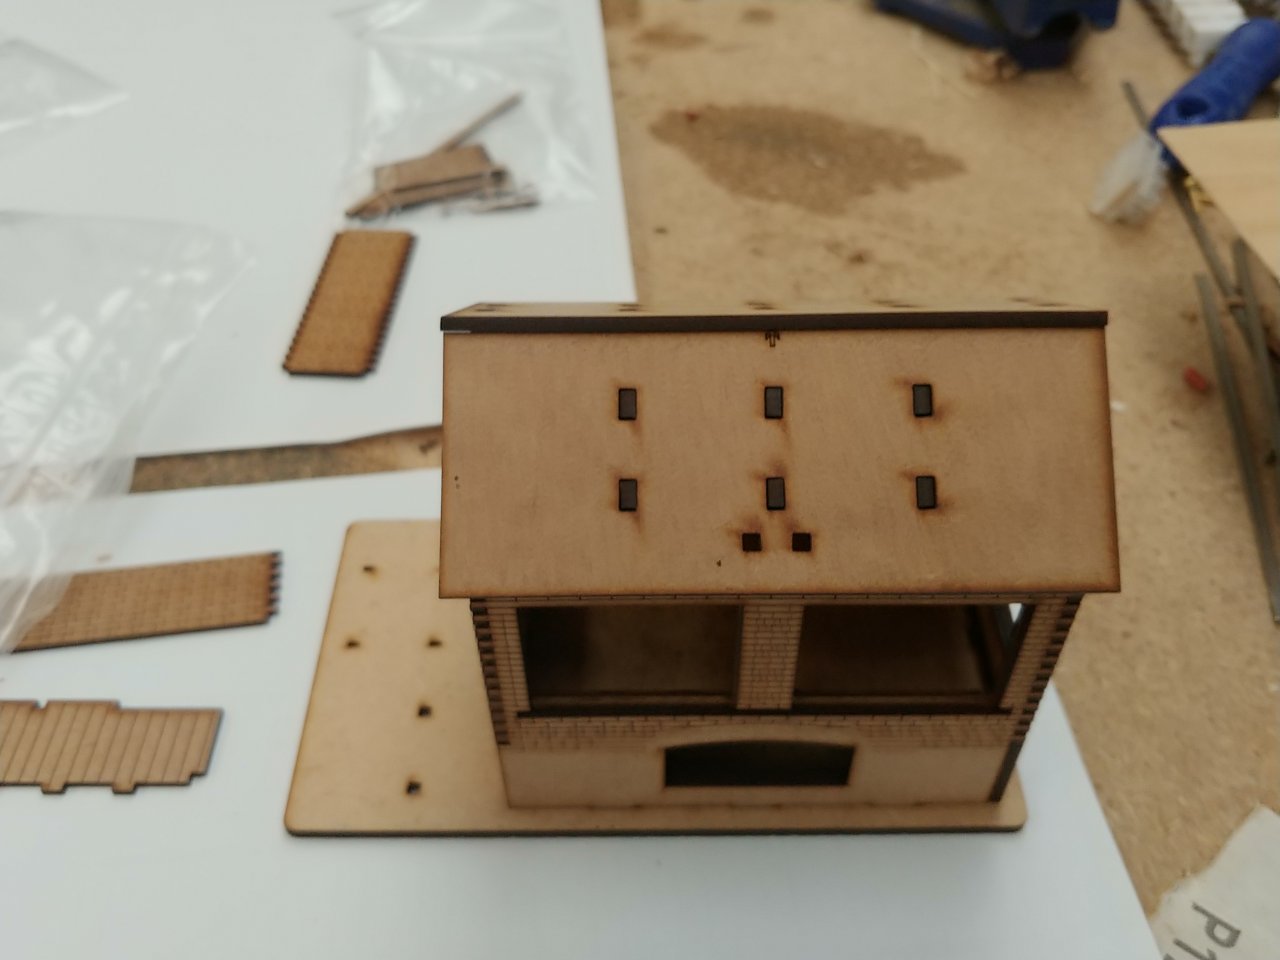
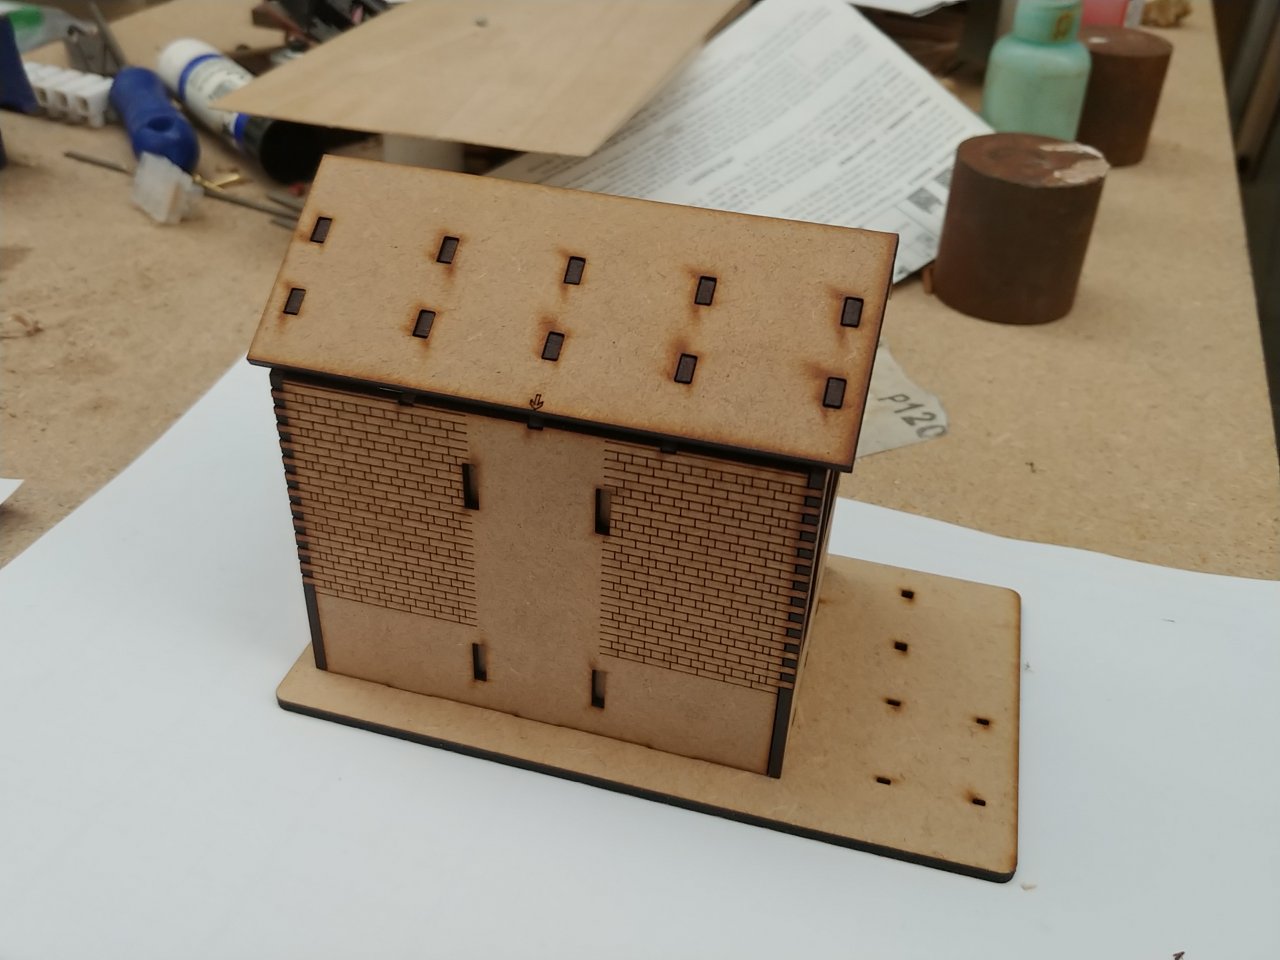
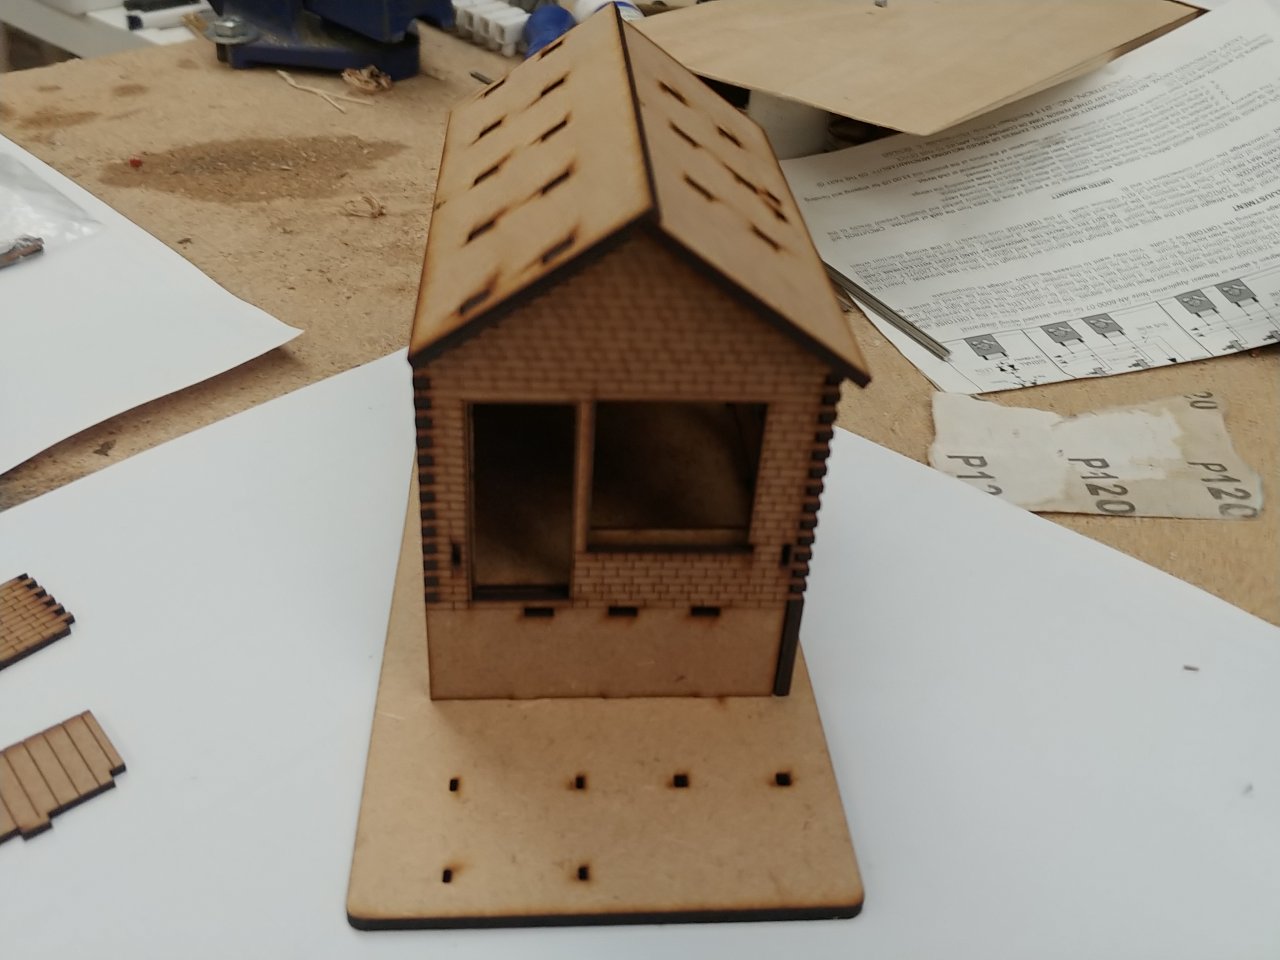
At this point nothing is actually glued together; it is just the really neat fit of the parts.
Hopefully I will get round to gluing this weekend.
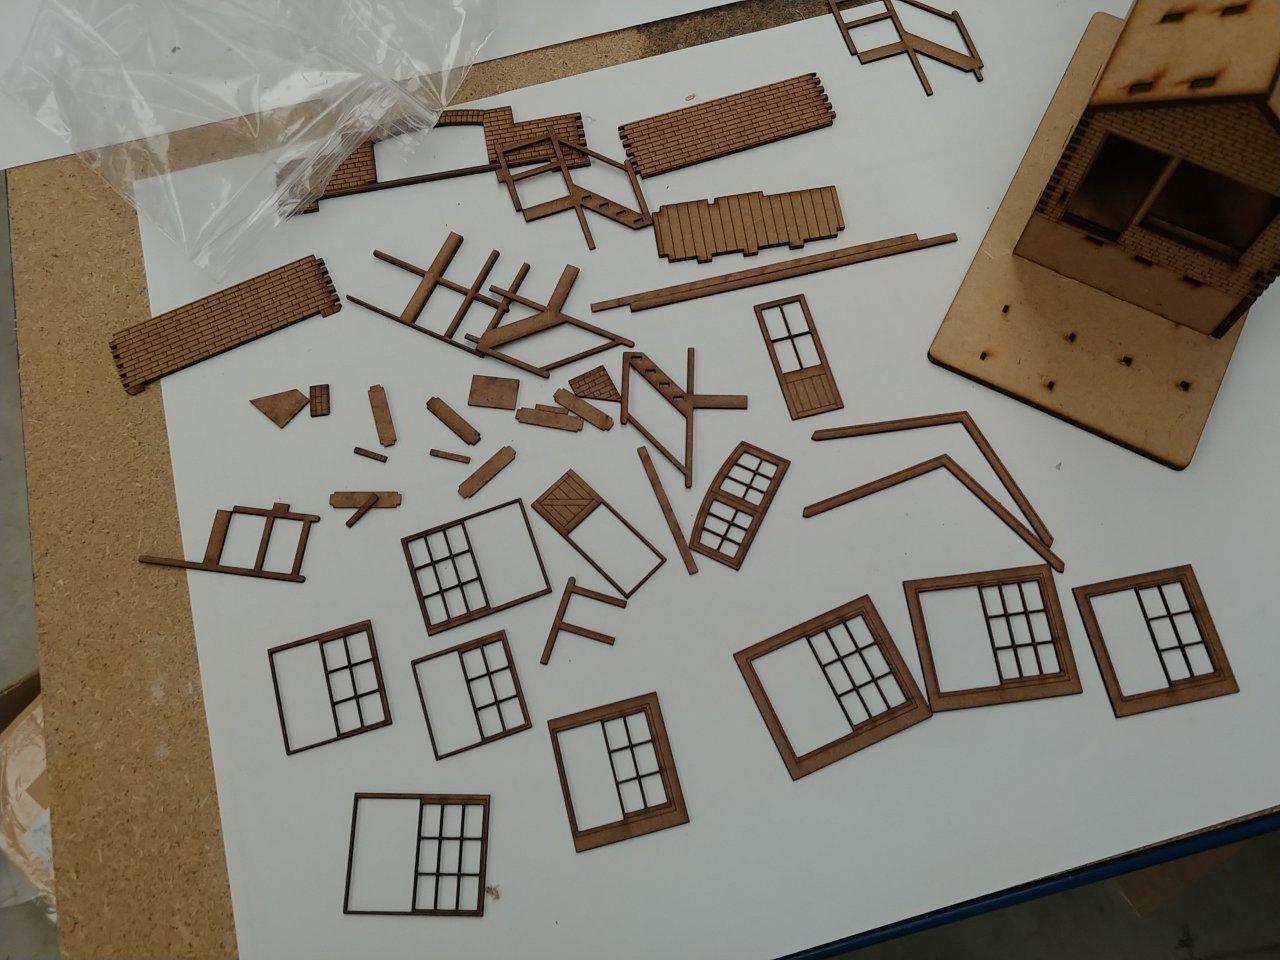
Then there are all the detail bits!
13th August 2020
Cracking start. The roof panels are the incorrect way around though.
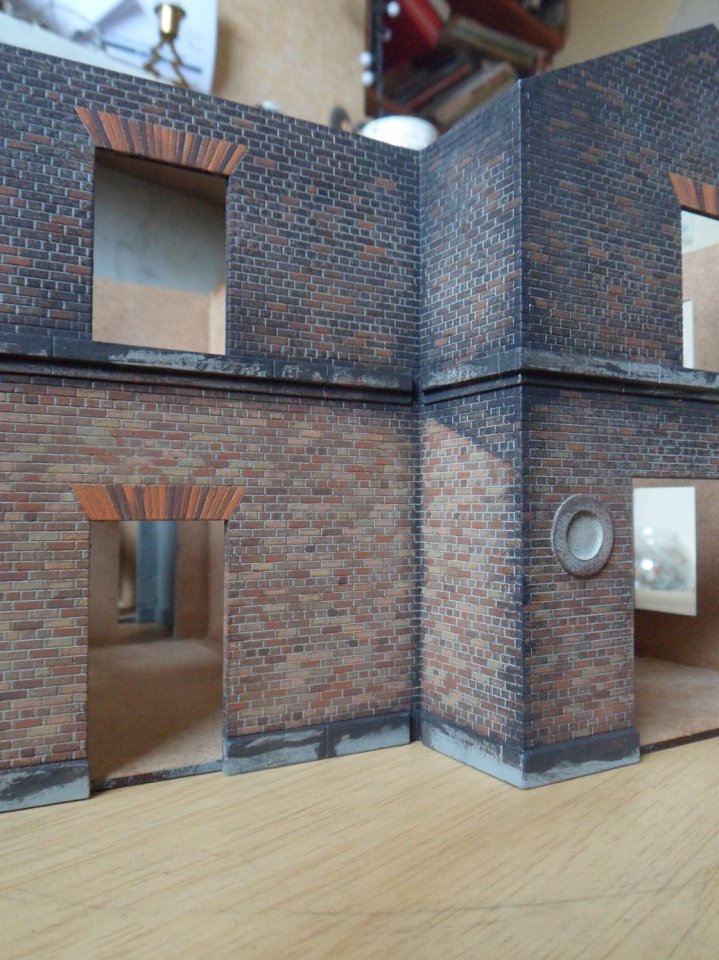
And here's a taster of the station building that John Birch has been building and Peter Insole has been painting. I can only hope that my efforts to paint the signal box can come close to this, but I may ask Peter to paint this too.
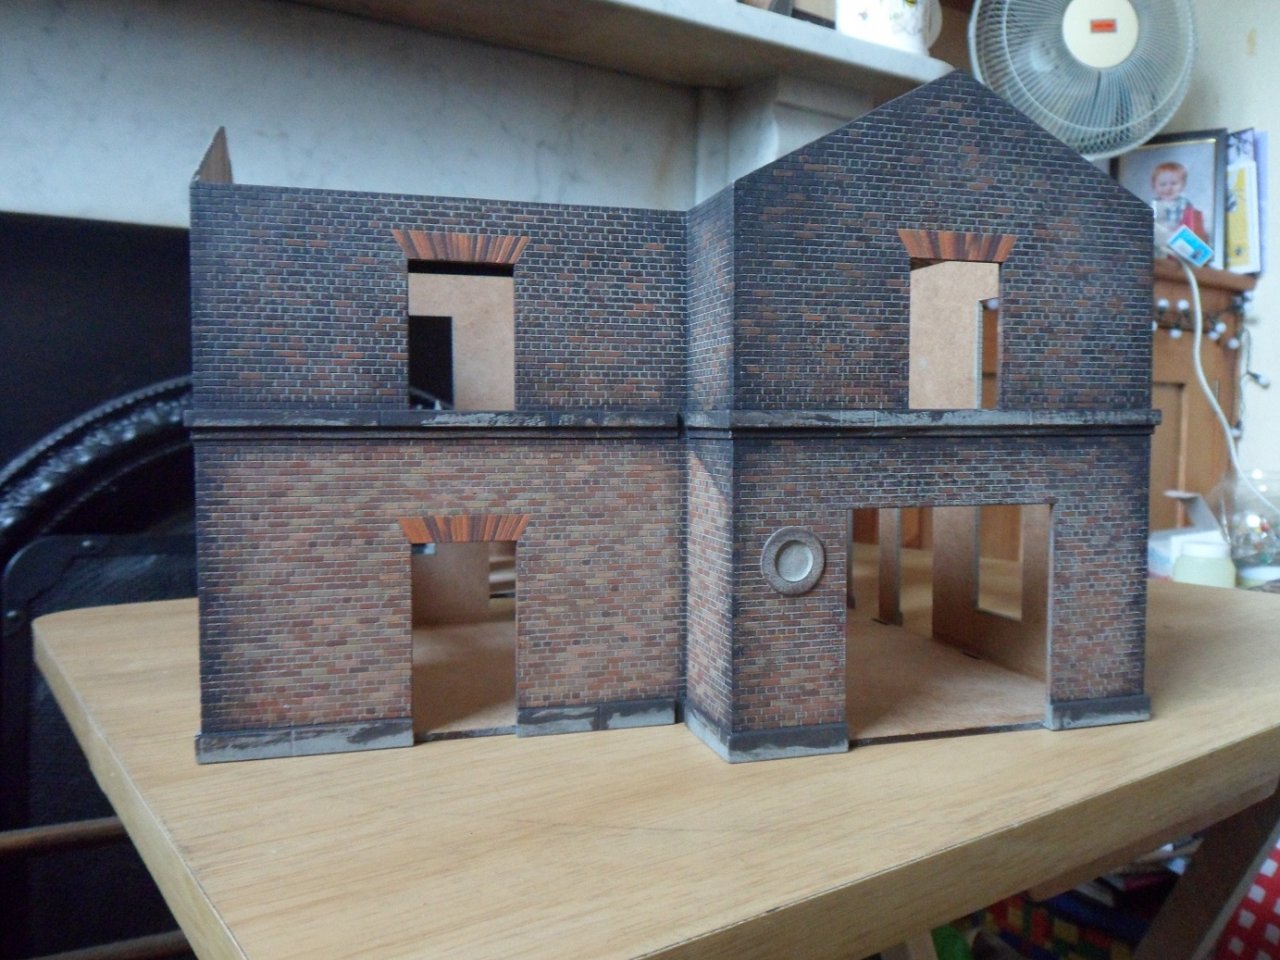
13th August 2020
The front of the building has a portico and the platform side has an open shelter. I have yet to add these but passed the building to Pete for painting before the areas behind / underneath these features were added
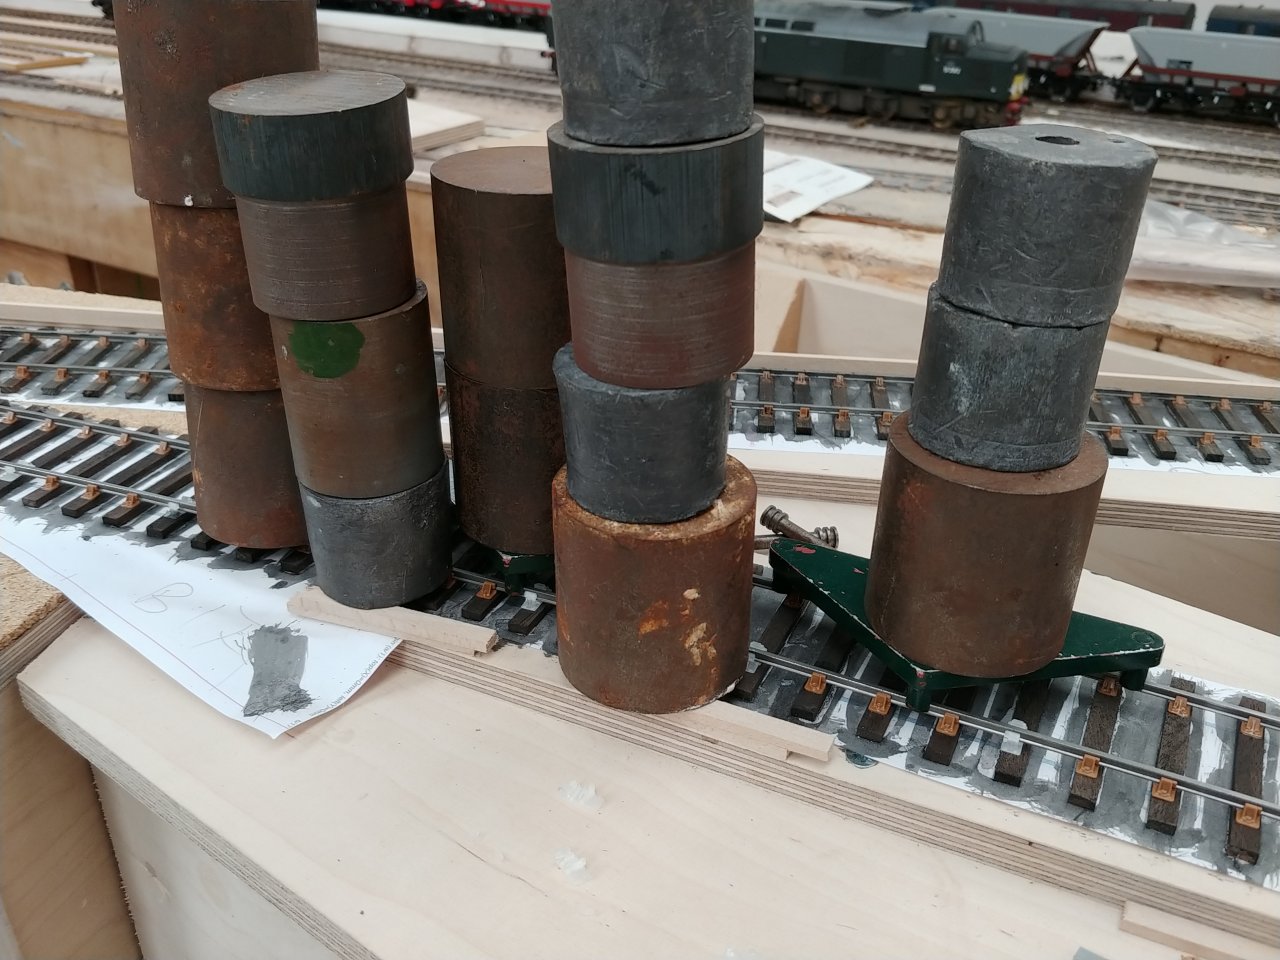
Work has been progressing steadily over the past few weeks. John Birch has been very busy staining sleepers. I have been sticking the sleepers down, but yesterday managed to start building a bit more track. This is the curve that heads off to the diesel depot and the branch, it is quite tight for a real curve but is in fact a radius of 2.5 metres, so pretty much everything should go round it. It will be check railed so passenger vehicles will be able to pass.
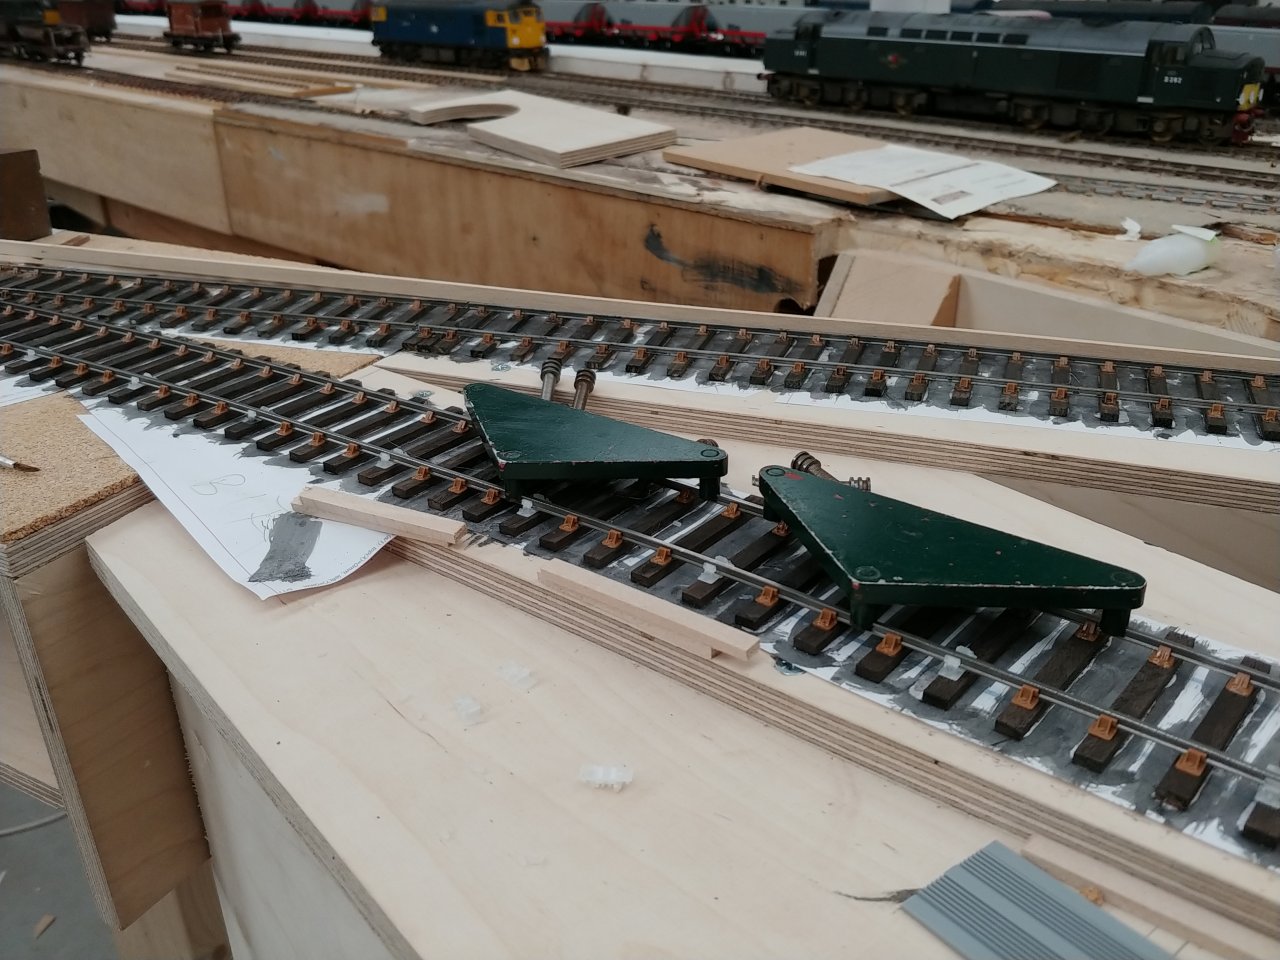
I also decided to add some gauge widening, as the real thing would almost certainly have had some and used the S7 groups triangular gauges to effect this.
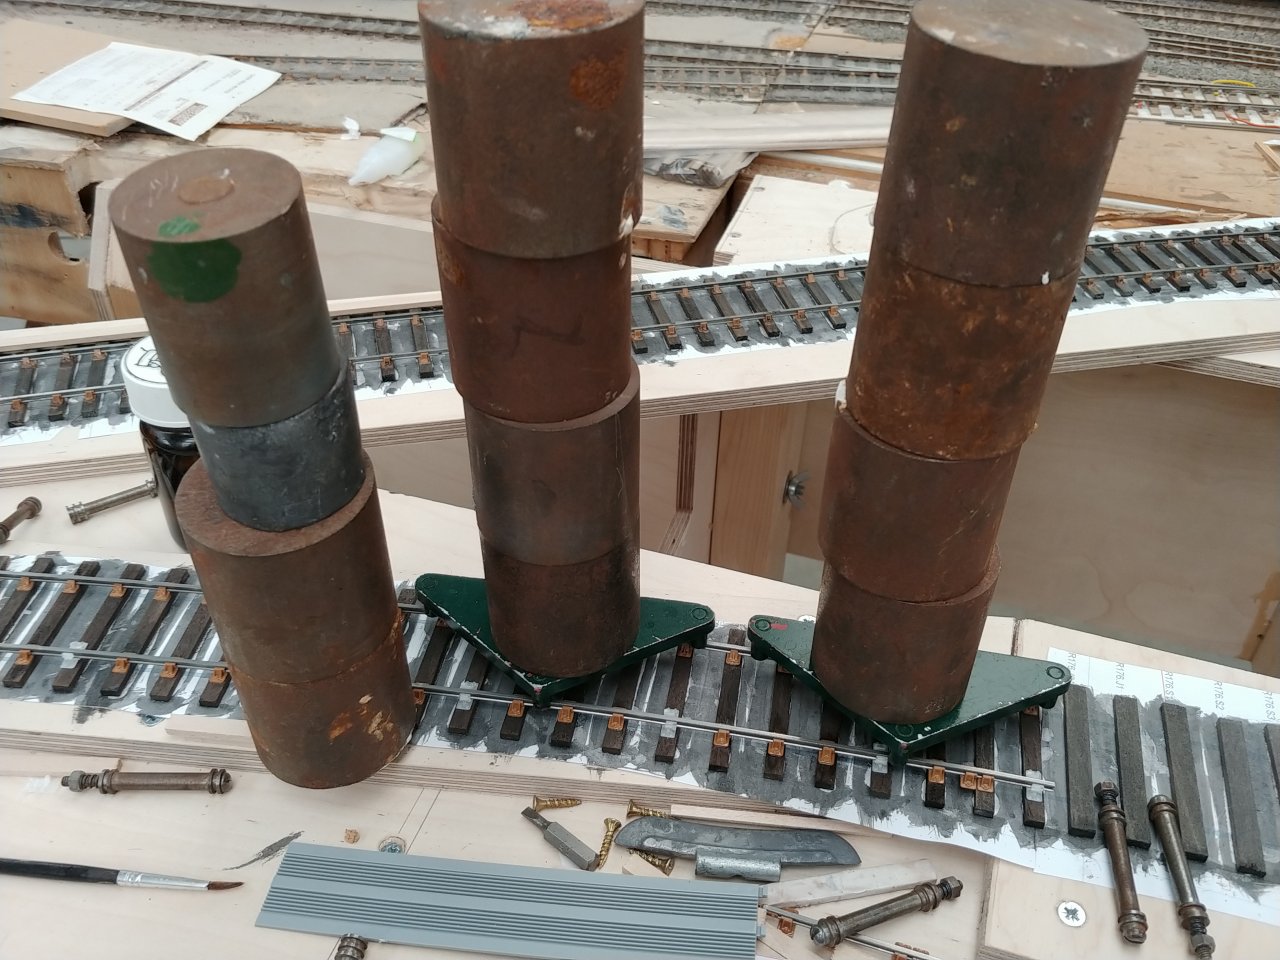
It certainly pays to place some weight to hold things down. These are the walnut sleepers that the S7 group supplied and they are a little variable as to the their thickness, but it isn't that bad. There are, though, a few that are far too thin or too thick that need to go in the bin.
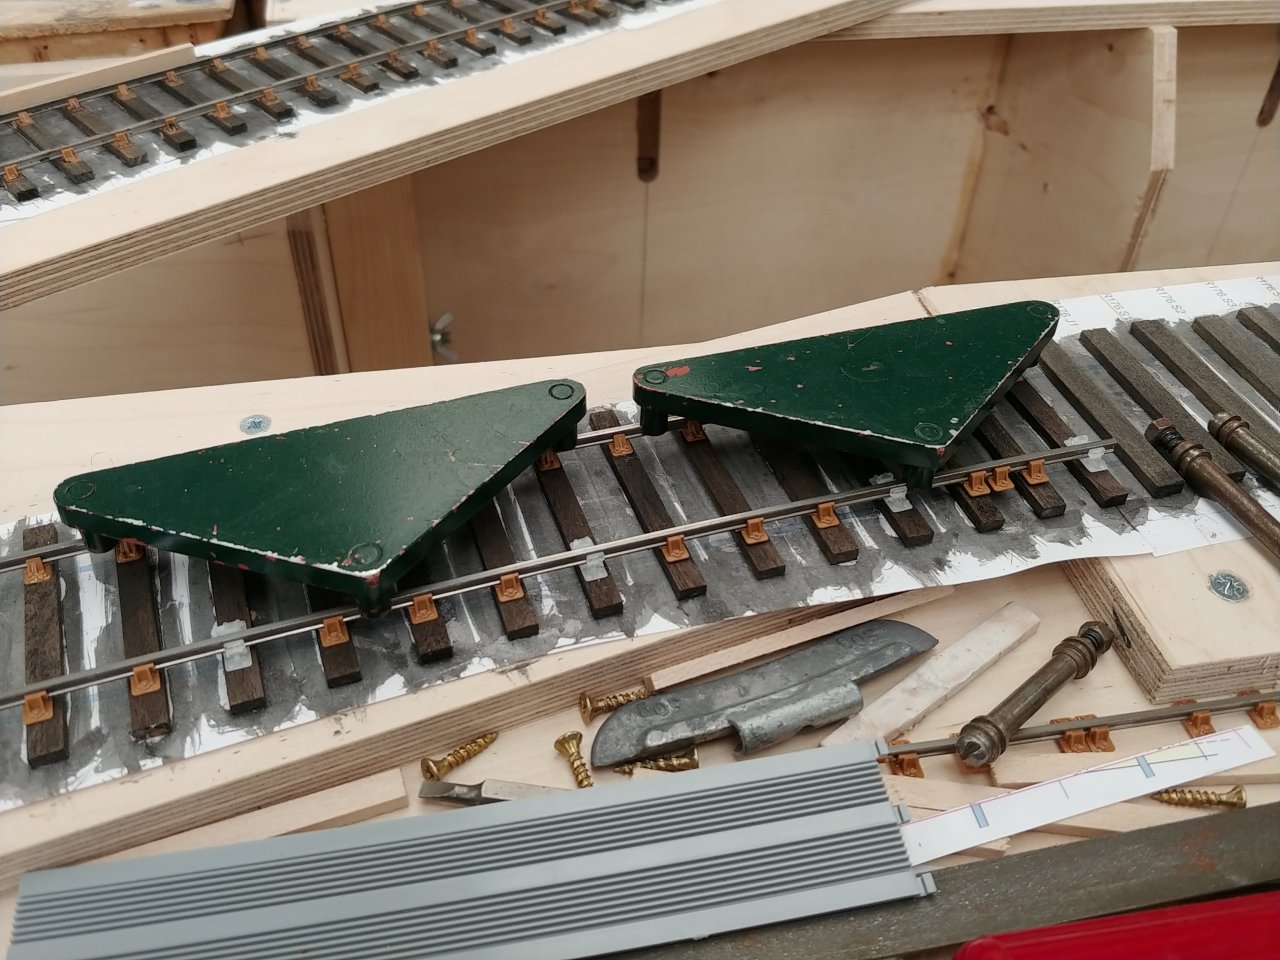
Every 4th chair is one of David Rayner's ('Off the Rails") check rail chairs. It's too expensive to use one for every chair and they need supergluing in place as butanone has no effect on whatever material they have been printed in.
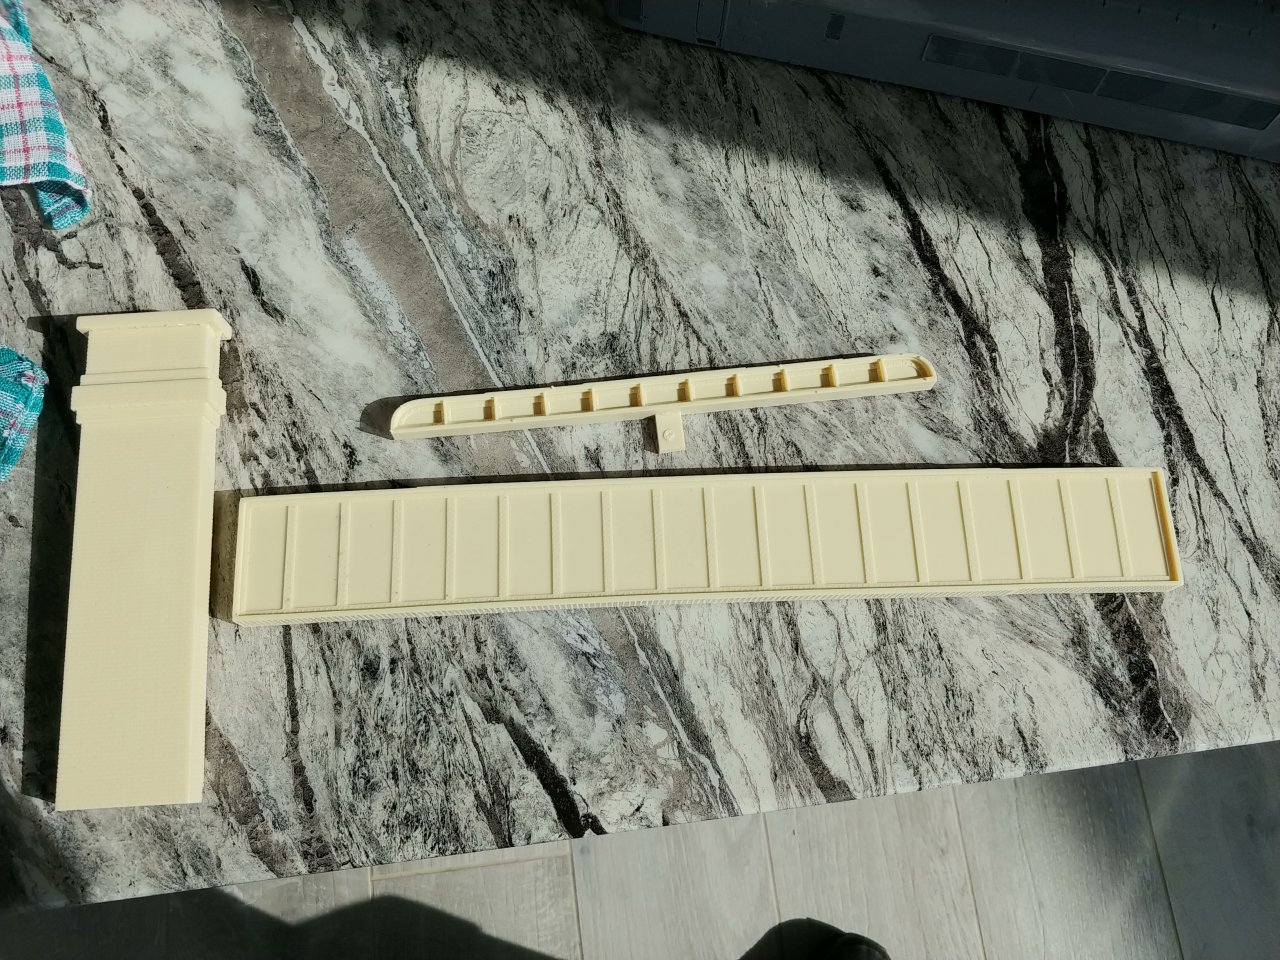
Then this morning these turned up.
These are from MM1 models so now I need to work out exactly how many of these I'm going to need to do the 2 bridges.
18th September 2020
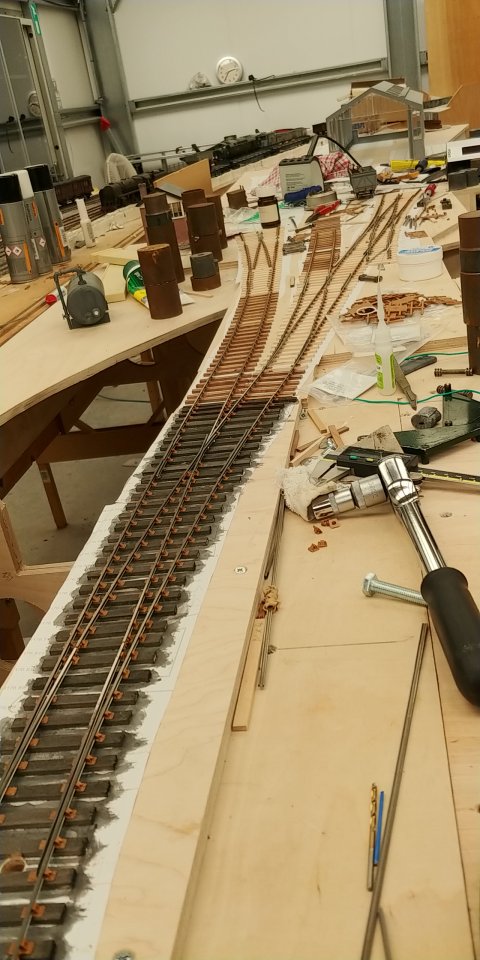
It is almost a year since I last updated this thread. Not a lot happened during the lockdown earlier this year but once we got to May we have been making some steady progress.
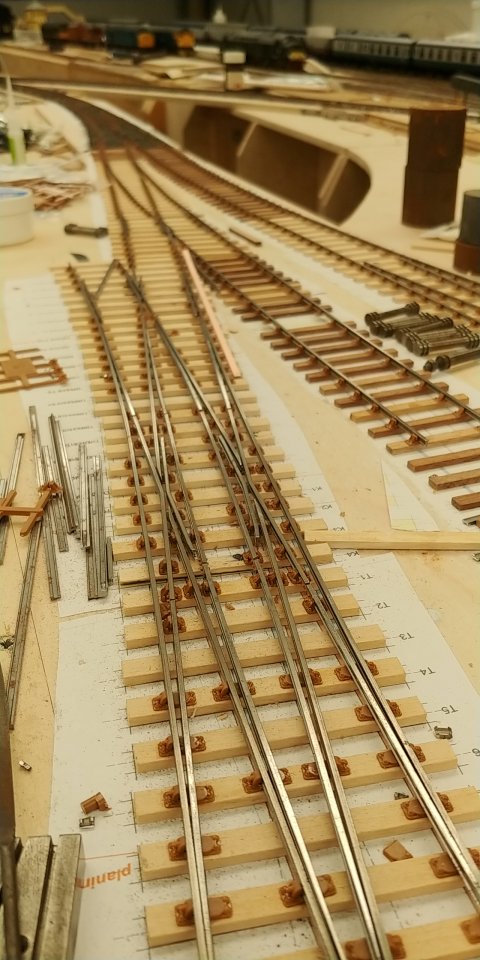
Here are a few photos.
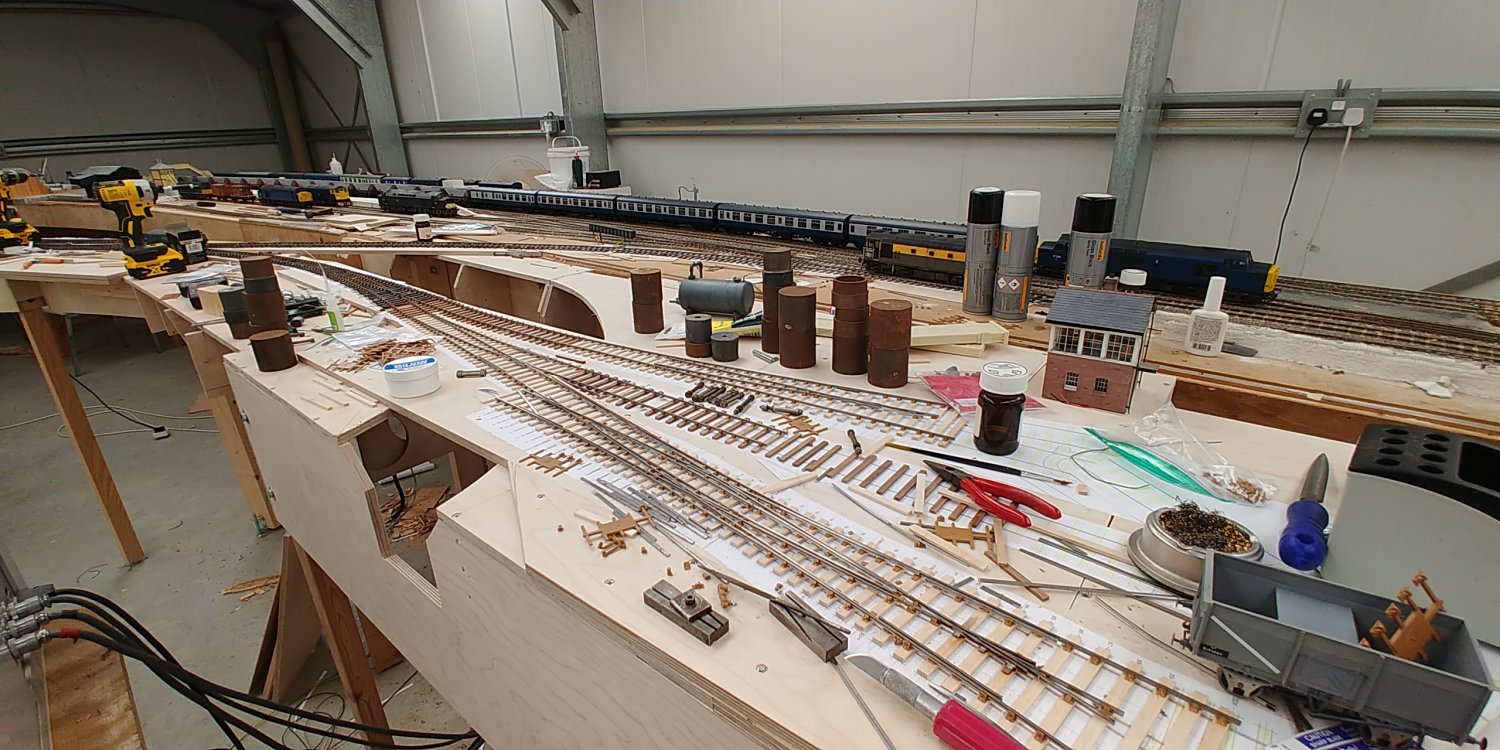
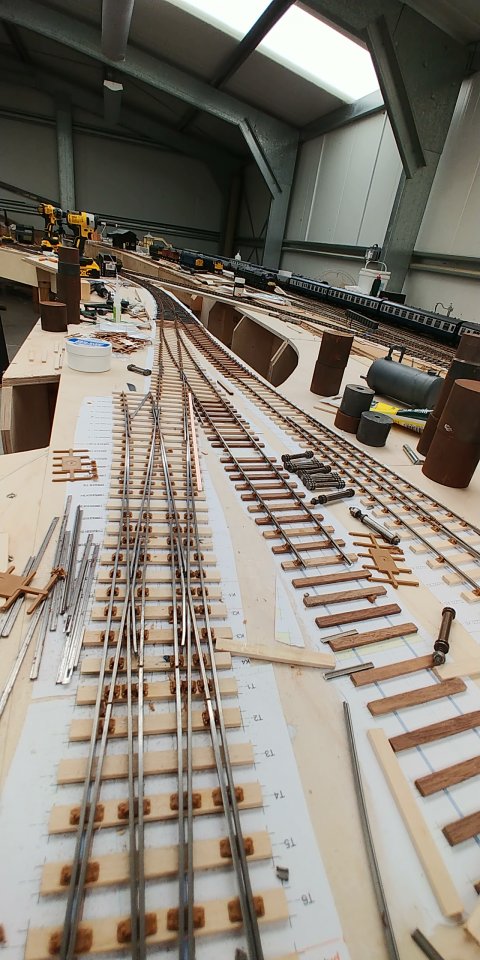
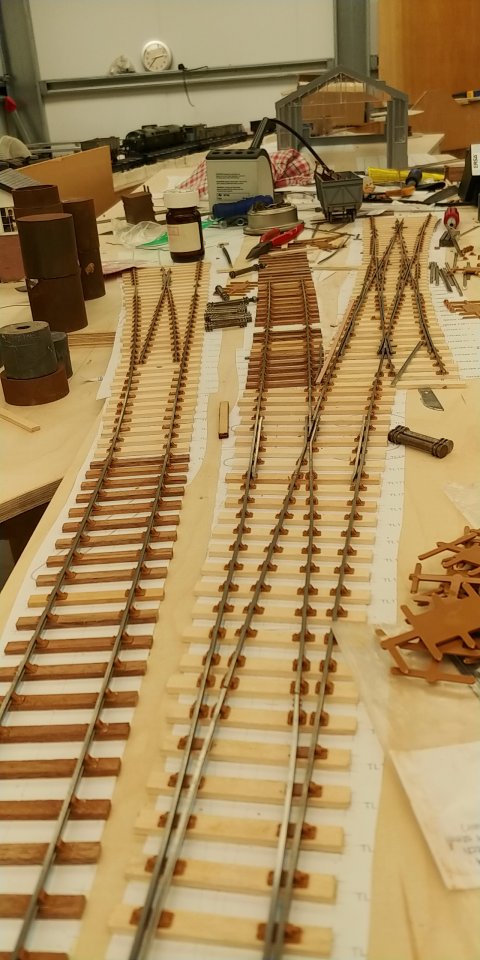
The point work for the diesel loco shed is now well on it's way to being finished, the 4th point has been changed for a double slip so that there will be a side link between the 2 loco sheds.
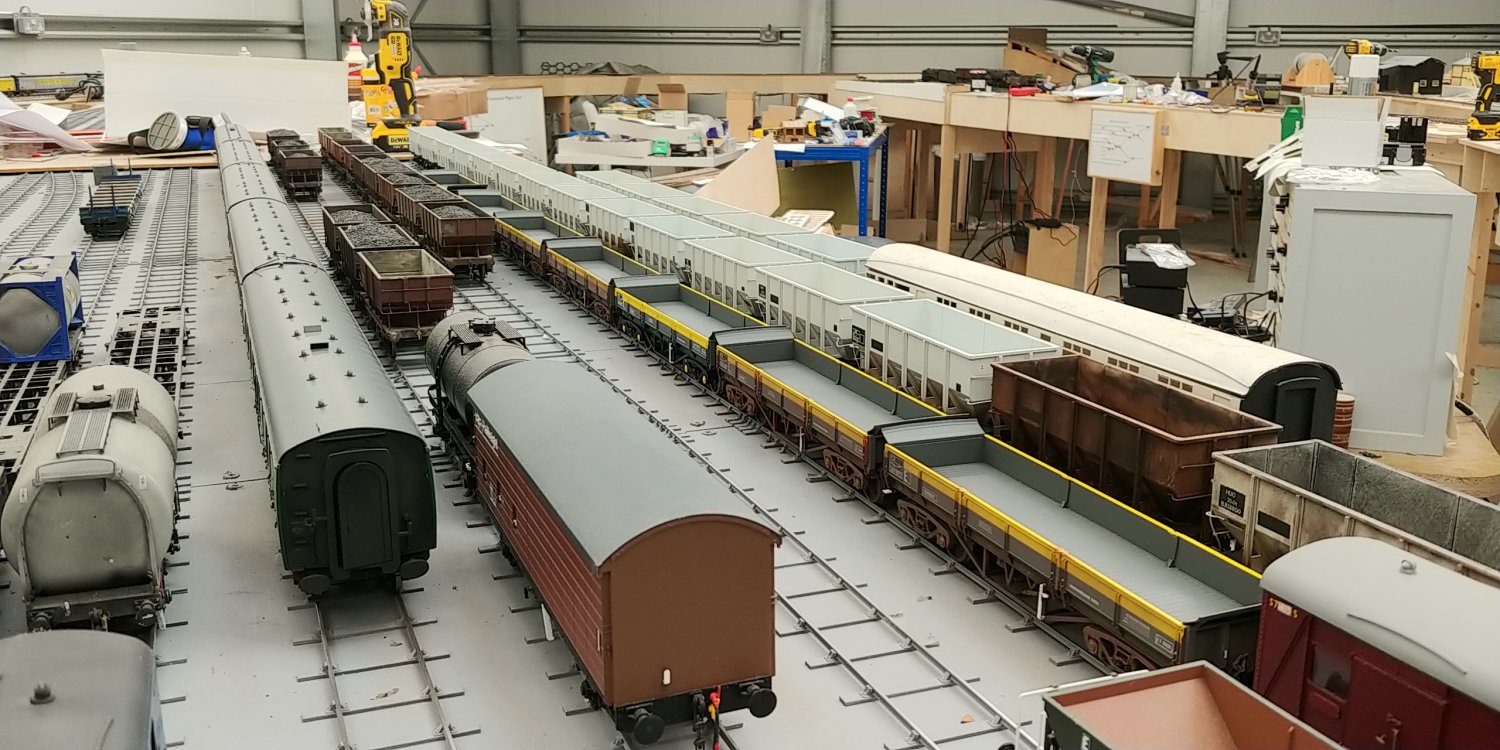
And finally the fiddle yard is starting to fill up with stock, turbot wagons 24 ton hoppers 21 ton hoppers and some MK1 coaches.
22nd August 2021
Finally the new section has been fully wired up and connected to the main layout, even the double and single slips are working properly, we did find that frog juicers powering the frogs for the slips is the easiest way to wire them up.
Here's a video of the connection in action
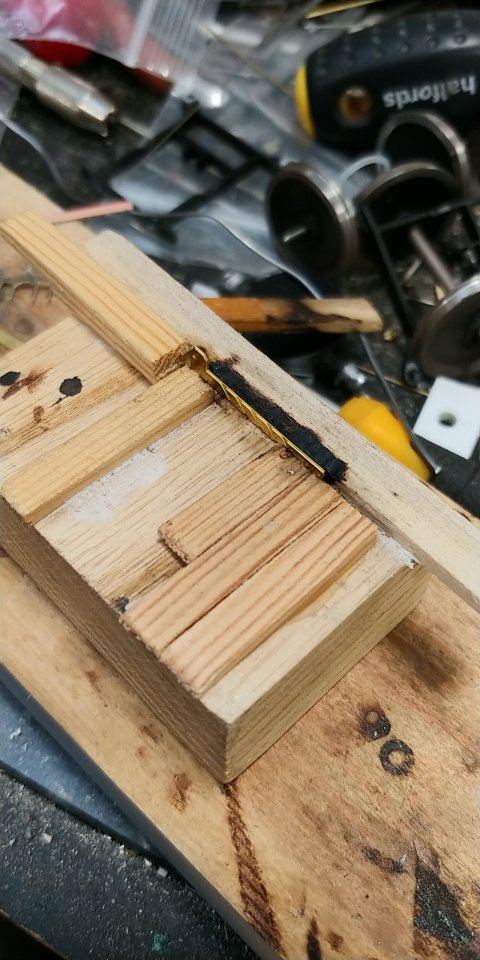
The other thing worth mentioning is that we have now standardised on using the JLTRT tie bars, these are easy to build using a simple jig and are very robust and look a bit like the real thing. This the jig and how I put them together using some 0.6mm double sided pcb strip. We are using tortoise point motors to drive the points with the supplied steel wire replaced with 1mm spring steel wire, the supplied wire is far too flimsy.
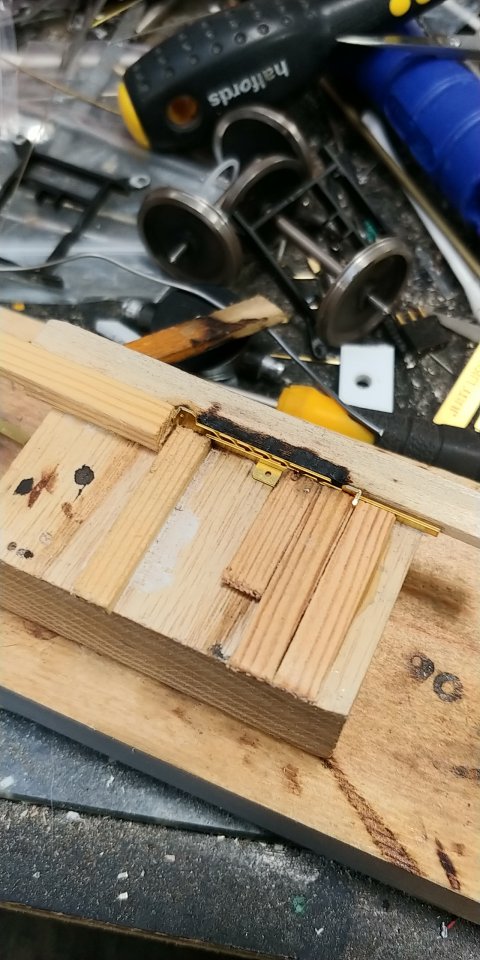
The jig is made from a few bits of sleeper glued with PVA to a piece of wood.
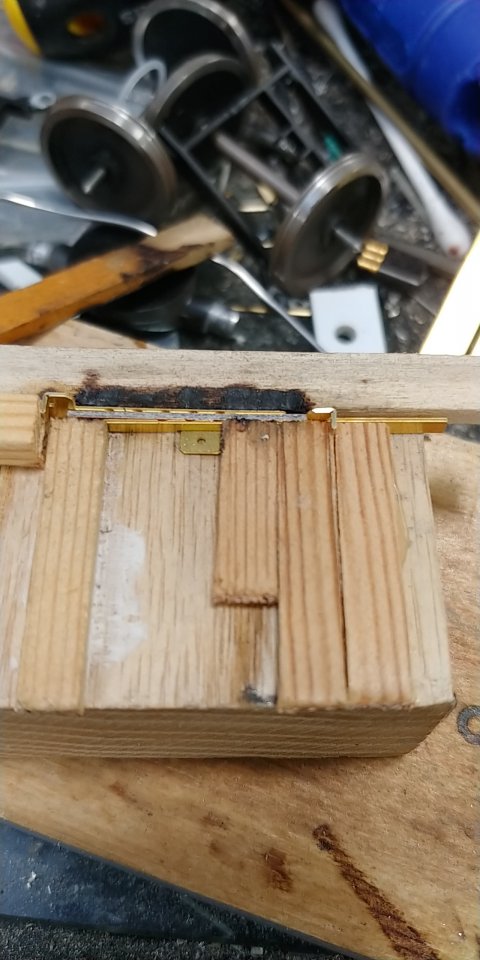
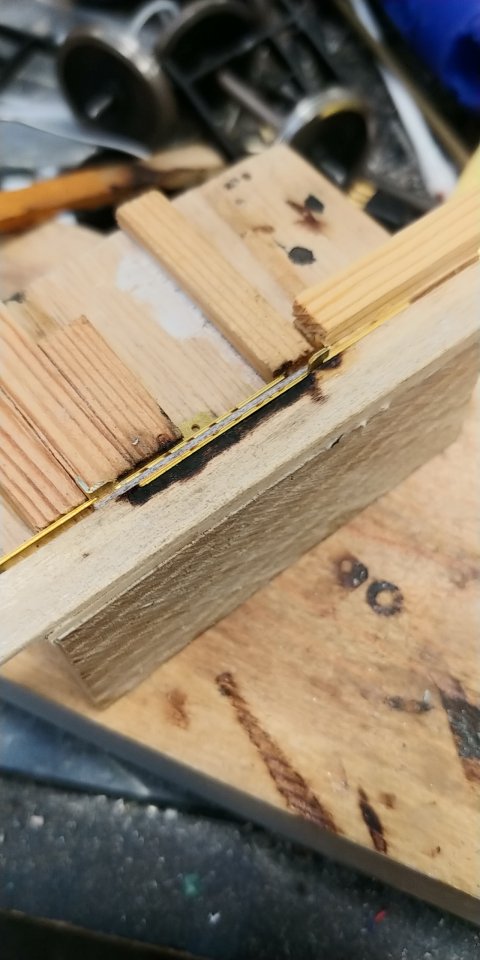
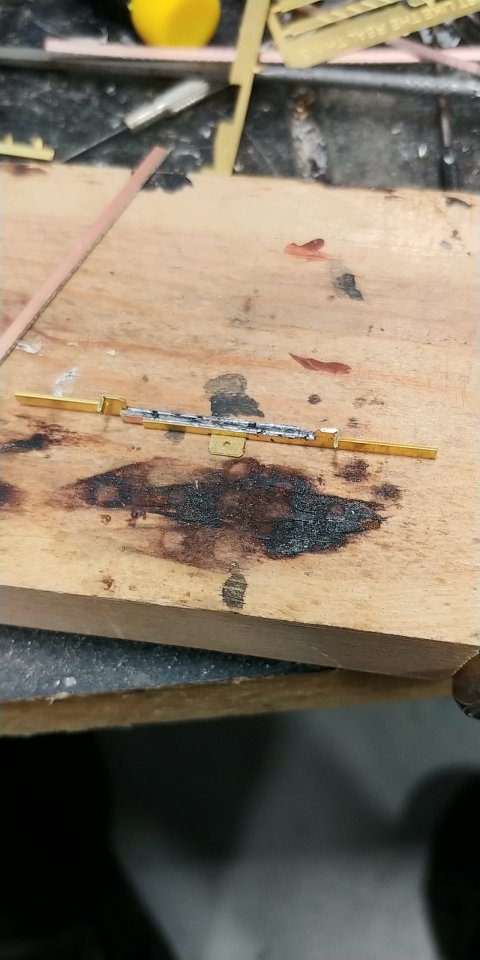
28th September 2021
Tanat Valley 3 by Peter Drost

John Borkowski converts Accurascale hopper wagons to S7

The Story of Reeth by Simon Caygill
For further information on the ScaleSeven Group, or if you have any questions: