

Tanat Valley 3 by Peter Drost
My family moved to Swansea in 1963, missing the end of the Swansea & Mumbles Railway which closed in 1960, but the Swansea Harbour Trust lines around the docks and surrounding streets were still in use (just!). Track ran at two levels in places between the King’s and Prince of Wales Docks area and westwards across the River Tawe to South Dock with its coal hoists and fish market and allowed freight to move between the large goods yards around the town. (Swansea only became a city in 1969 – after the late-50s/early-60s period in which the layout is set)
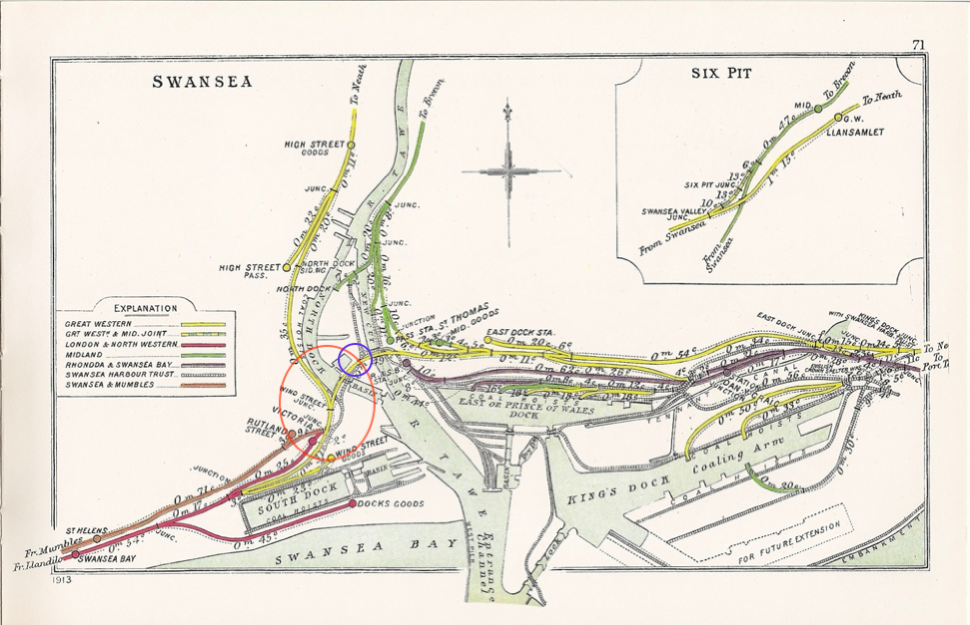
A visitor to the area in the early-1930s would find no fewer than 6 terminus stations and 7 sheds within walking distance of the town centre. Even though there were a couple of closures over the years, by the late-50’s, 4 of the stations and 5 of the sheds were still in operation. With reference to the map on the right, North Dock closed in 1930 and was filled in over the next few years. The red ring shows the area being modelled.
In reality, the upper level lines served Weaver’s Mill (the blue ring on the map) and connected the goods yards on both sides of the river. Following the closure of the ex-LNWR Paxton Street shed, they allowed locomotives to route between Swansea East Dock shed and Victoria Station and also to access High Street Station when Landore was closed to become a diesel depot. I shall take the opportunity to have varied light-engine movements on this route to indulge myself!
Pete Stamper produced several suitable locomotives for this area in his Agenoria range and there is no shortage of suitable ‘50s and ‘60s British Railways rolling stock available from Slater’s, Parkside and others so all of the elements are there for a Swansea Docklands-inspired layout. Minerva have also produced a suitable Peckett 0-4-0 for the SHT lines.
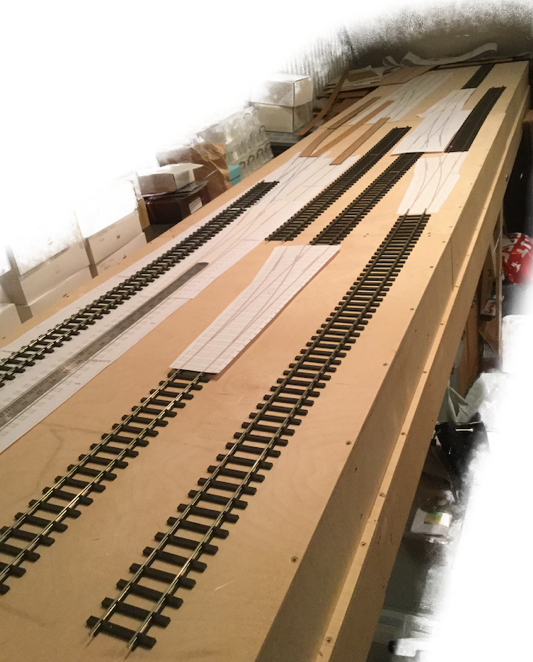
This very modestly-sized layout can only hope to give a taste of the location and spent far too long being sketched, drawn, redrawn and Templotted but, finally, I was happy with the compromises and the plan so now it’s getting built. Some C&L FS track and printed Templot templates were manipulated to help the process.
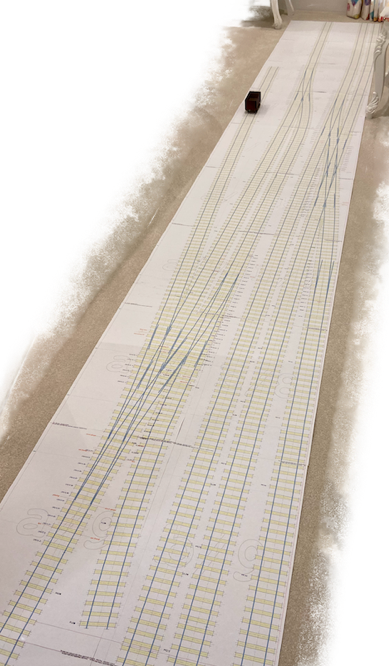
As can be seen, there are effectively two layouts with no physical connection between them. The upper level (on the right) has a siding which serves the flour mill. The lower level has a couple of sidings and a loop. There are small fiddle yards at each end on both levels.
A few days ago I had a severe boll***ing from my wife. I was sitting on the sofa in my man-cave - a 5m x 5m room upstairs containing baseboards, books, tools, workbench etc. - when I got a visit from her. SWMBO complained about the ‘mess’. (It isn’t messy but there is a lot of stuff in there!) Her parting shot was “either build the b****y thing or get rid of it all”.
20th September 2021
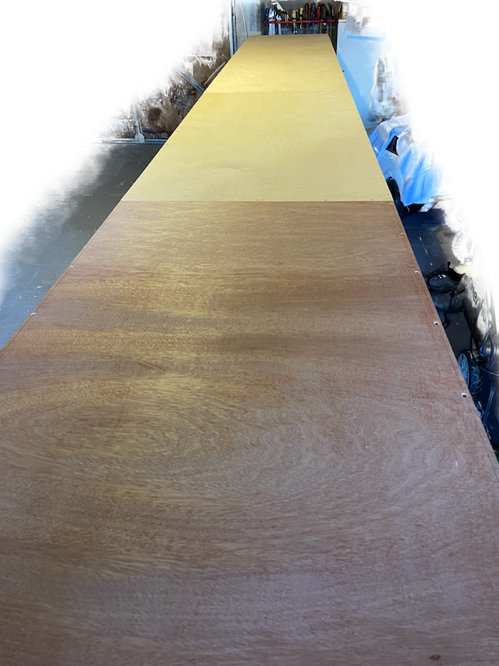
The baseboards were built 6 years ago for a smaller version of the layout.
There is a good reason for the odd-coloured board top. The boards came as kits from Model Railway Solutions in Poole. I ordered 2 off 4’ x 2’ and 1 off 3’6” x 2” to create my original ‘mini-Swansea’ layout. Having assembled the frames, I went to fit the tops - supplied at the same time - to find that one of them was too big (or so I thought). A quick check with a tape measure found that the 3’6” frame was, in fact, 3’ 5”!
A quick email to MRS got an apology and a replacement frame set within days giving me a correctly-sized board. However, I still had the slightly small frame to which I’ve now added a 1/2” packer to each end and provided the extra top which is not birch ply like the rest - hence the darker colour. Still, an extra baseboard for £7.50 (the cost of the ply sheet) was a bargain but also gave me the better length of 15’ overall to play with. The reason for putting the packers at each end is to cover the previously drilled recesses for the pattern-makers dowels. They are in the wrong place at the business end and not now needed at the other end. My original intention had been to build to O-MF standards but, since I will need to build all of my own pointwork anyway and have several locos and wagons still to be built then I might just as well do things properly and build everything to S7 standards.
Thus, earlier last week, the boards were moved to the garage and placed on some adjustable trestles and work commenced.
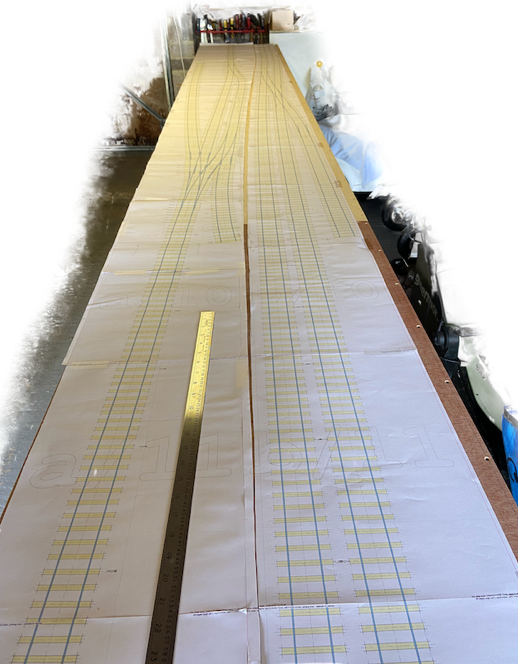
21st September
The pattern makers dowels were fitted along with bolts, washers and wing-nuts to hold everything together.
The outline of the viaduct walls was marked on the baseboards and they were cut to shape.
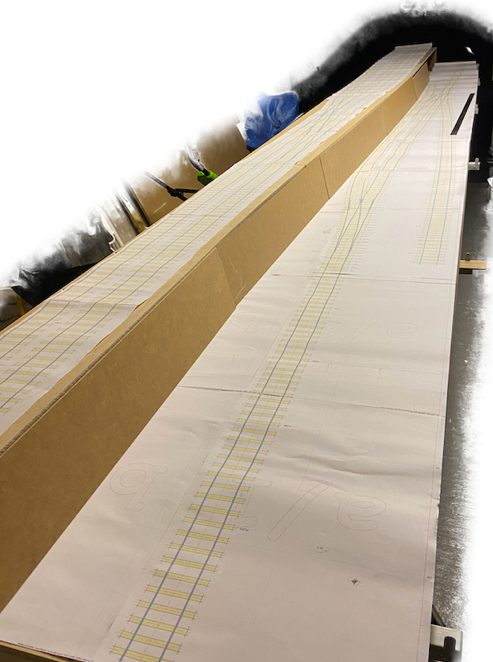
22nd September
Risers were cut, levelled and installed at the end of each of the four boards. Some scraps of hardboard were placed in position to aid the 3D view.
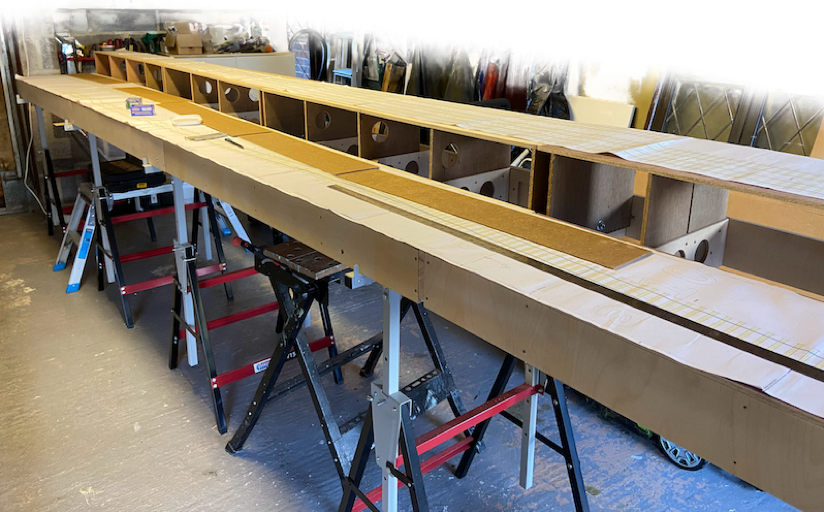
24th September
Further bodgery had more supports added. This is where I had got to by the end of the first week.
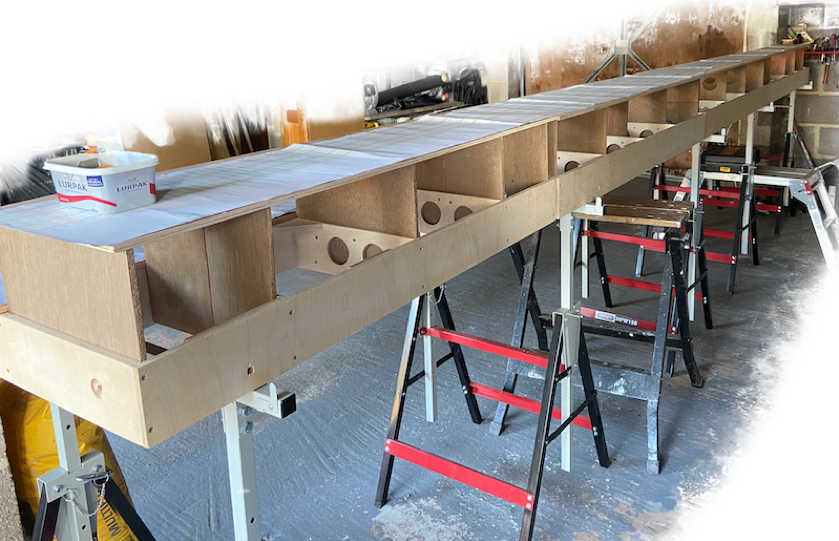
From the other side showing the intermediate supports for the high-level tracks
The fiddle yards will use cassettes. The necessary materials are in stock in readiness.
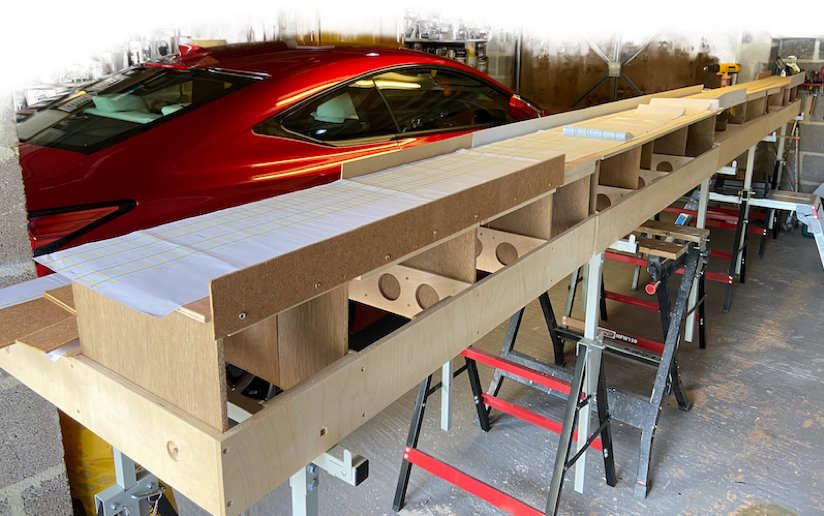
25th September
The viaduct wall backings were cut from some old flatpack 3mm drawer bases from my daughter’s flat which were salvaged to the ‘might come in useful one day’ stock. Some of the rear viaduct backings were attached. Some 4mm hardboard was also used to act as a cassette restraint. The viaduct walls will have cast ‘stonework’ added in due course.
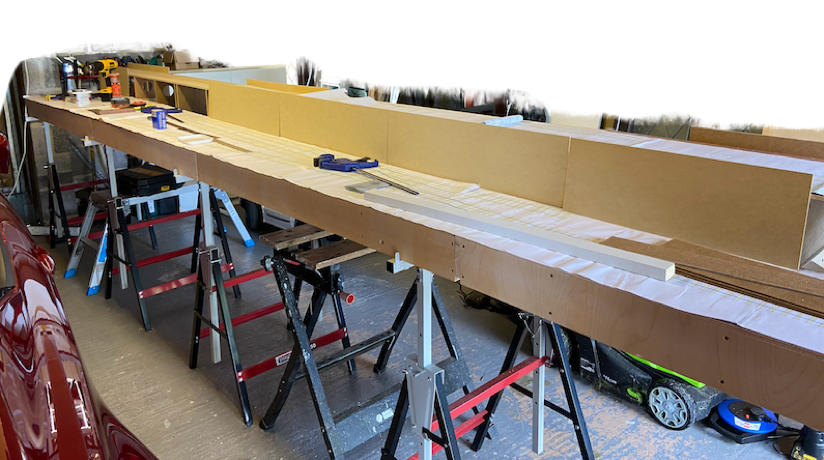
26th September
So, that’s where things are at the moment. My intention is to get the basic structure as complete as possible over the next few days before moving everything back to the warmth of the man-cave for trackbuilding and tracklaying to get underway.
Winter is coming!
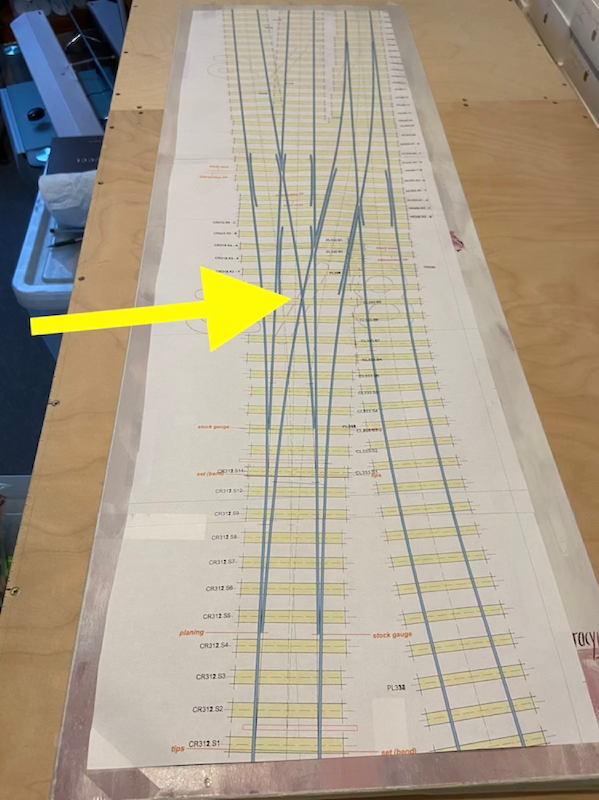
3rd October
Little progress this week due to a self-inflicted injury to a thumb making life difficult.
I have instead made a little progress with the pointwork which had been started a while ago. When I created this in Templot I spotted an error.
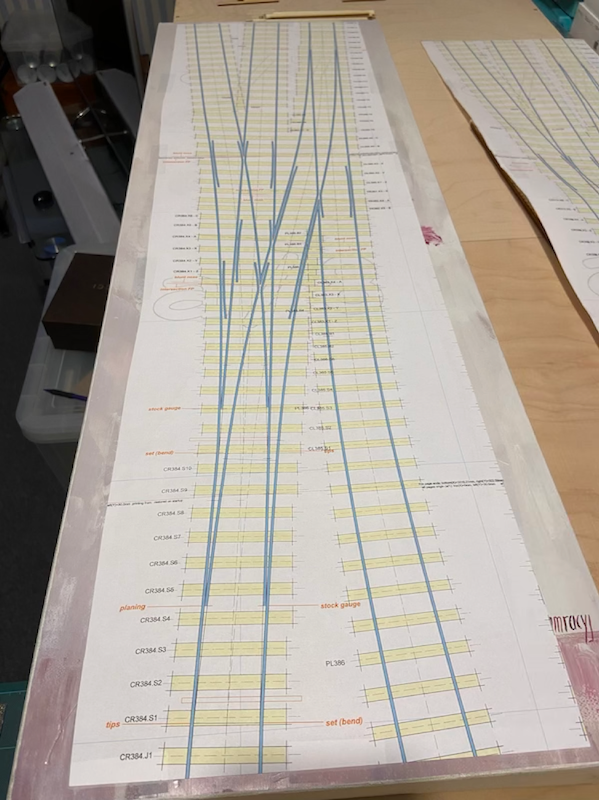
Fortunately, easily corrected.
I was determined to have an 'interesting' formation for the challenge of building it in S7. There will also be a crossover incorporating a single slip on the upper level.
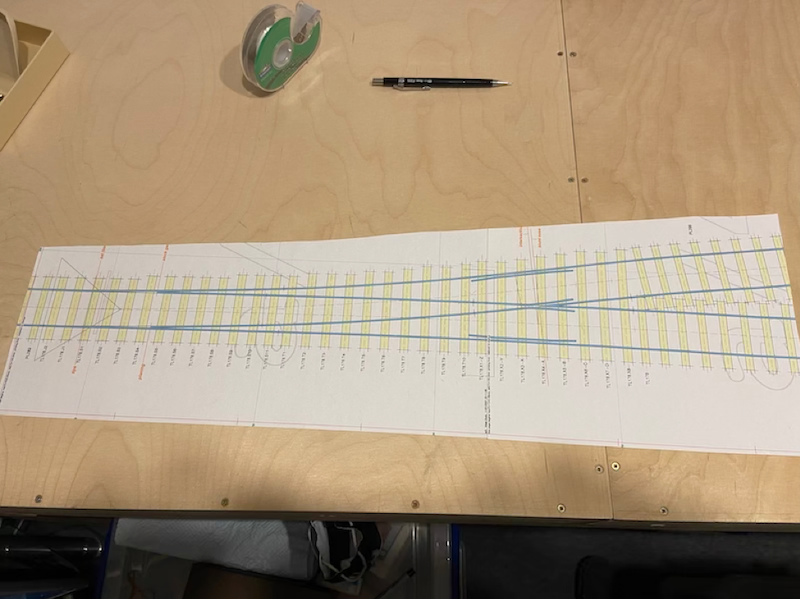
However, starting on one of the simpler points seemed a better place to begin.
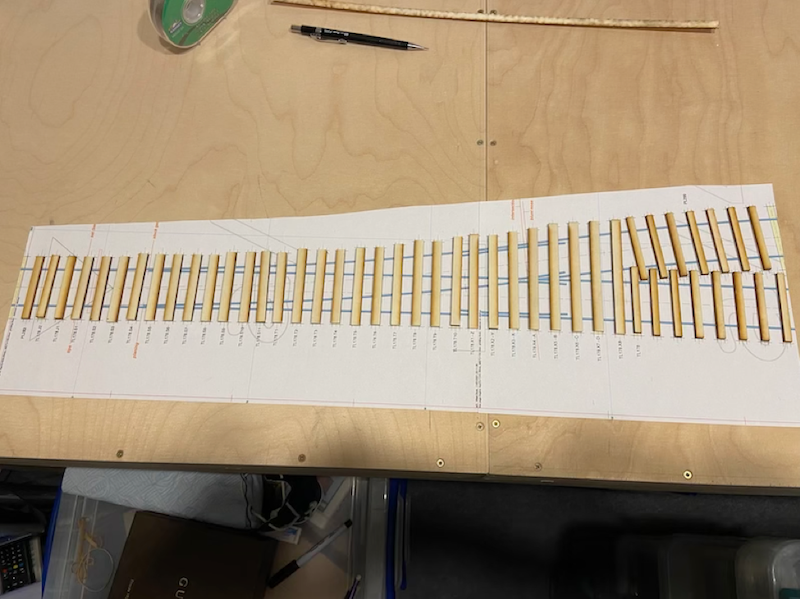
Timbering was cut to length. This is all C&L timbering and sleepers.
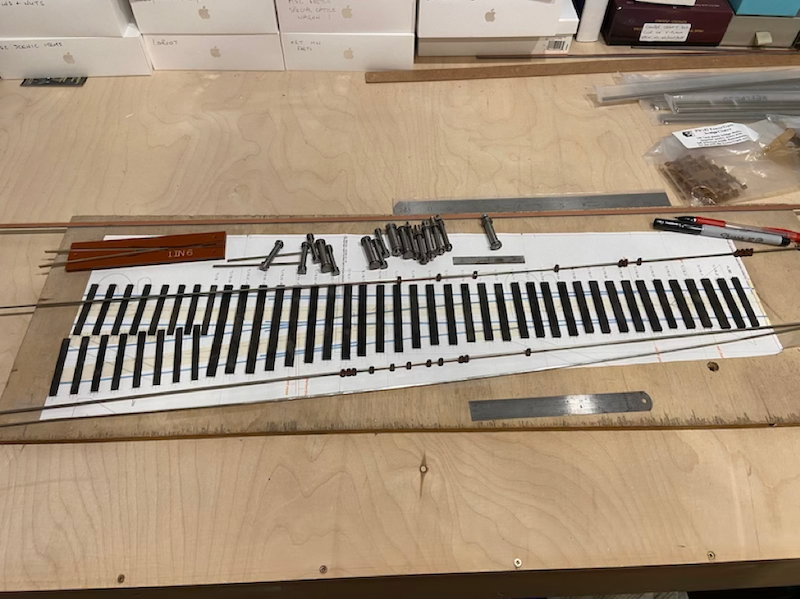
Stained and laid. Double-sided tape used to hold it all in position
I prefer to build pointwork in modules off the layout and then position as a unit when ready.
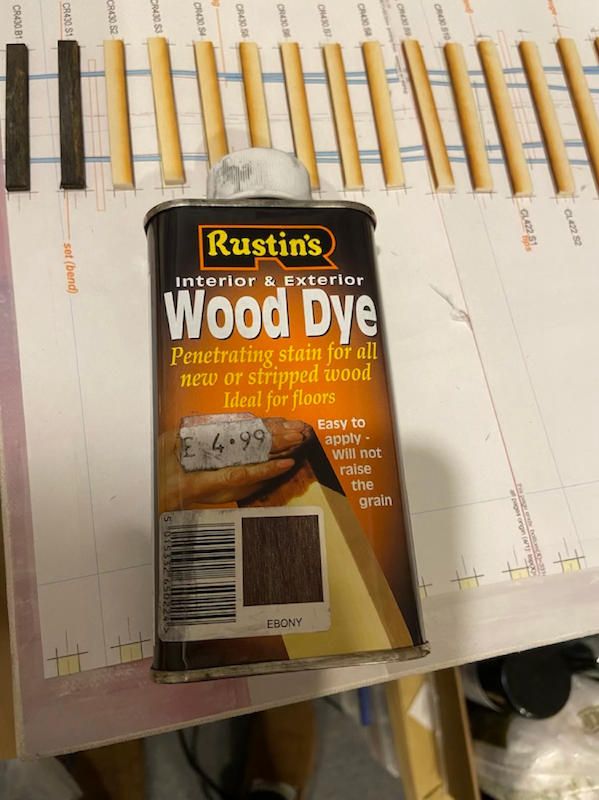
The staining was done with a Colron wood dye thinned with white spirit. An old sieve drained the surplus dye and they were spread out on old newspaper and left to dry (and lose the odour!) for a few days.
The paxolin common crossing jig is one of the S7 stores items. These are also available (to members) in O-MF. I have plenty of roller gauges. I just need to get some more chair threading done but that proved to be a bit tricky with my damaged thumb.
14" timbers under the 3C? (and maybe also under the slide chairs for the switch toe?)
12" timbers rather than 10" sleepers at the toe of the turnout?
Good idea to do a simple lead before starting the tandem. If you can do the crossings of the tandem by the year end then I can copy your ways and means.
4th October
Actually Graham, your comment above made me get out the vernier calliper only to discover that all of the turnout timbers are 14”!
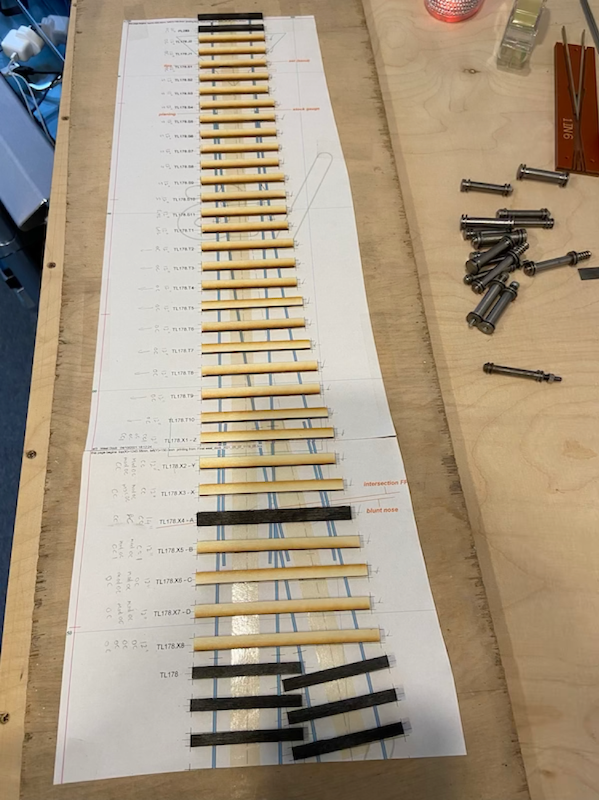
I used C&L laser cut timbers without actually measuring them. Also, having checked the label I find that I’ve used the pack of 14” timbers. Fortunately, I do have some 12” timbering as well so I’ll be able to use that. Luckily, I hadn’t started fixing the chairs.
The narrower 10” timber at the toe is correct as it is beyond the actual toe of the turnout. When I build turnouts, I generally go a few sleepers beyond the limits of the turnout at each end. I find that this avoids having an actual rail joint close to a potentially critical position. The template is part of the track plan rather than just a B6L on which it is based.
5th October
Following Graham's timely intervention, I've cut new timbers in the correct 12" material. The 3C/BC timber is 14" wide.
The other stained sleepers are normal 10" width outside of the turnout formation.
Just got to get the timbers stained up now.
I feel it's easier and more convincing to 'fade/bleach' a dark surface than to darken one that is too light in the first place. Your mileage may vary
Not that I've got a huge experience in these deliberations but for the few short pieces of track work I selected the Ebony wood dye for the sleepers as being most convincing to my untutored eye.
5th October
Me too!
5th October
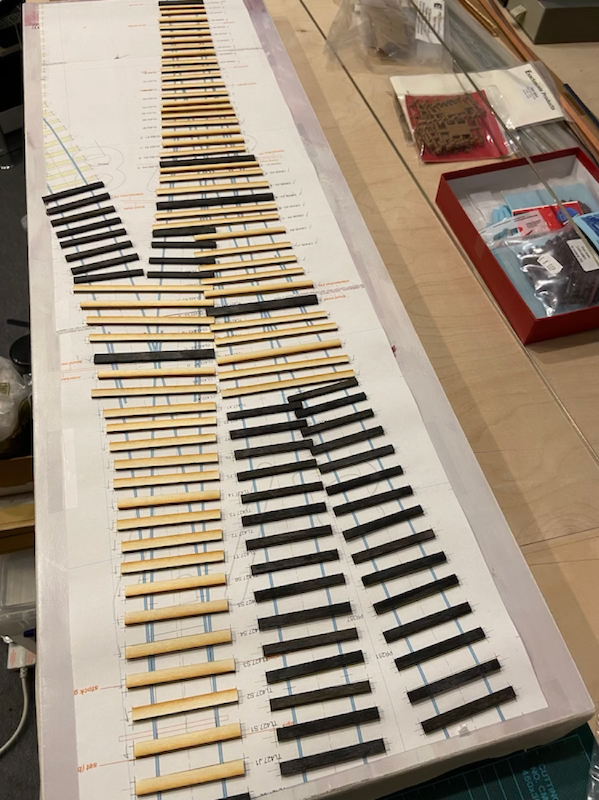
I've also cut the new timbers for the tandem. Sleepers and timbers roughly placed.
I see I have one odd timber to shorten!
The siding to top left will not diverge at that angle - it's an old template.
9th October
I had hoped to go to the S7 National Show today, but my wife is going in to hospital on Monday to have a new knee installed and is obliged to isolate for three days prior.
As a consequence, I become subject to the same restriction so used the time today to make progress with the baseboards.
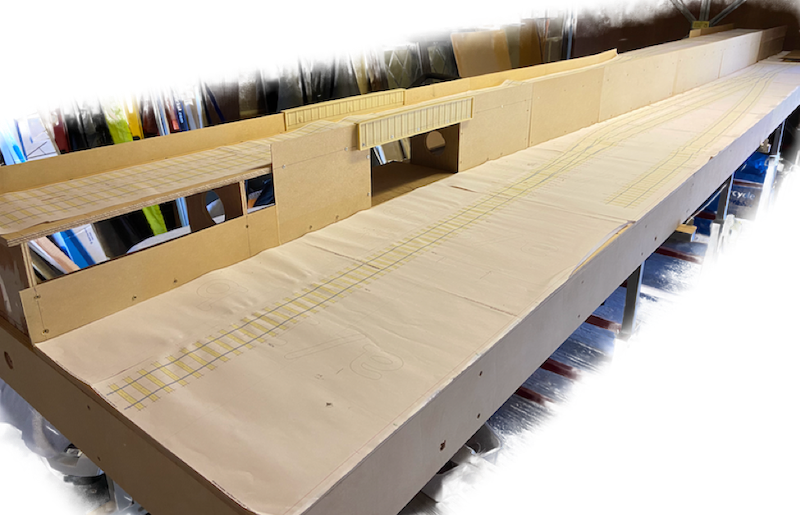
The elevated track base is now complete. The near end is a short fiddle yard on both levels. The vertical faces will all be clad in stone - I have a cunning plan for that.
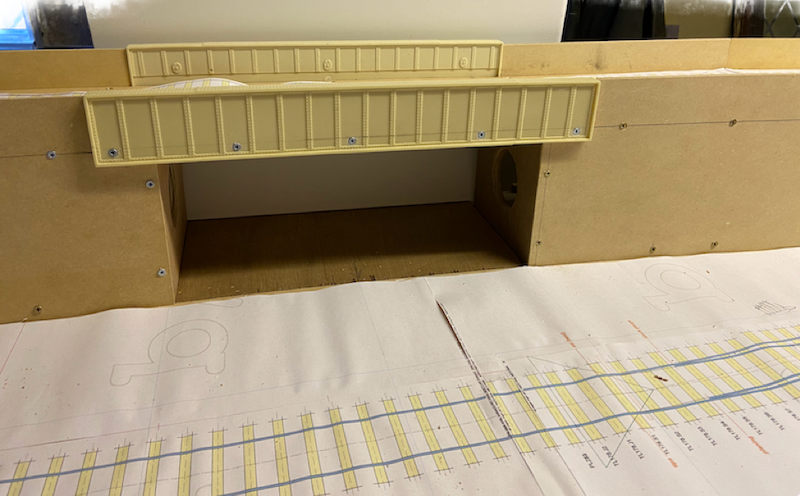
The bridge sides are from MM1. The screws will be fully countersunk and holes filled. The walls under the bridge will also be stone clad and the low-level tracks inset into the road.
A little bit of road traffic under the bridge will help set the time and place. (A Griff Fender van and a SWT bus to start with!)
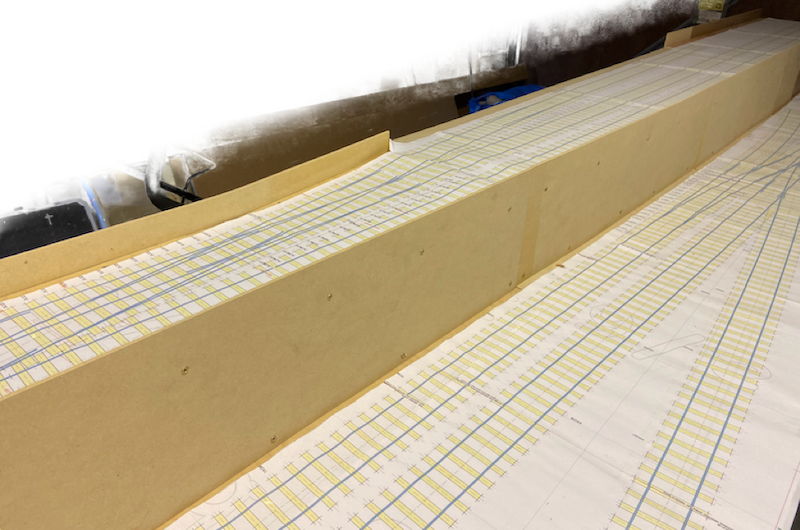
The gap in the rear wall of the viaduct is where a low-relief Beaufort Mill with its loading platform and canopy will sit.
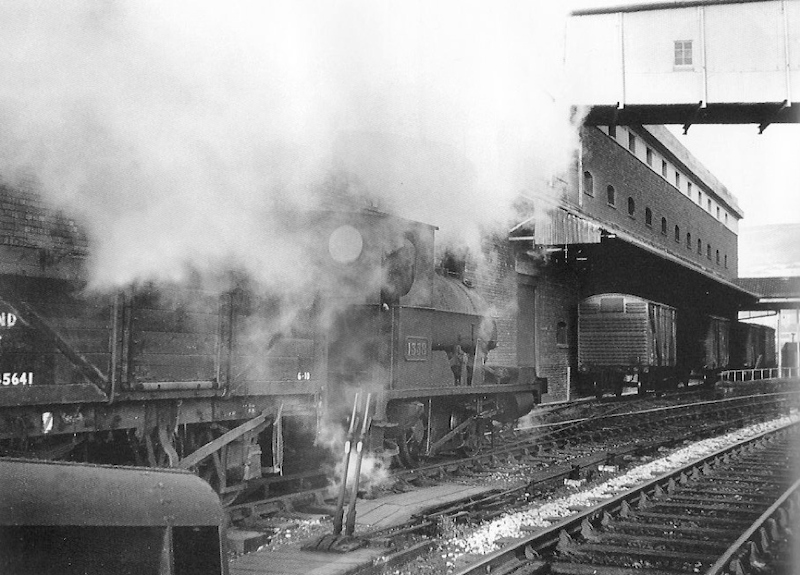
This is the inspiration for the Beaufort Mill siding with the preserved 1338 passing on 10Dec62. Photo provenance unknown. I'm hoping to incorporate the mill's bridge as a scenic break at that end of the layout.
Viaduct walls to create, underlay laid and then tracklaying to come.
I may be some time.
16th October
Whilst my wife was away in hospital for a few days, I separated the baseboards and painted their sides and did the legs too (they're also from Model Railway Solutions) in Farrow and Ball 'Charleston Grey'. This is a subdued mushroom colour and tones down the starkness of the birch ply.
The baseboards ahave now been moved back to the man-cave.
Top
Tanat Valley 3 by Peter Drost

John Borkowski converts Accurascale hopper wagons to S7

The Story of Reeth by Simon Caygill
For further information on the ScaleSeven Group, or if you have any questions: