

Tanat Valley 3 by Peter Drost
The original source for this article is here:
https://www.westernthunder.co.uk/index.php?threads/rtr-loco-conversion-to-s7.2616/
A finescale Ixion Manning Wardle 0-4-0ST to be converted to S7 and then painted black and weathered heavily.
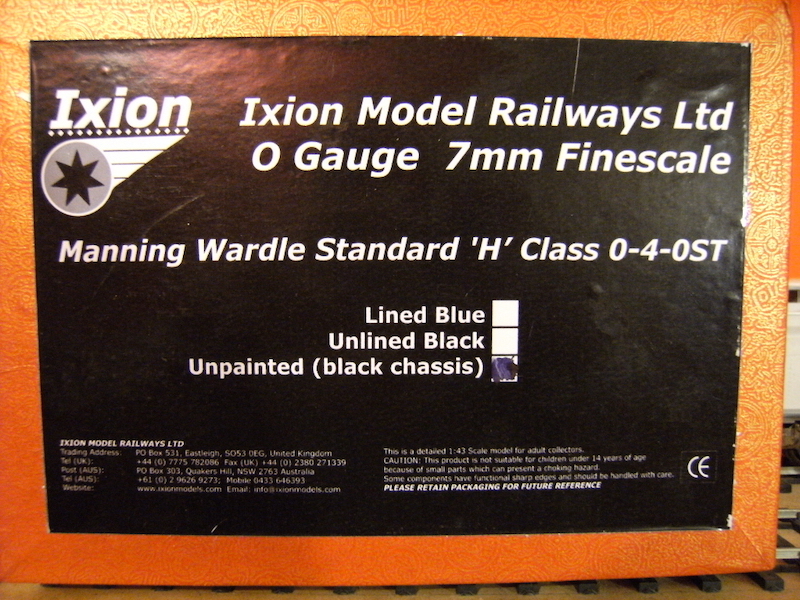
I'll show the process of conversion, including wheel turning etc. and whatever else needs attention in the article.

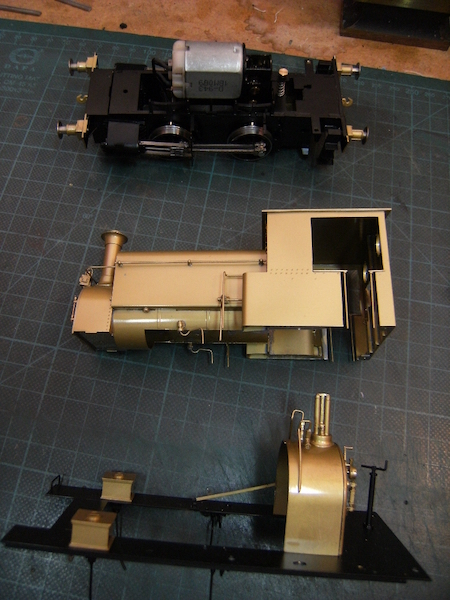
We start with disassembly of the loco, it's all screwed together in three units, chassis, footplate and backhead, and cab tank and boiler/smokebox.
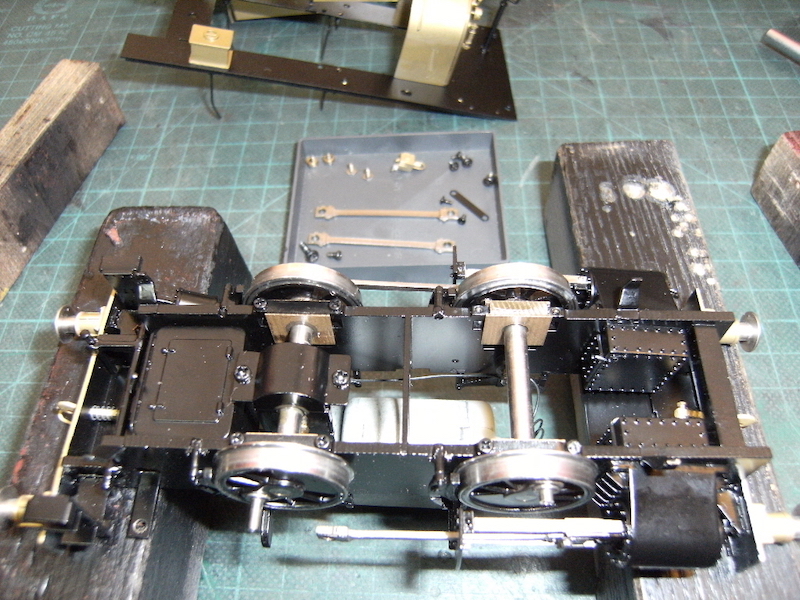
With the chassis upside down unscrew the axlebox keeper plates, disconnect the coupling and con rods and the bottom cover on the gearbox remove the axles.
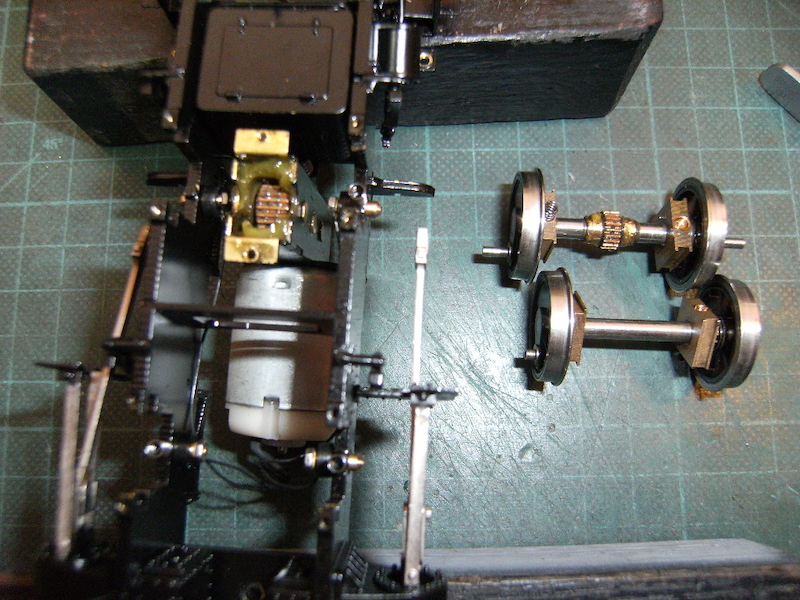
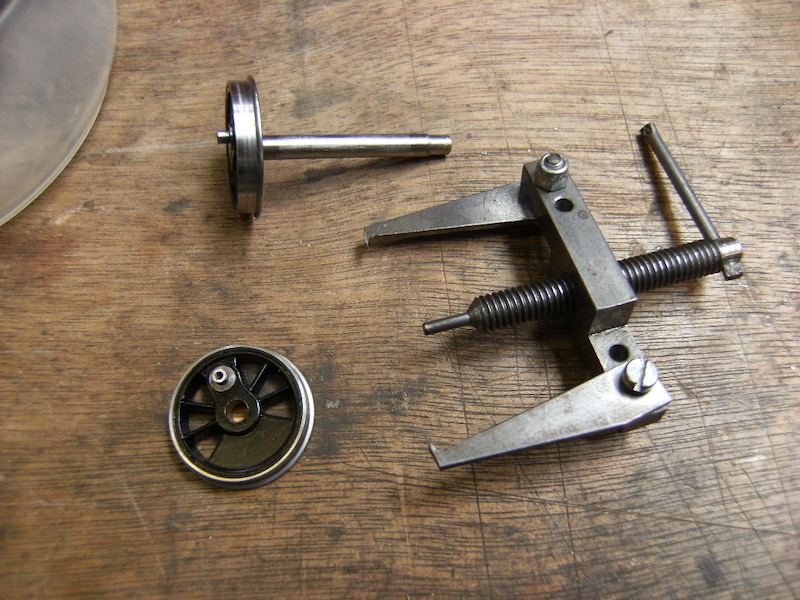
Next pull the wheels off the axles, remove the bearings and drive the gear off the drive axle, I used the tailstock on the lathe to do this with the axle a slide fit in the jaws.
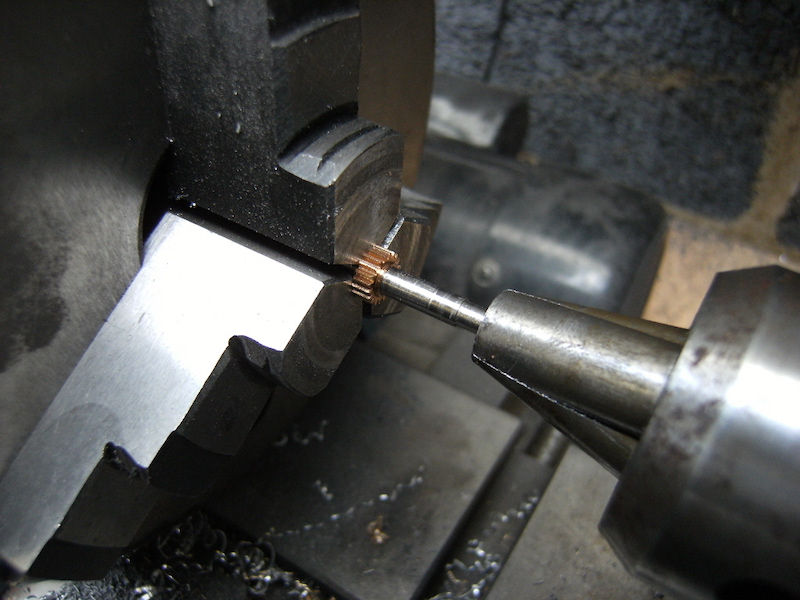
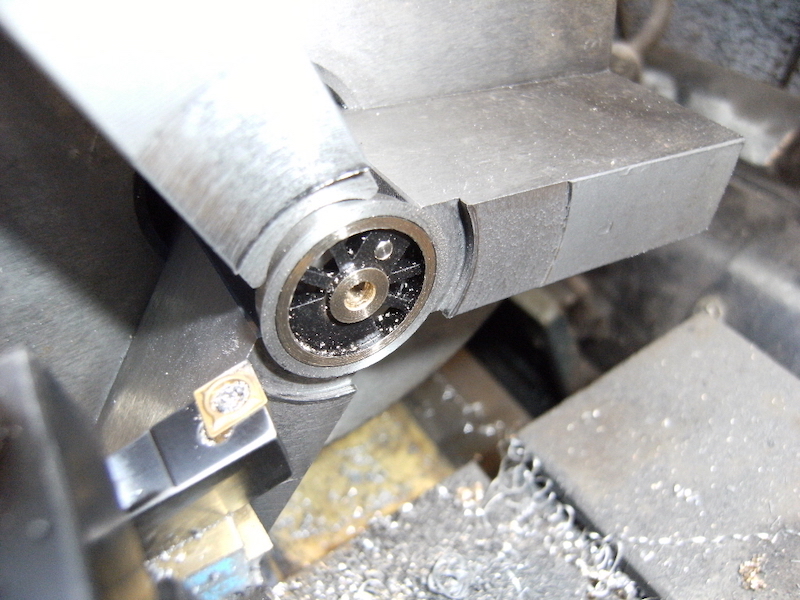
Check the dimension of the wheel flanges, and skim the back of the wheels, using the soft jaws in the lathe, so as to leave 0.7mm effective flange thickness (for S7 effective thickness is 0.66mm, 0.7 leaves some meat for the profile tool to work on.)
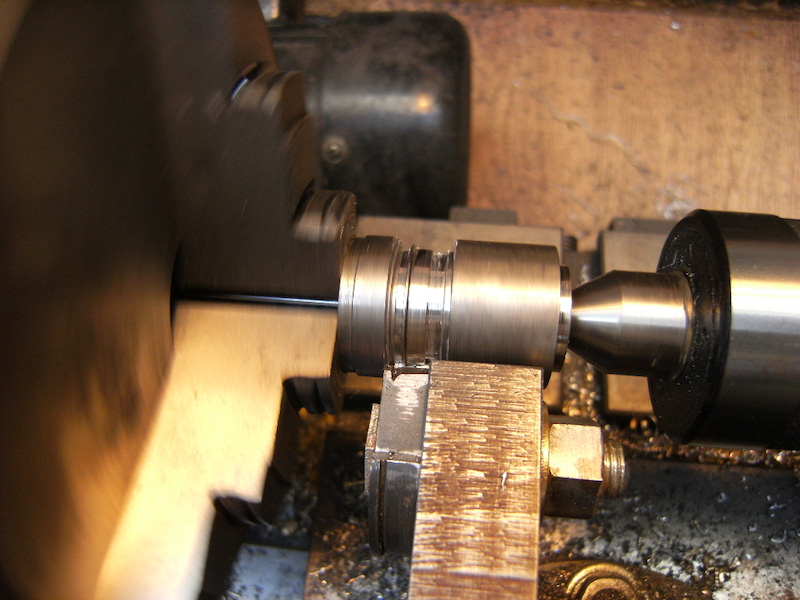
Go right across the back of the wheel including the boss. The wheels can now be profiled in the conventional way using mandrels.
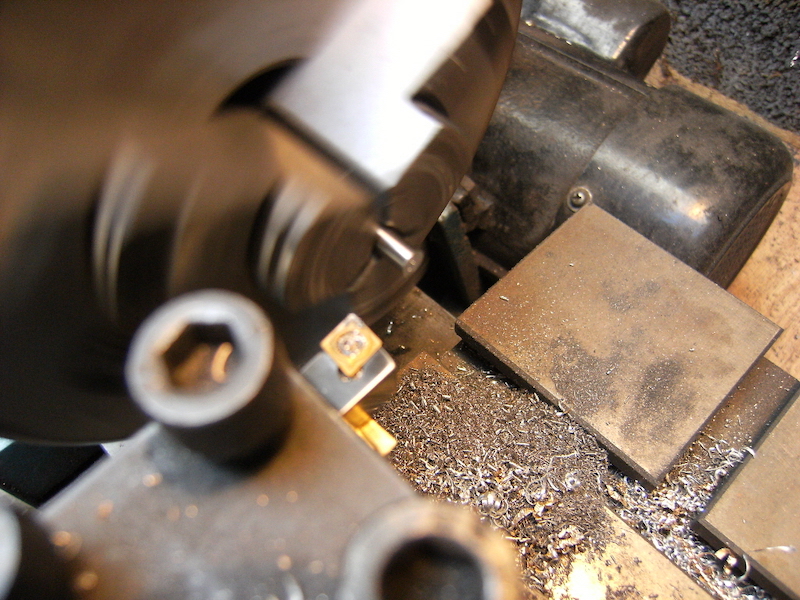
We also have to make new axles as the F/S axles are too short to be of use. I made these from 5/32" silver steel rod
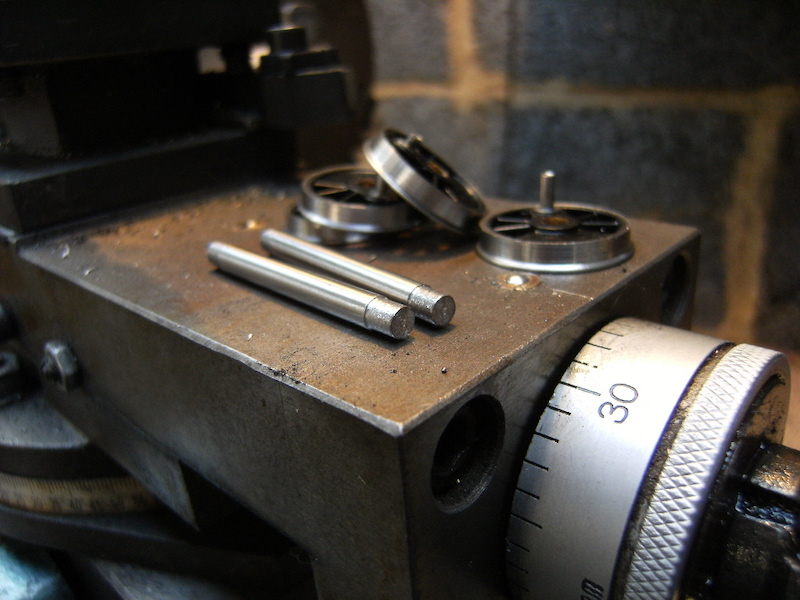
With the ends reduced to 3.5mm dia. for fitting to the wheels. Allow 31.25 for B/B plus the thickness of the wheel bosses for the overall length.
I realise that not everybody has a lathe or access to one but if you farm out the turning work it shouldn't be too expensive.
For those wanting to get into S7 without building a loco this can be a quick, easy and possibly cheaper way to get started
I re-fitted the wheels with Loctite thread-lock and quartered them by eye.
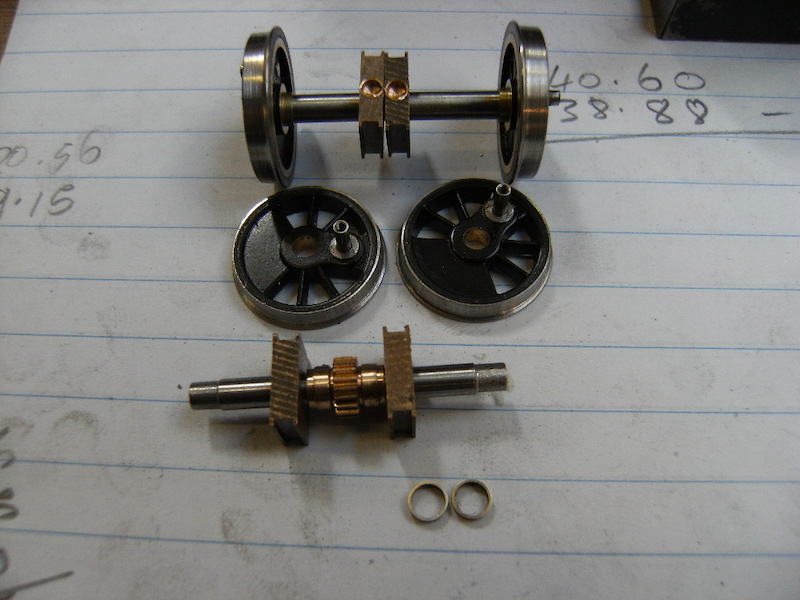
With this ready to run model the chassis is designed for finescale so it's on the narrow side. This means that with the gauge pushed out to S7 standard we now have some side play which, on an outside cylindered 0-4-0 or any 0-4-0 for that matter, we do not want. This means that we need to fit axle spacers between the backs of the wheels and the bearings, these I made from brass tube section that is a slide fit over the 5/32" axles, in this case they need to be 1.4mm in length but please measure your own model as there might be variation.
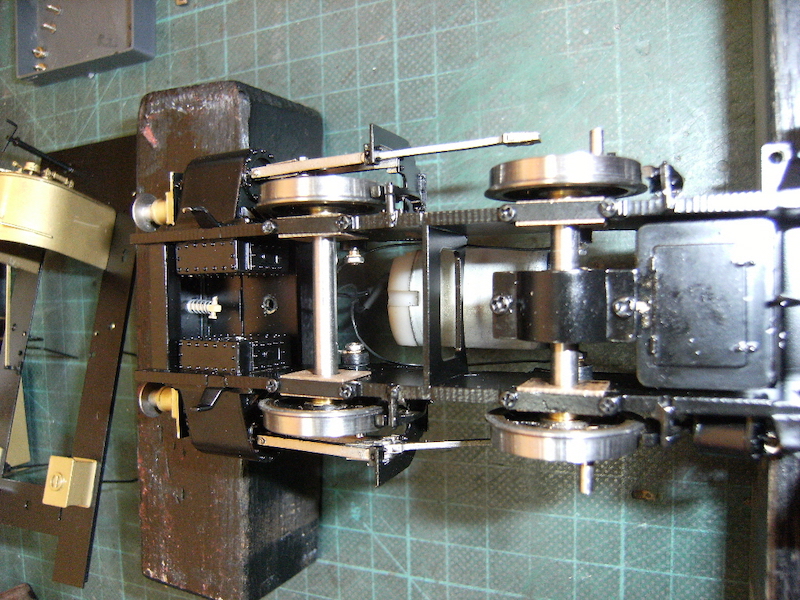
With the axles back in the chassis we find that the slide bars and cross heads are touching the crankpin nuts which hold the rods because we have pushed the gauge out and the model is built for F/S.
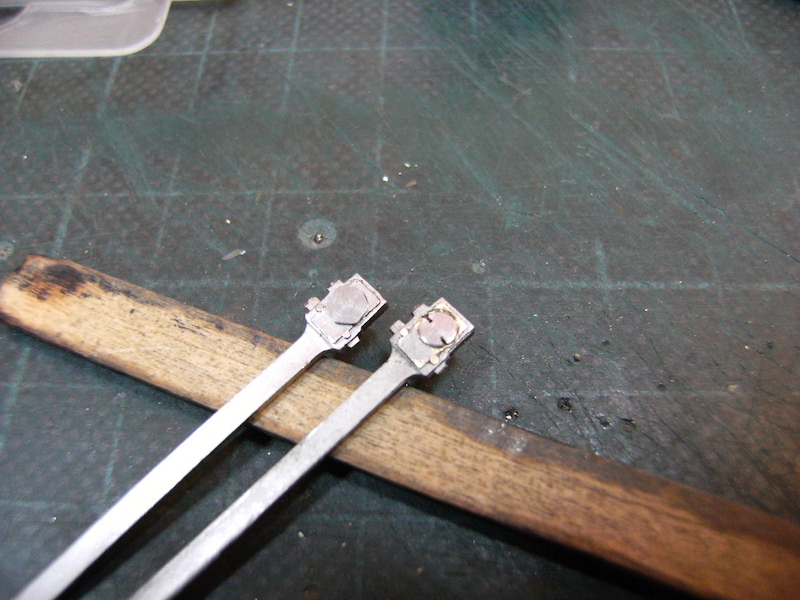
To cure this as simply as possible I turned the original crankpin nuts (bolts in fact) down to round headed and countersunk. I then counter sunk the coupling rods to just a third of the thickness.
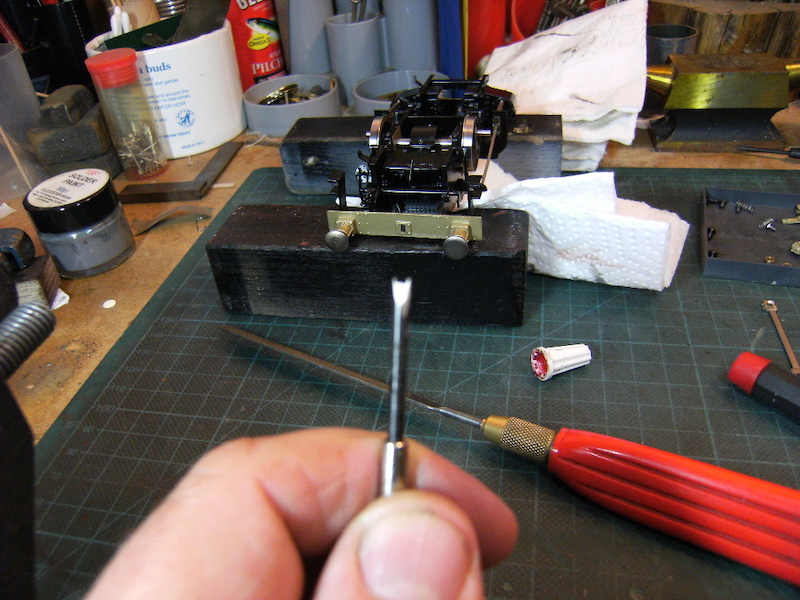
I cut slots in the head and filed up an old cheap screwdriver to fit.
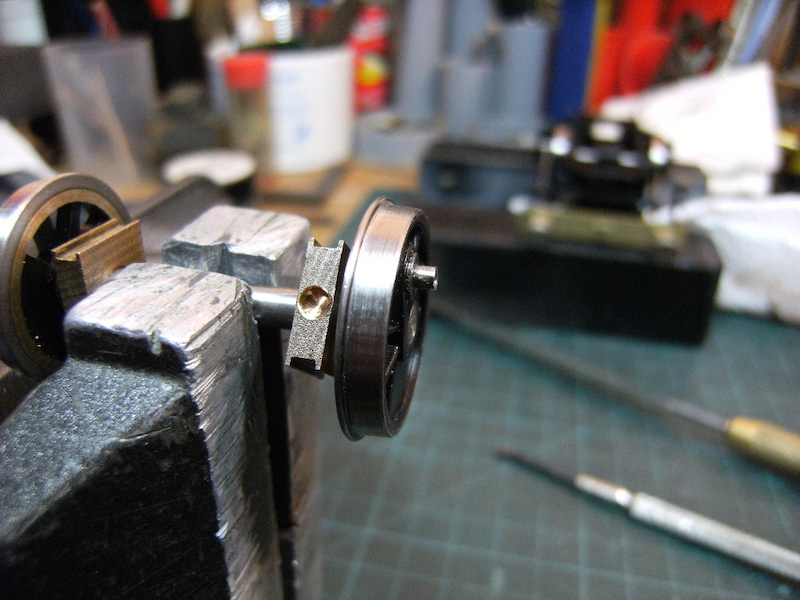
So that the rods and crankpin bolts fit flush properly, I shortened the crankpins on the wheels slightly.
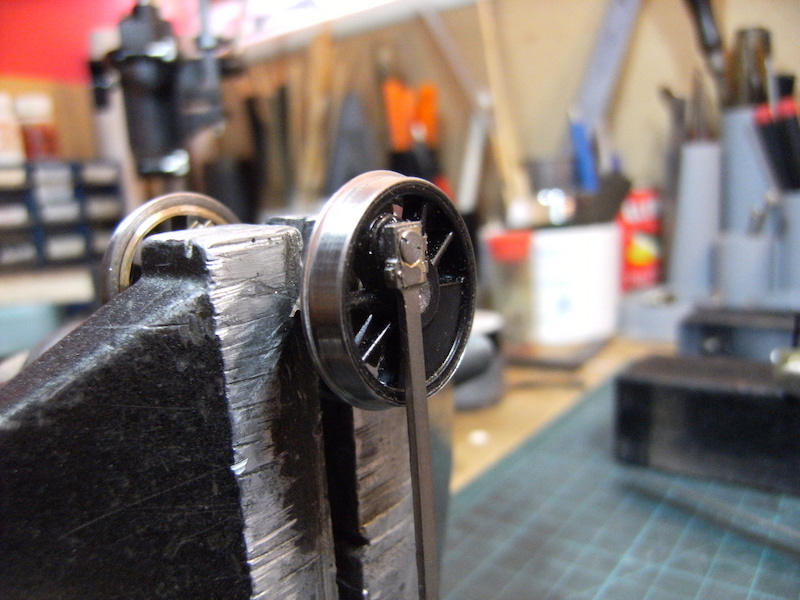
Check that all revolves freely, undo and re-fit with a little thread-lock (Loctite)
The axle can now be re-fitted into the chassis and test run to check for clearance.
Next job will be painting and weathering.
If this was a personal project I would probably go for cast wheels, if they were available. I'm not keen on stainless steel.
The other solution for the crank pins, on the leading axle, would be to remove the Ixion jobs and turn some up to take a threaded top hat bush, reversed on the pin and counter bore the rod to accept the head of the bush.
My client's requirements for this little Manning Wardle are for a plain black loco fitted with plates supplied by Severn Mill and heavily weathered.

I'm using Hycote acrylic spray cans for the basic coat, grey primer and satin black.

I start with the inside of the cab, then the outside.
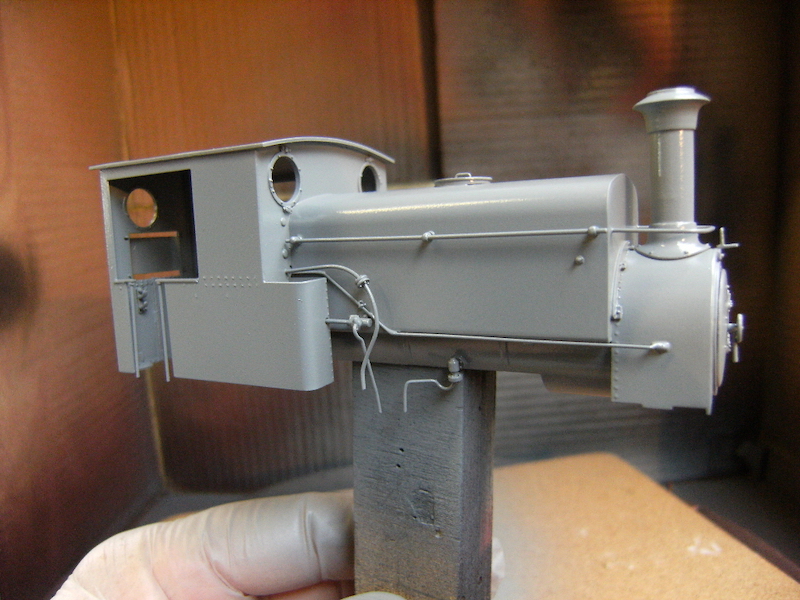
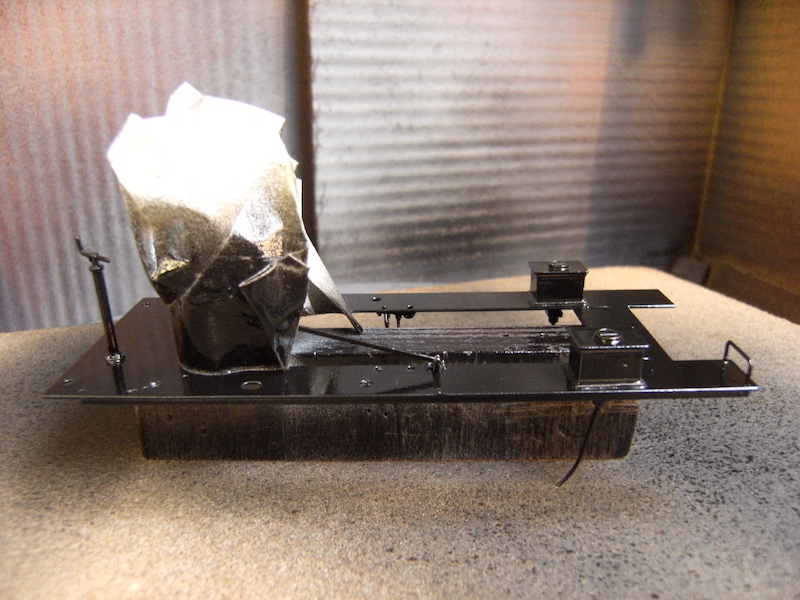
Then the footplate and backhead combined, shown here getting its coat of black. I have masked off the backhead as it has all it's fitting and I don't want to coat everything in black paint. I will paint the backhead by brush and detail paint the fittings.
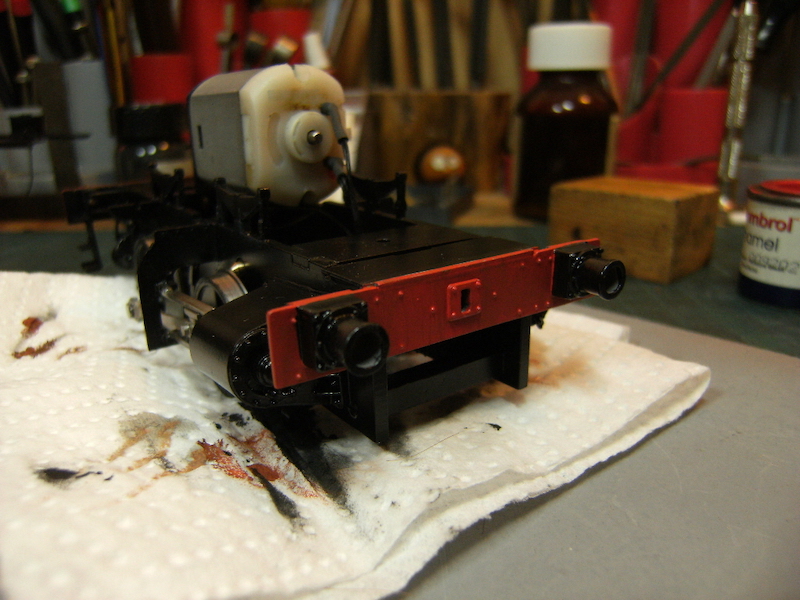
Buffer beams next with satin red, I use this in preference to gloss red as it looks more like faded colour which red paint so often did.
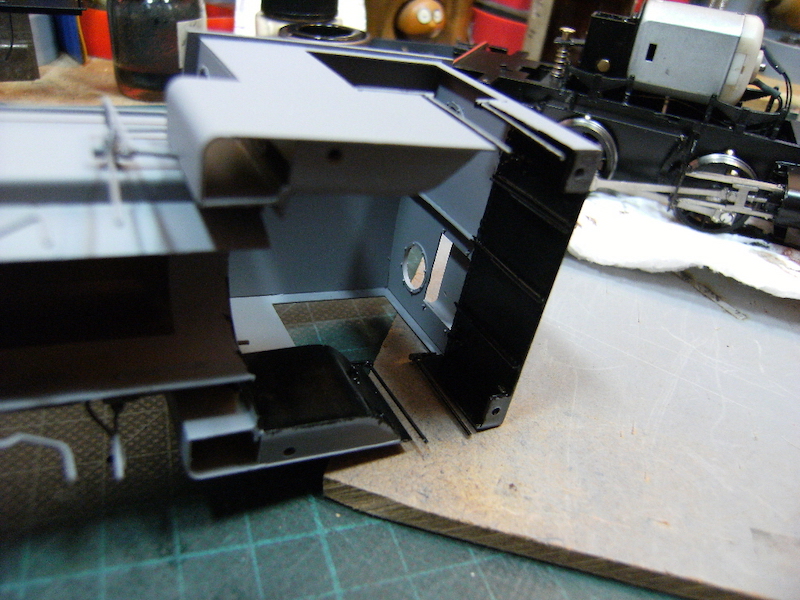
Now back to the cab and some modellers licence, I elected to paint the lower half of the cab interior black and the upper half straw or light buff which was often done on steam locos. This is an industrial loco and is not conforming to any particular prototype either.
This is done with a brush
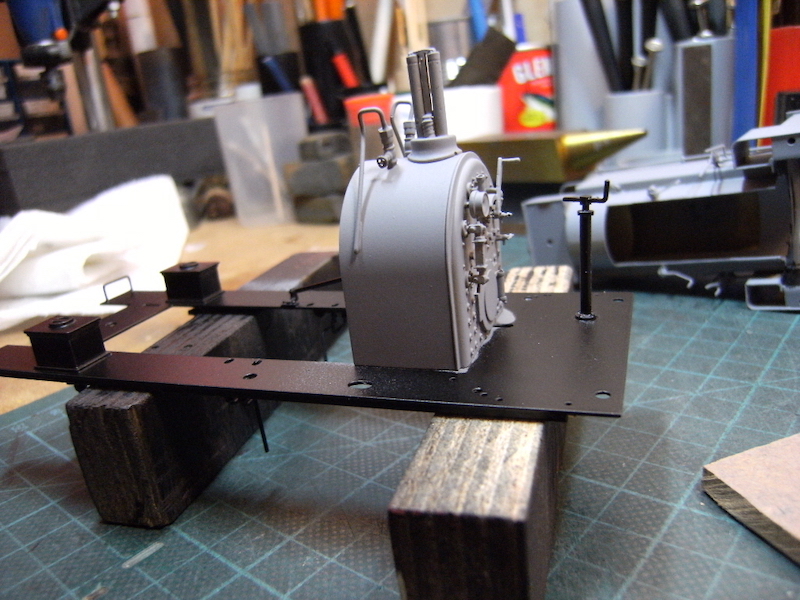
Backhead masking removed and then detailed, again by hand.
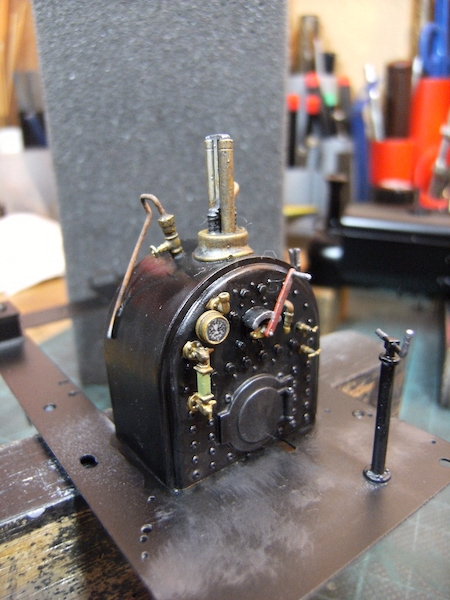
This will have further weathering later.

The ash pan is given a coat of rust colour.
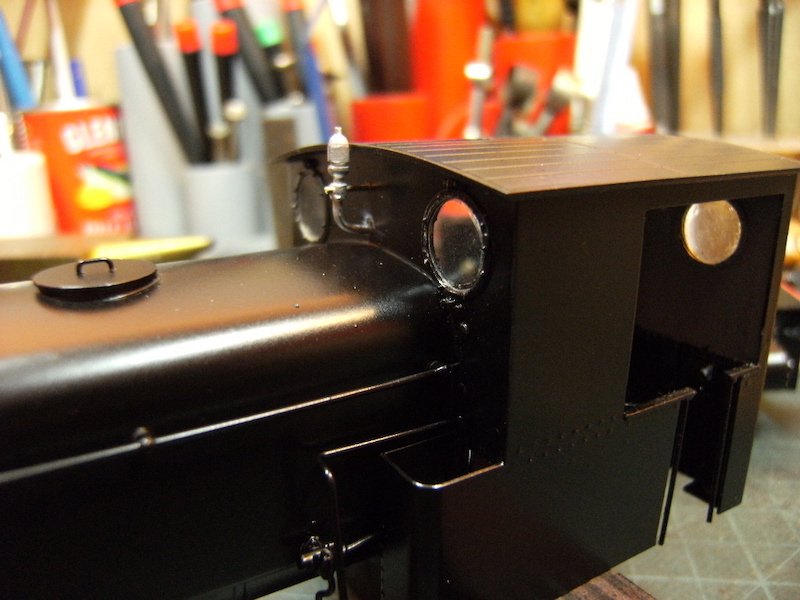
Finally, the body is given its coat of satin black.
This is all given 24 hrs to harden off.
Strangely enough this Ixion comes without a whistle so I raided the spares box for something appropriate after studying some photos.
Hi Col., looking very nice. Did you mask off the buffer beams over the primer then apply the red or did you apply the red over the black? I try where possible to mask off as I find that the black darkens the red too much. Looking forward to the weathering report.
I too had that as a problem, but I overcame it by adding a coat of white or light grey over the black before adding the red - worked like a dream. Oh, and I brushed on both of these coats.
I masked off and primed the buffer beams and then brush painted. I find that grey primer or red oxide is best for red.
Before any weathering the last fitting job was the glazing as the Ixion comes without.
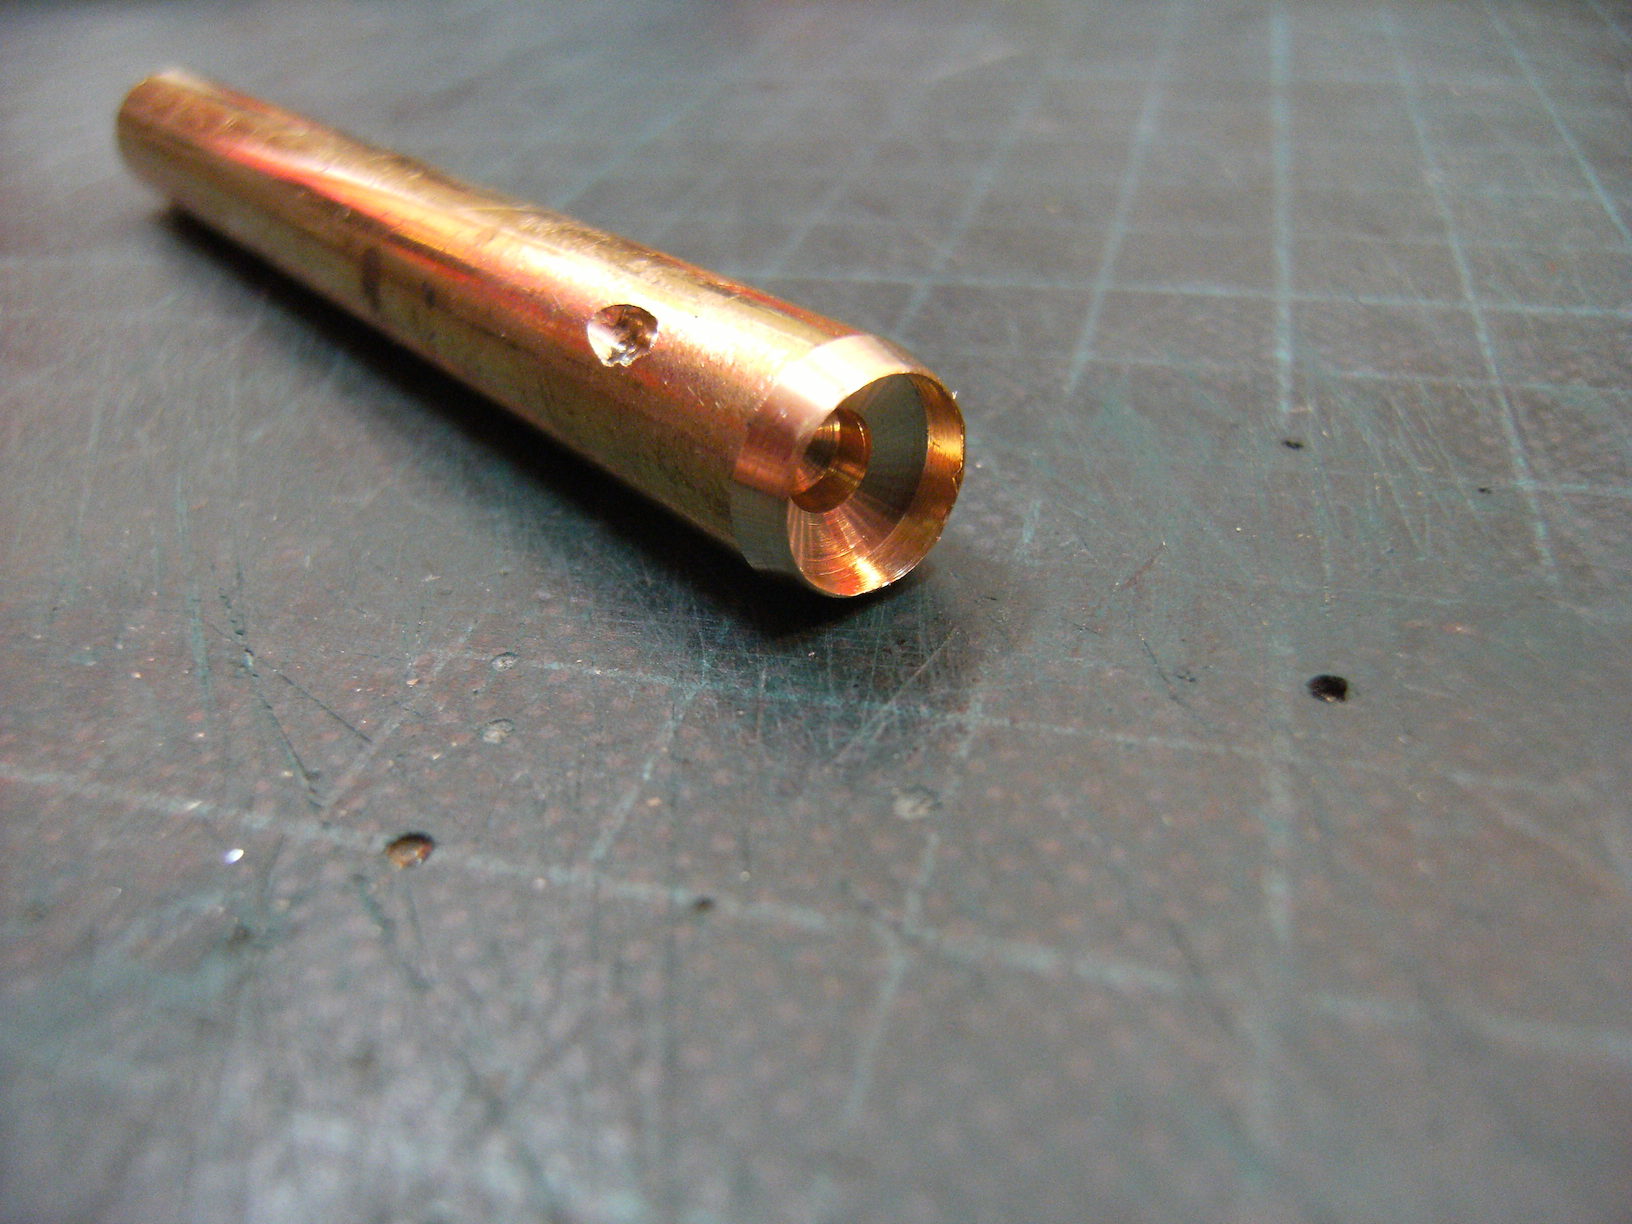
Measurement of the circular windows came out at 8.5mm dia. so to cut these I made a punch or press tool. For this I used a piece of 10mm dia. brass bar.
In the lathe this was drilled at one end with a centre bit and then bored with an 8.5mm drill approx. 6mm deep. A bevel is then turned on the end to form a cutting edge.
A 2mm hole was then drilled down the end at an angle to come out through the side of the bar with my battery drill with the brass in the vice.
The punch is put in the chuck on the drill press and the clear plastic placed on a piece of soft timber to press out the windows.
This hole is to push a blunt cocktail stick through to push the circular glass(plastic) out of the punch.
Steel would be better and would last longer.

Weathering can begin with the cab interior and a grimy wash of diluted matt black enamel.
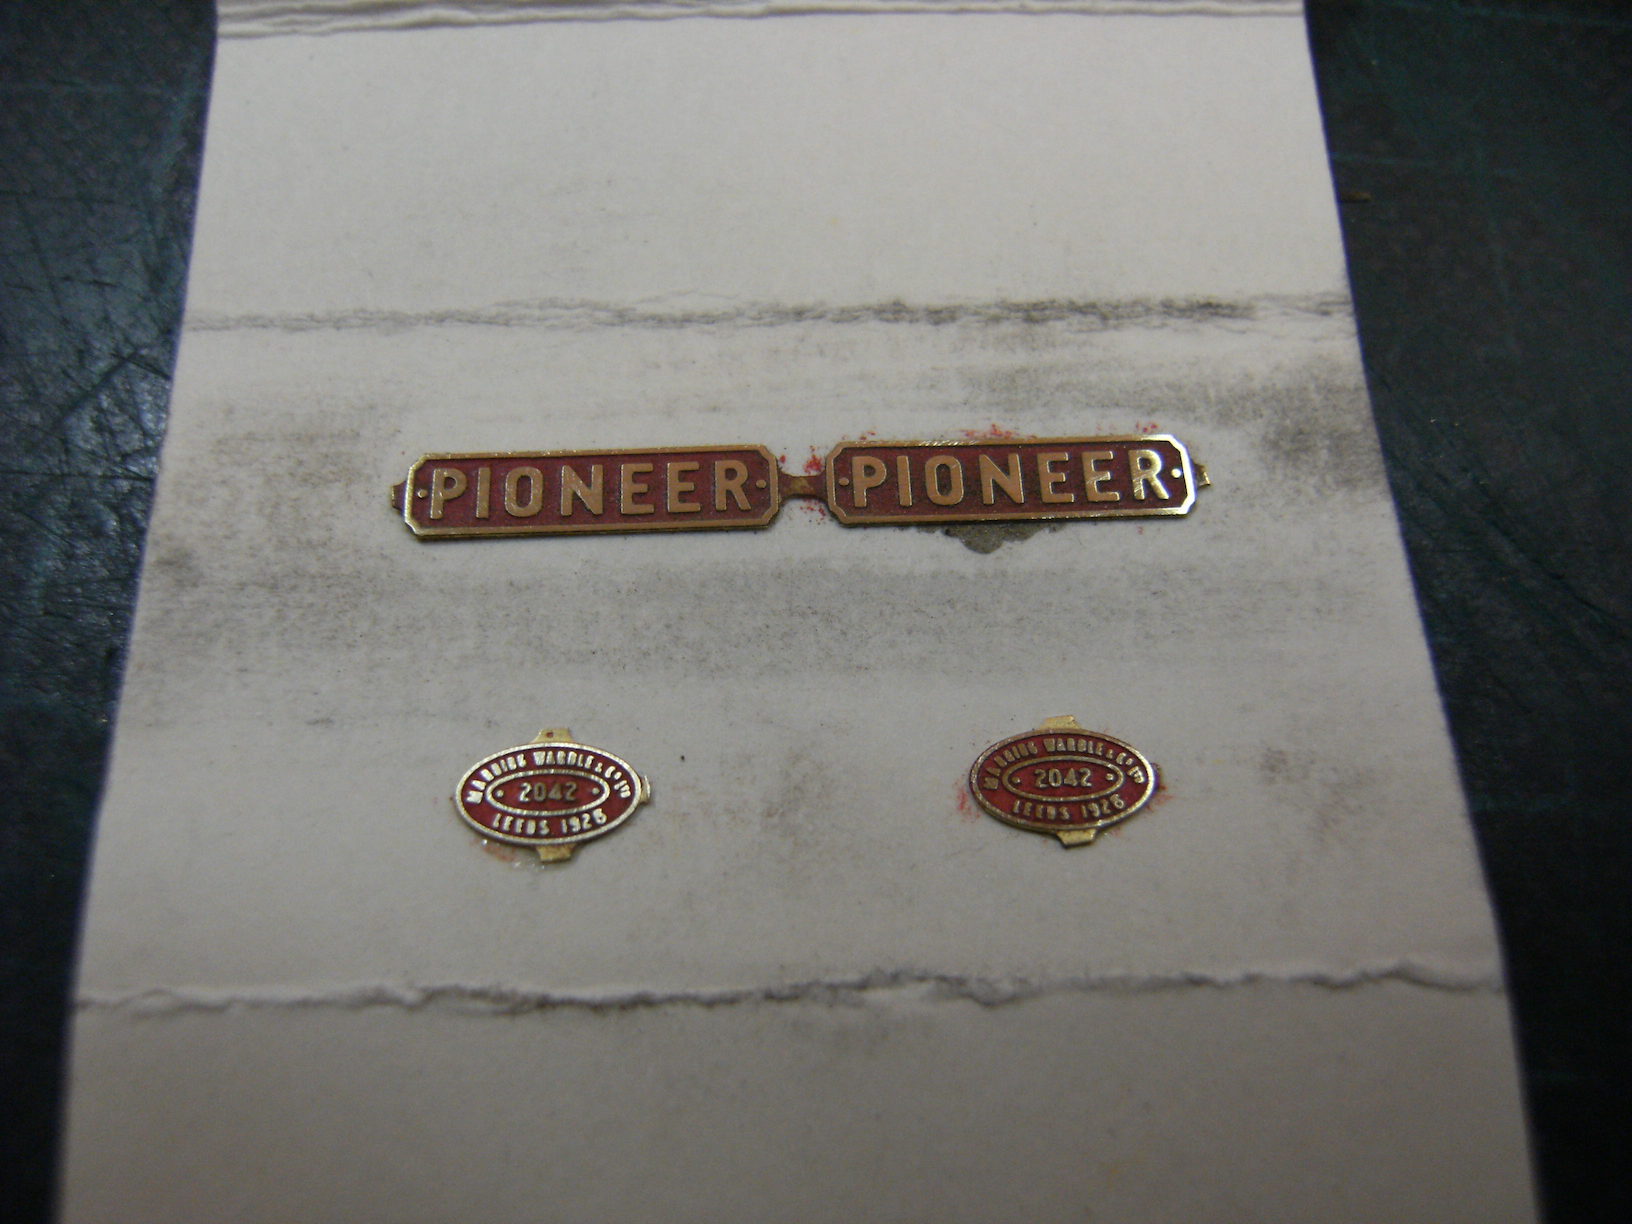
Next the name and works plates were painted red and then the surface clean off with some very fine wet and dry.
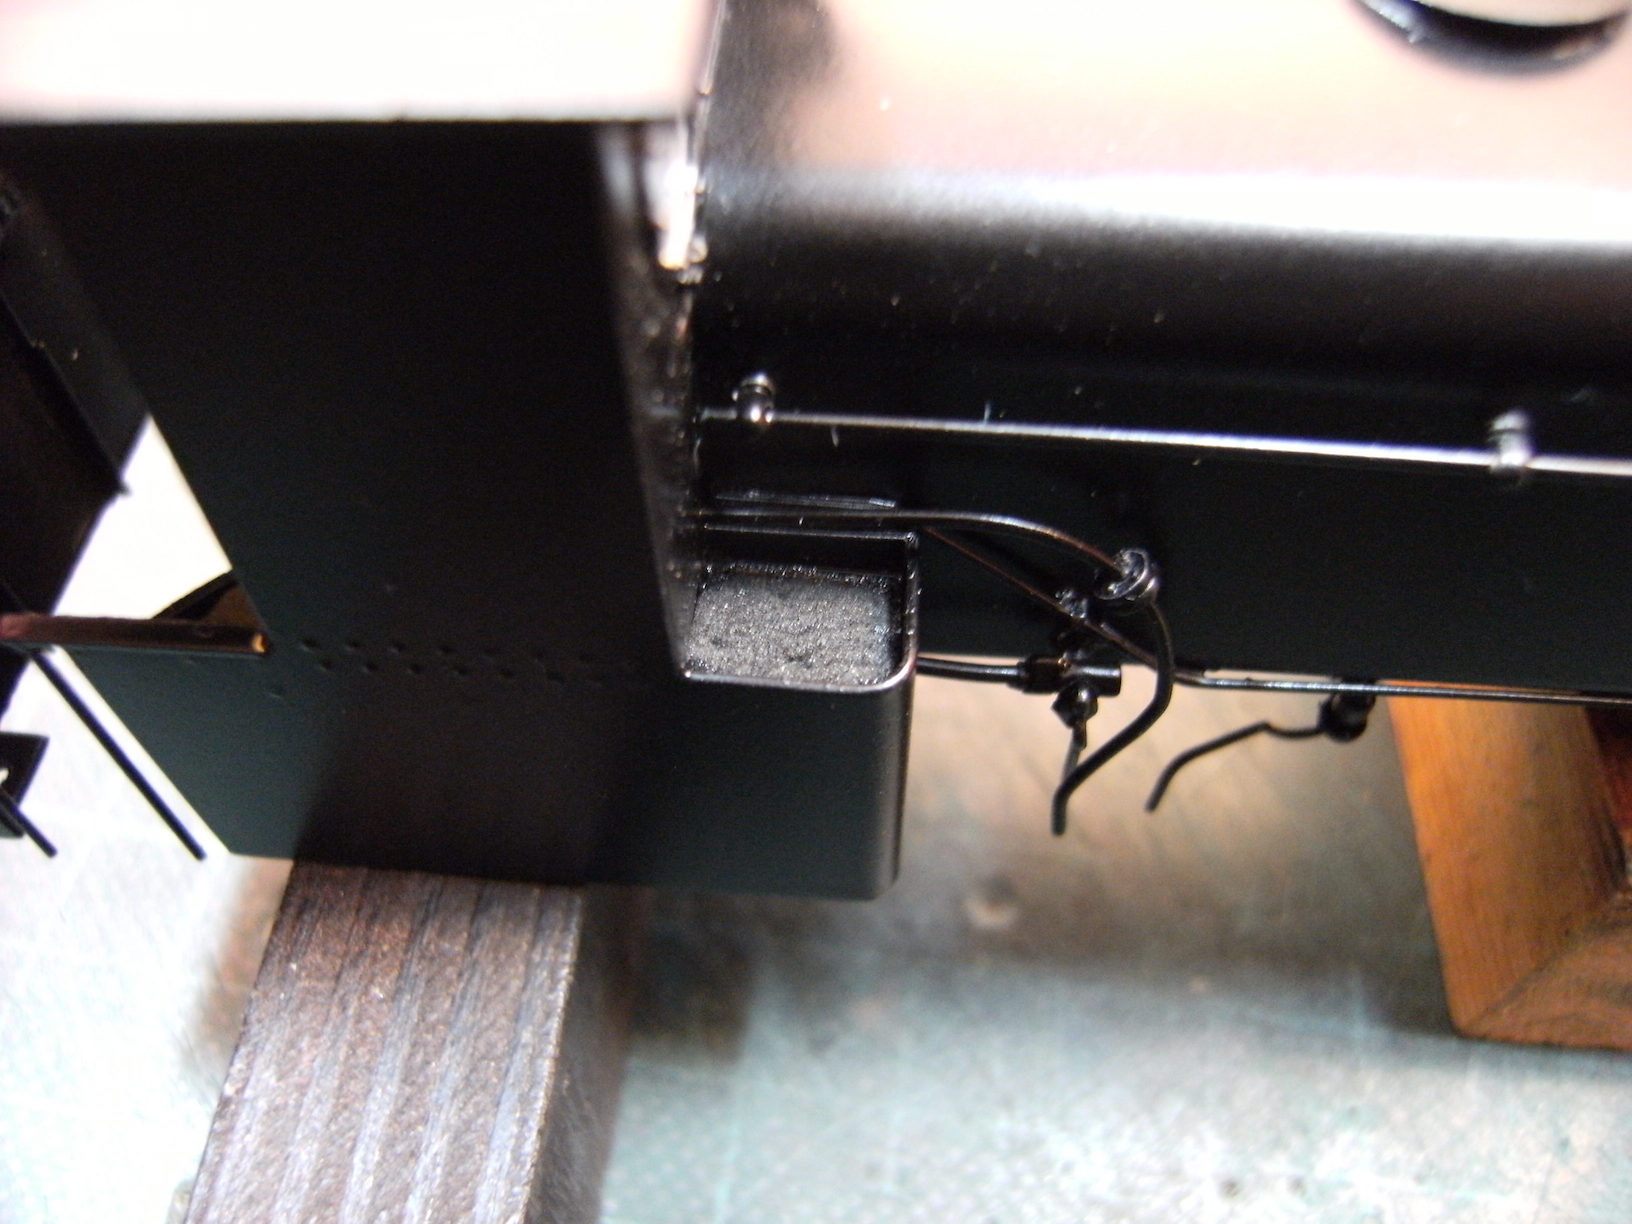
A piece of foam rubber glued into the bunkers
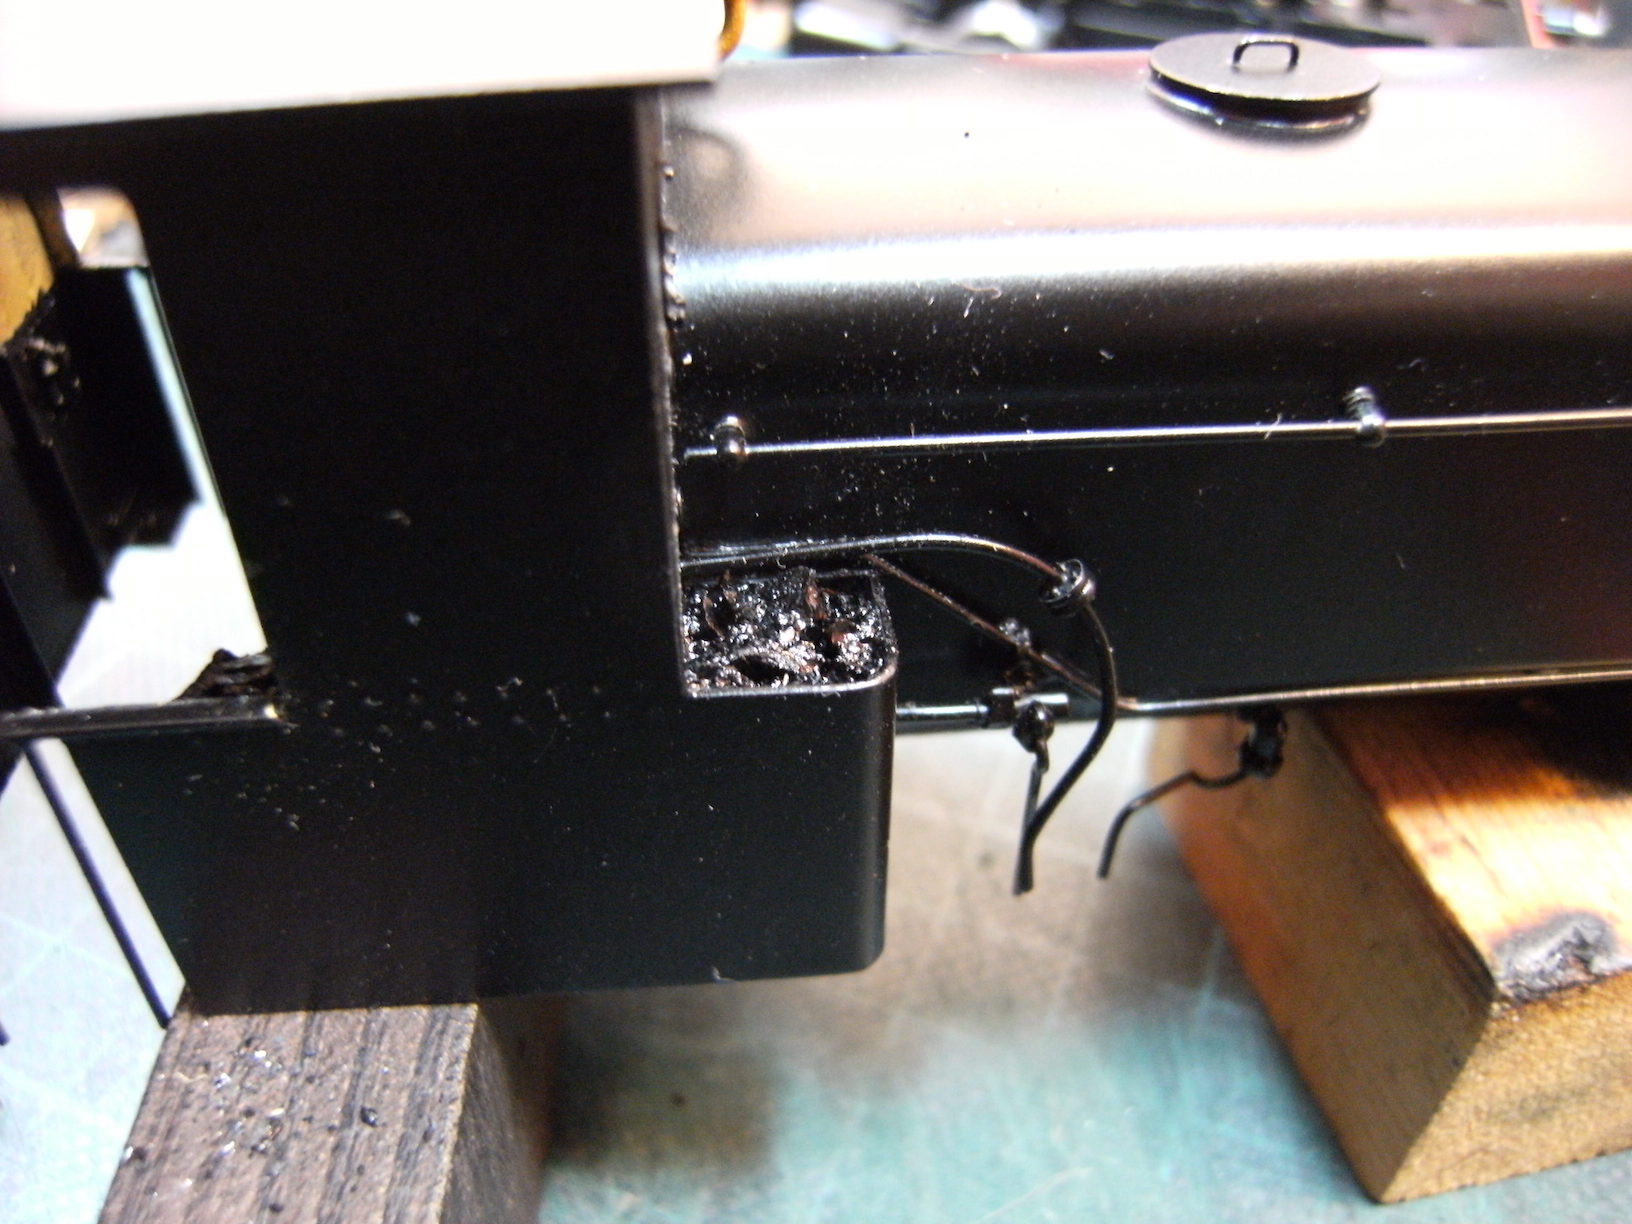
Then the coal added.......
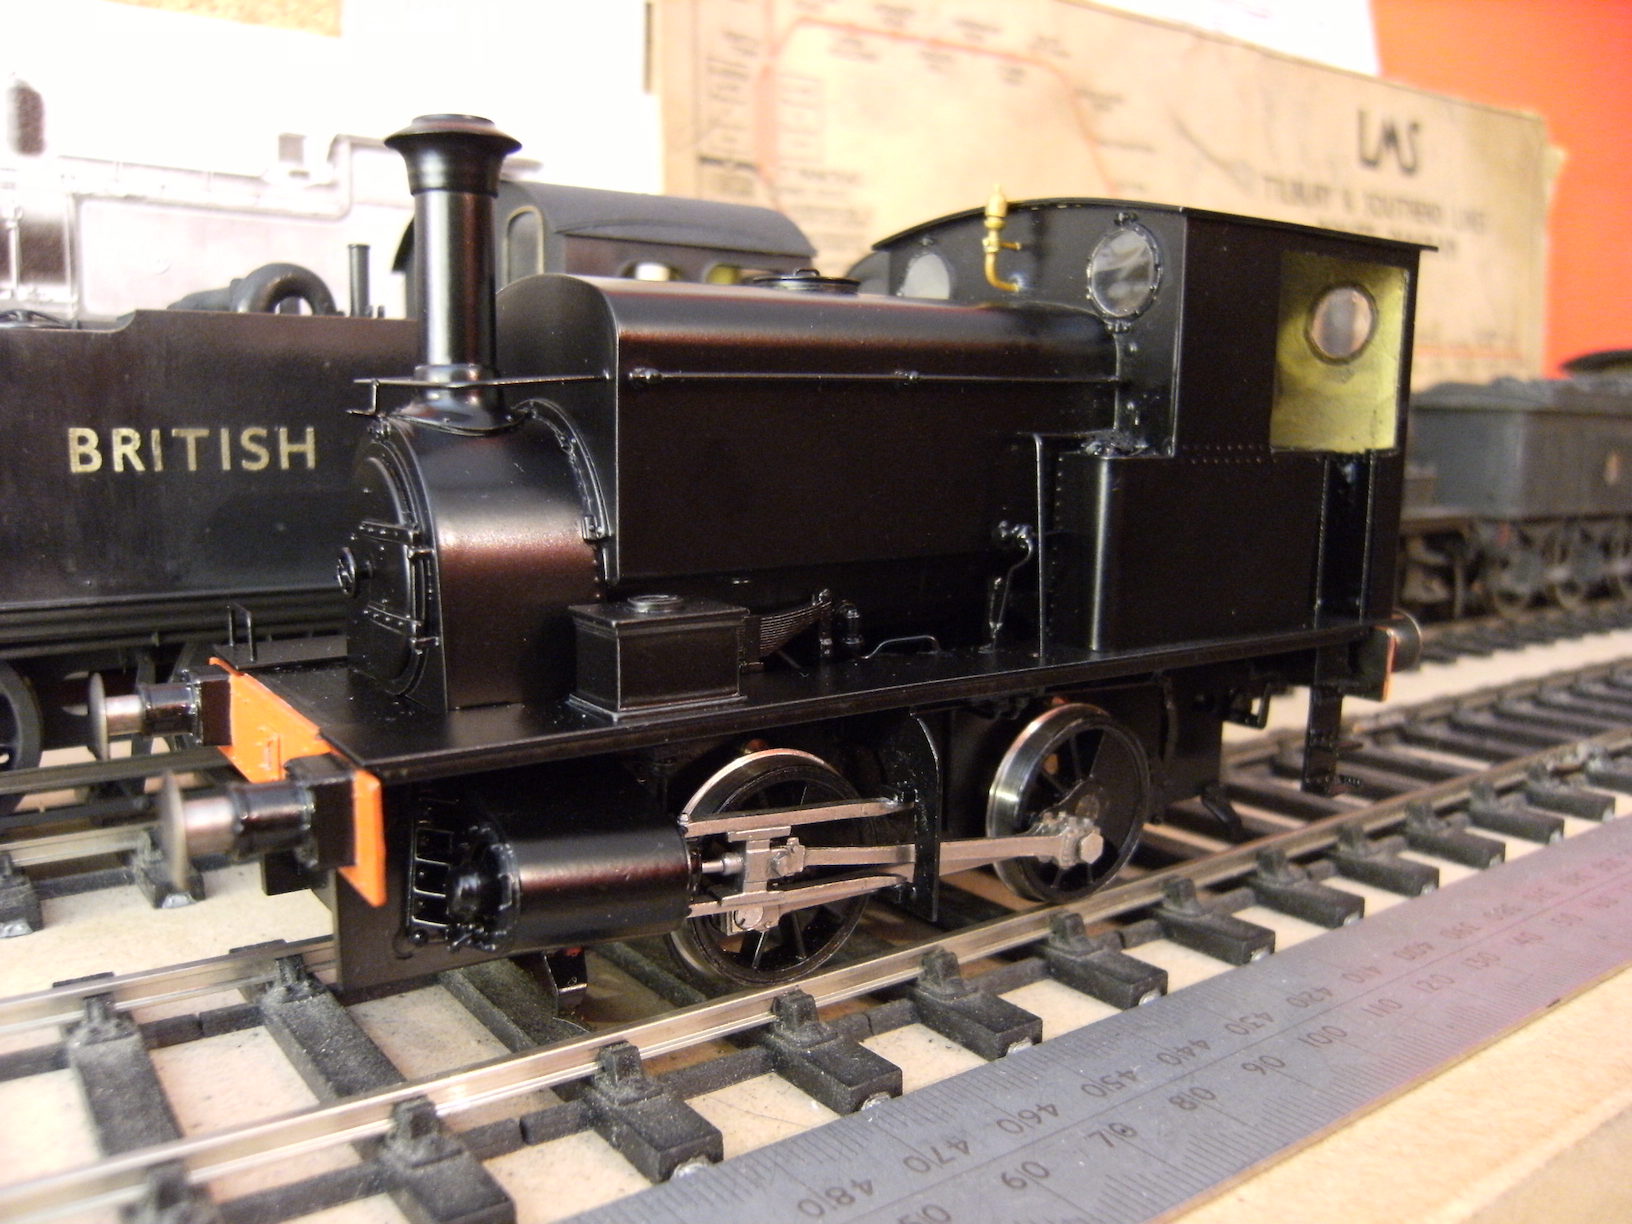

With the loco now re-assembled the plates can be fixed in position.
First a coat of grime colour is given all round and as this is to be heavily weathered I had to give a second coat.
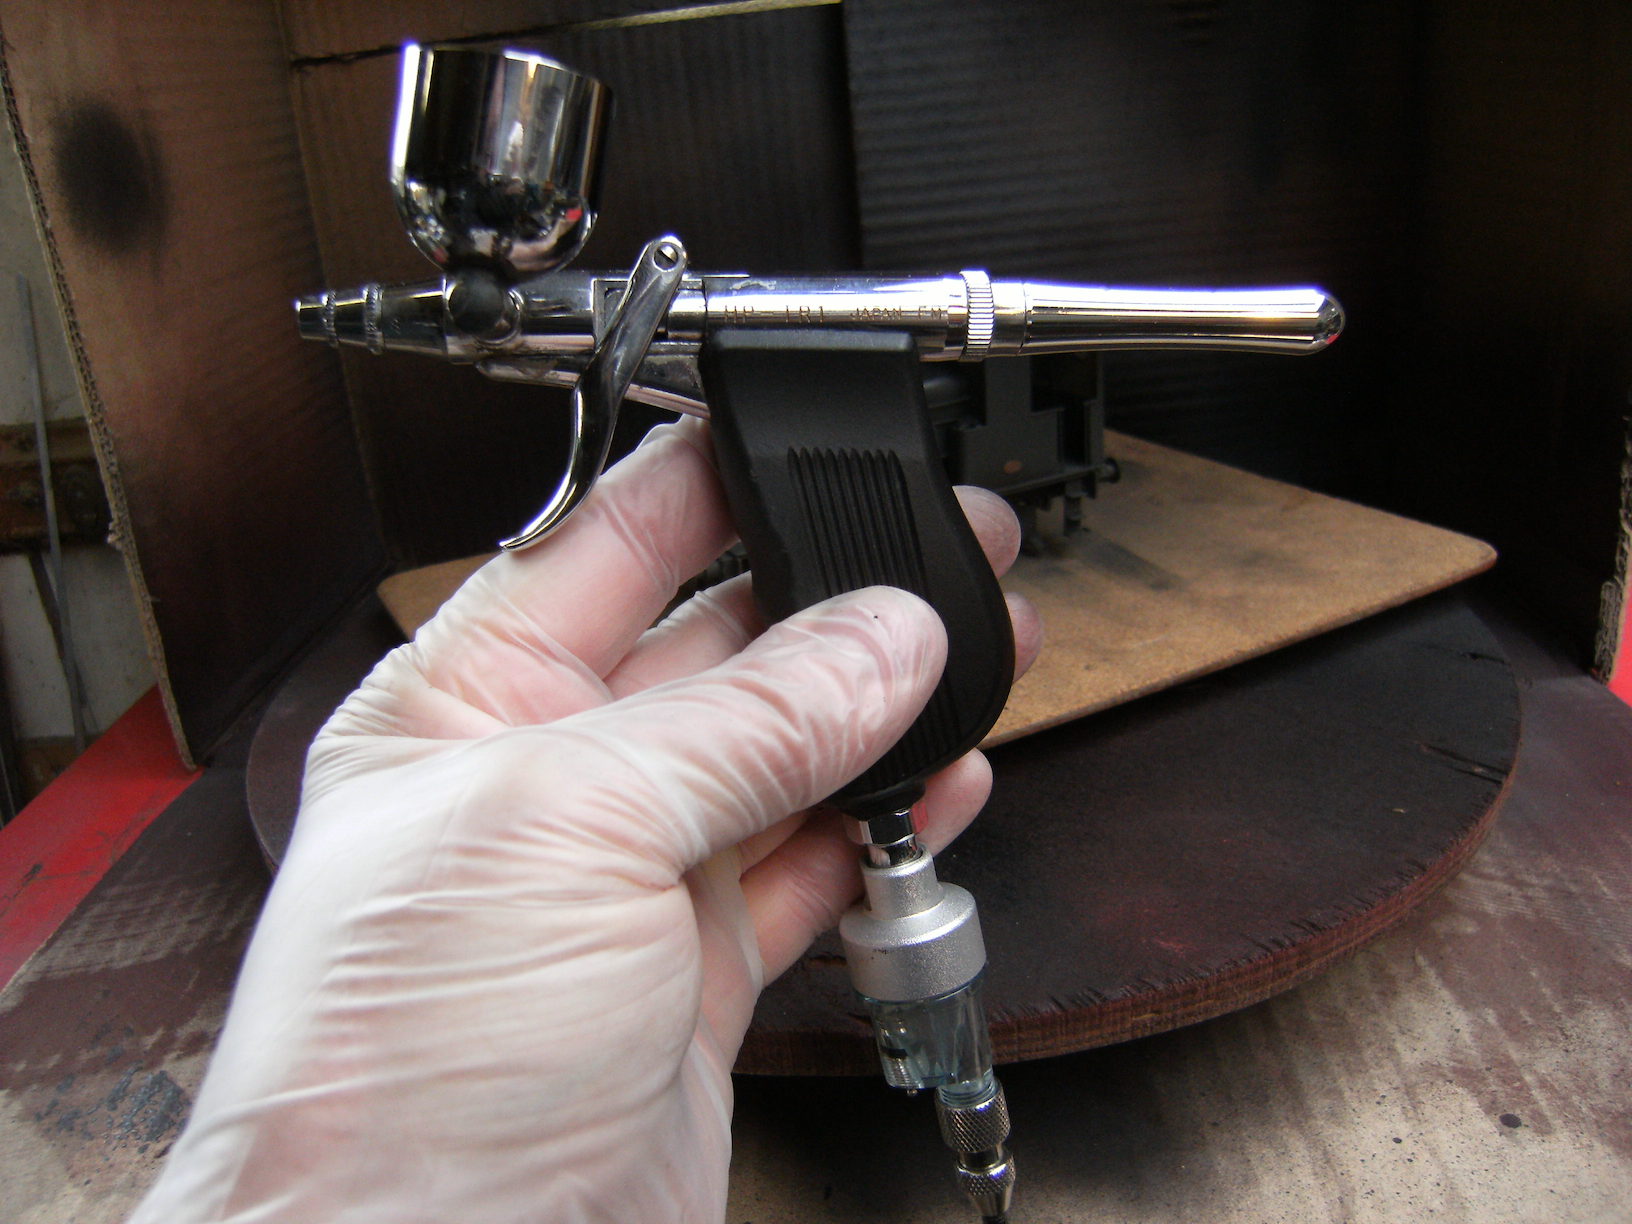
I use an Iwata airbrush with a 0.3mm nozzle, I find this about right for weathering.
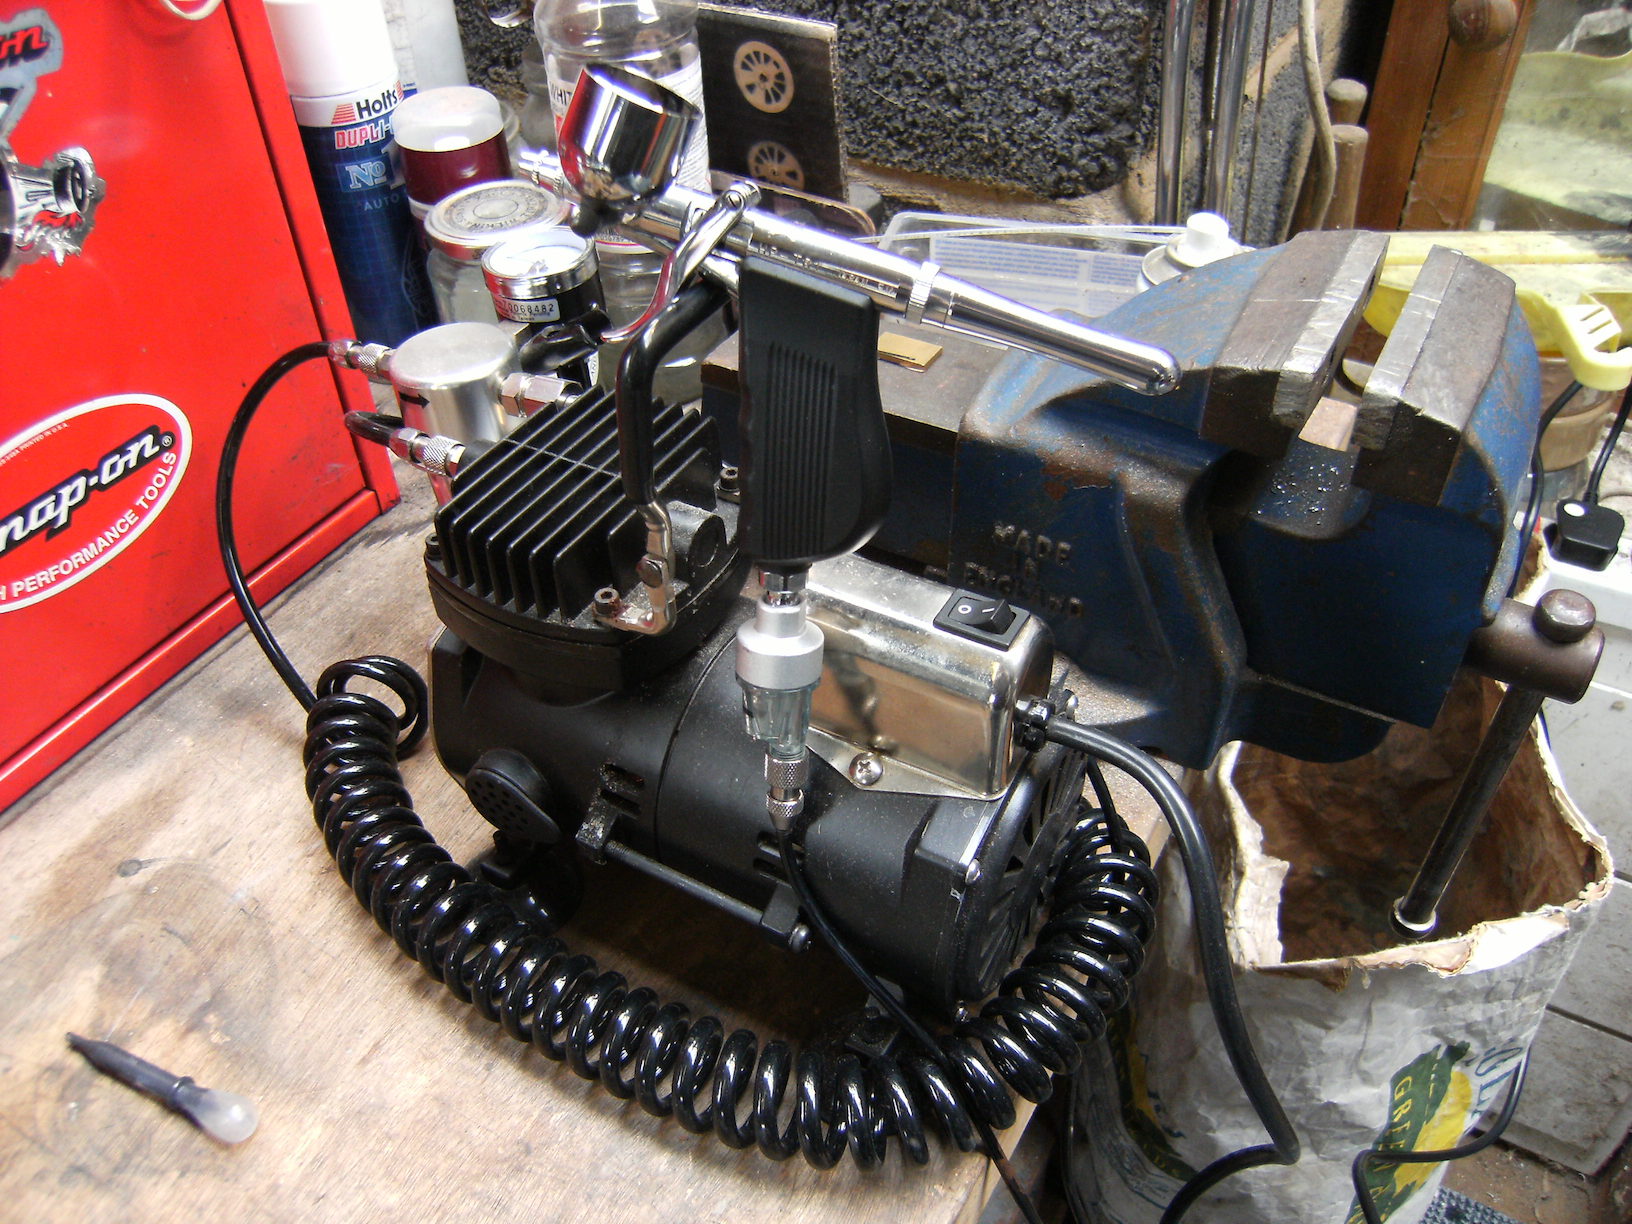
I can recommend the pistol grip and extra water trap.
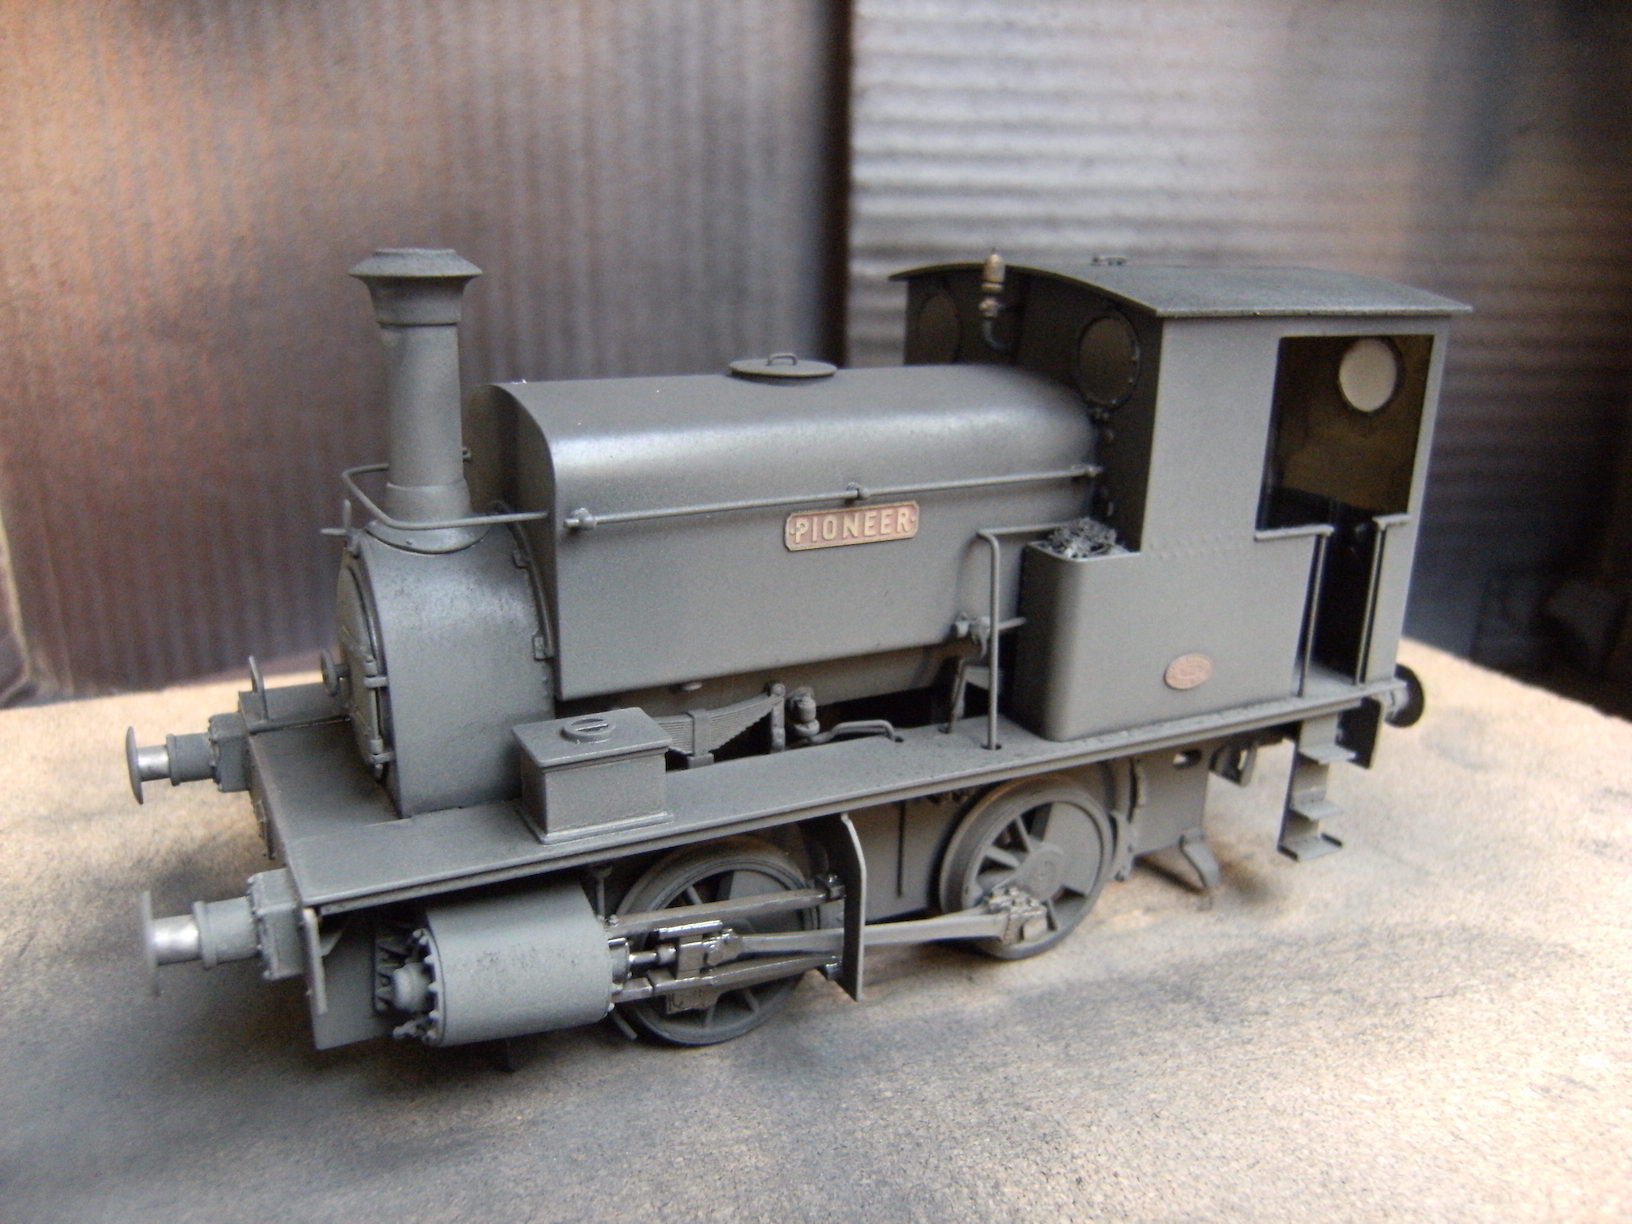
Next the top surfaces are given a coat of matt black and the roof and chimney top some black powder.
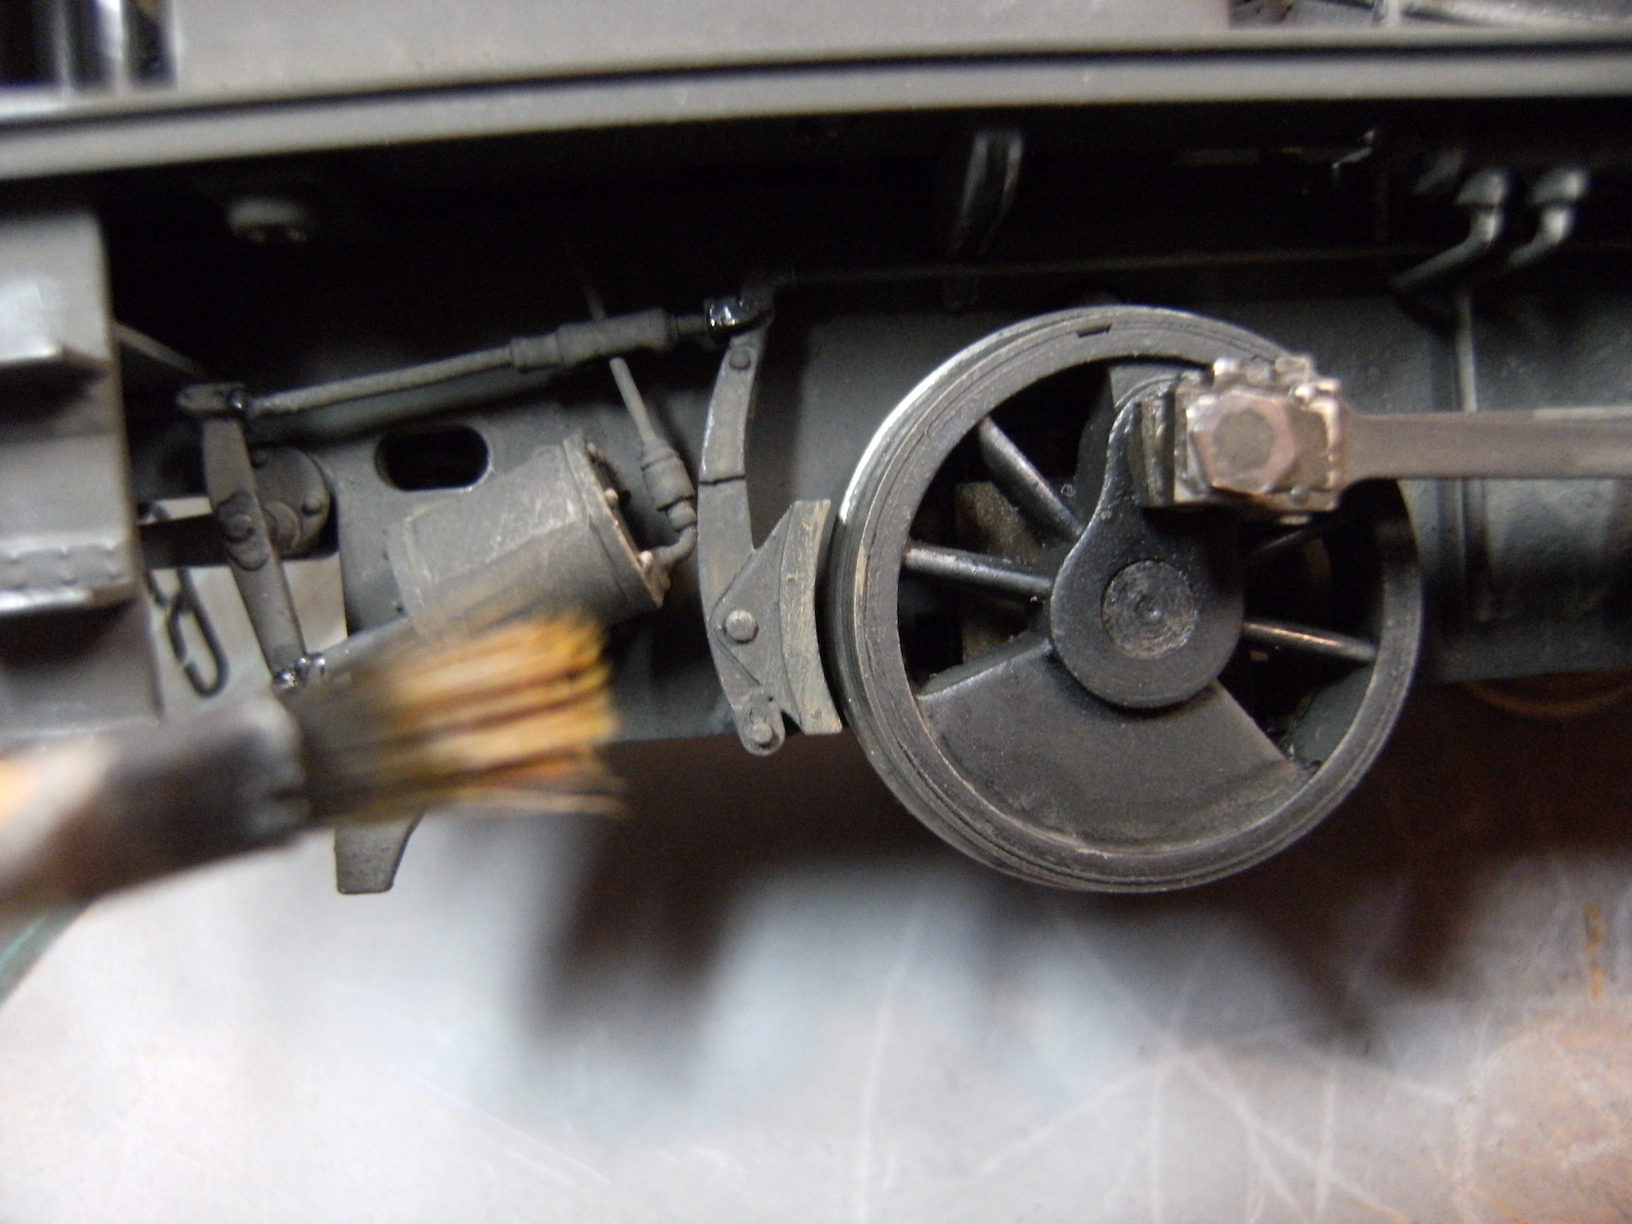
A bit of dry brushing with some acrylic rust shades around the brake shoes to suggest the dust that builds up.
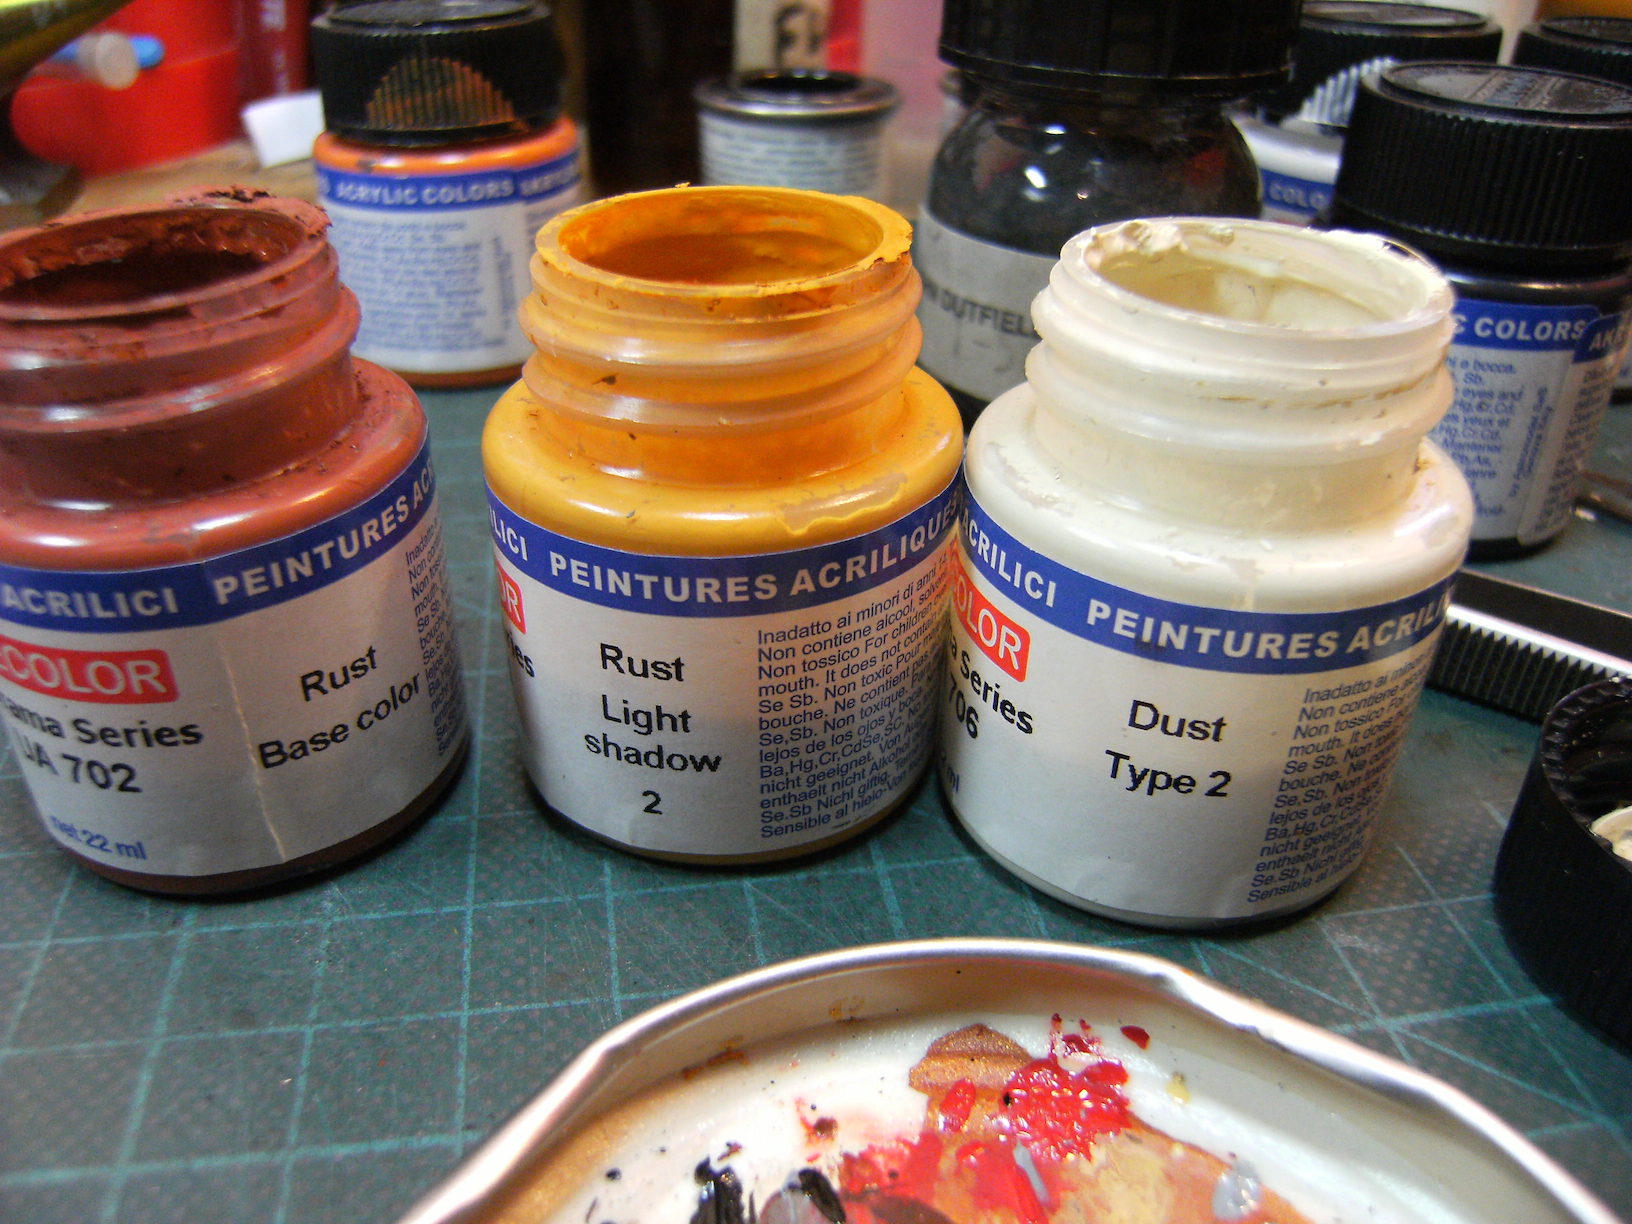
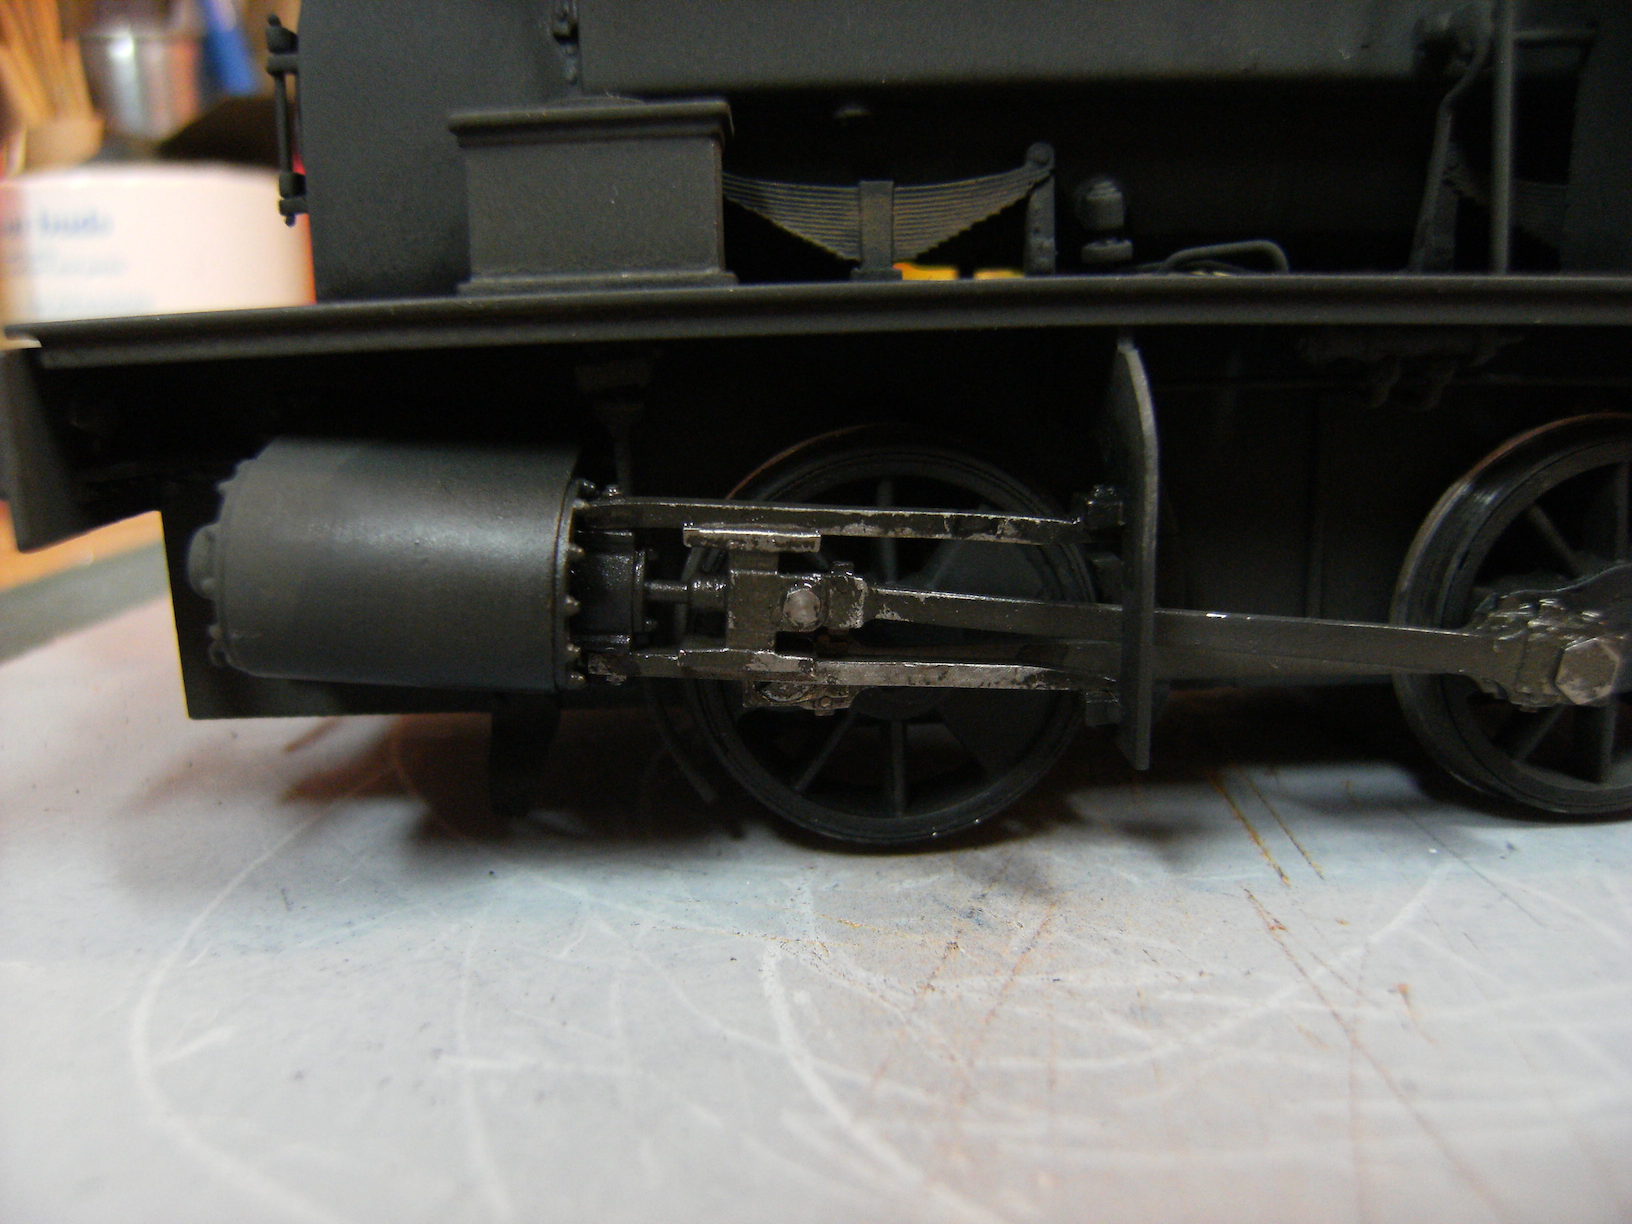
How about some real grimy grease and oil behind and around the slide bars and cylinders, use gloss black mixed with black powder, use an old or cheap brush 'cause it will ruin it.
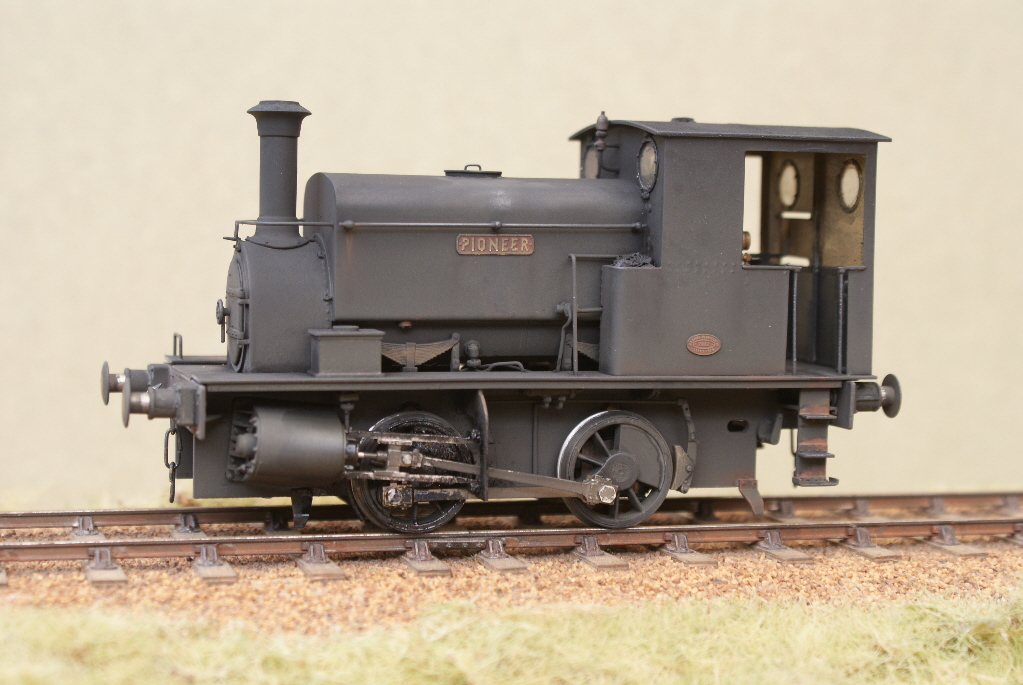
More wear and tear was introduced with handrails and steps given some dry brushed Metalcote gunmetal. Once dry this is polished.
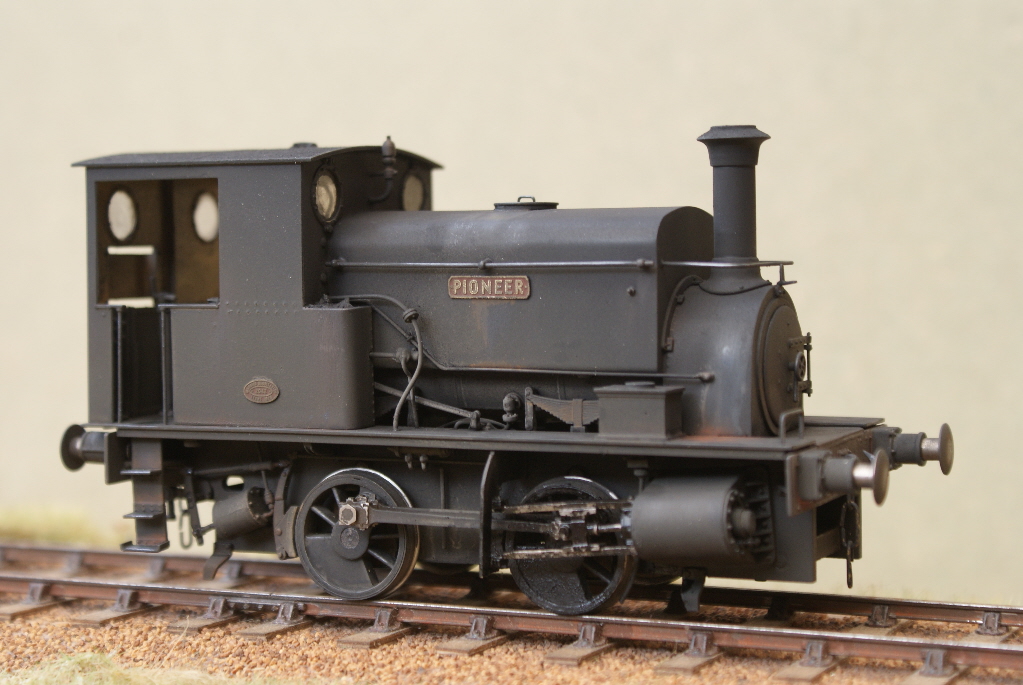
Rust staining at various places, and some more Metalcote gunmetal on top of the tank with some scuff marks produced with a cotton bud. The dirt and soot would be disturbed here by the crew clambering up to lift the lid.
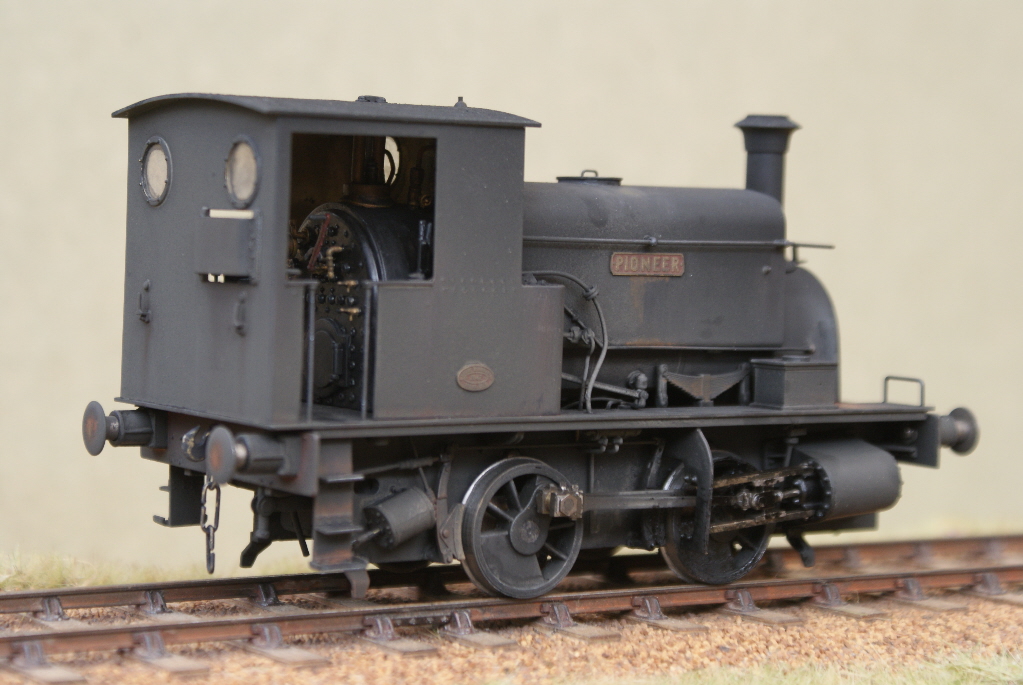
With regards to staining look at good colour photos, where a loco has worked outside all its life and has not been cleaned there will be staining from below fittings were the sulphur from the soot has mixed with rain and then dried out with the heat from the loco and the sun. Paint starts to peel and fall off where the crews' boots have constantly worn against the back plate on the steps thus going rusty.
Final detail was to polish the centres of the buffer heads, with a glass fibre brush, down to bare metal and then dab some dark rust colour around the perimeter of this bare metal area with a cotton bud, use the paint dry, by this I mean as in dry brushing, don't use it too thick. I normally put some paint in an old jam jar lid and then just dab the end of the cotton bud in the paint then dab it off on some kitchen towel before using.
Don't forget to clean the treads with a cellulose dampened cotton bud, otherwise it won't run.
Top
Tanat Valley 3 by Peter Drost

John Borkowski converts Accurascale hopper wagons to S7

The Story of Reeth by Simon Caygill
For further information on the ScaleSeven Group, or if you have any questions: